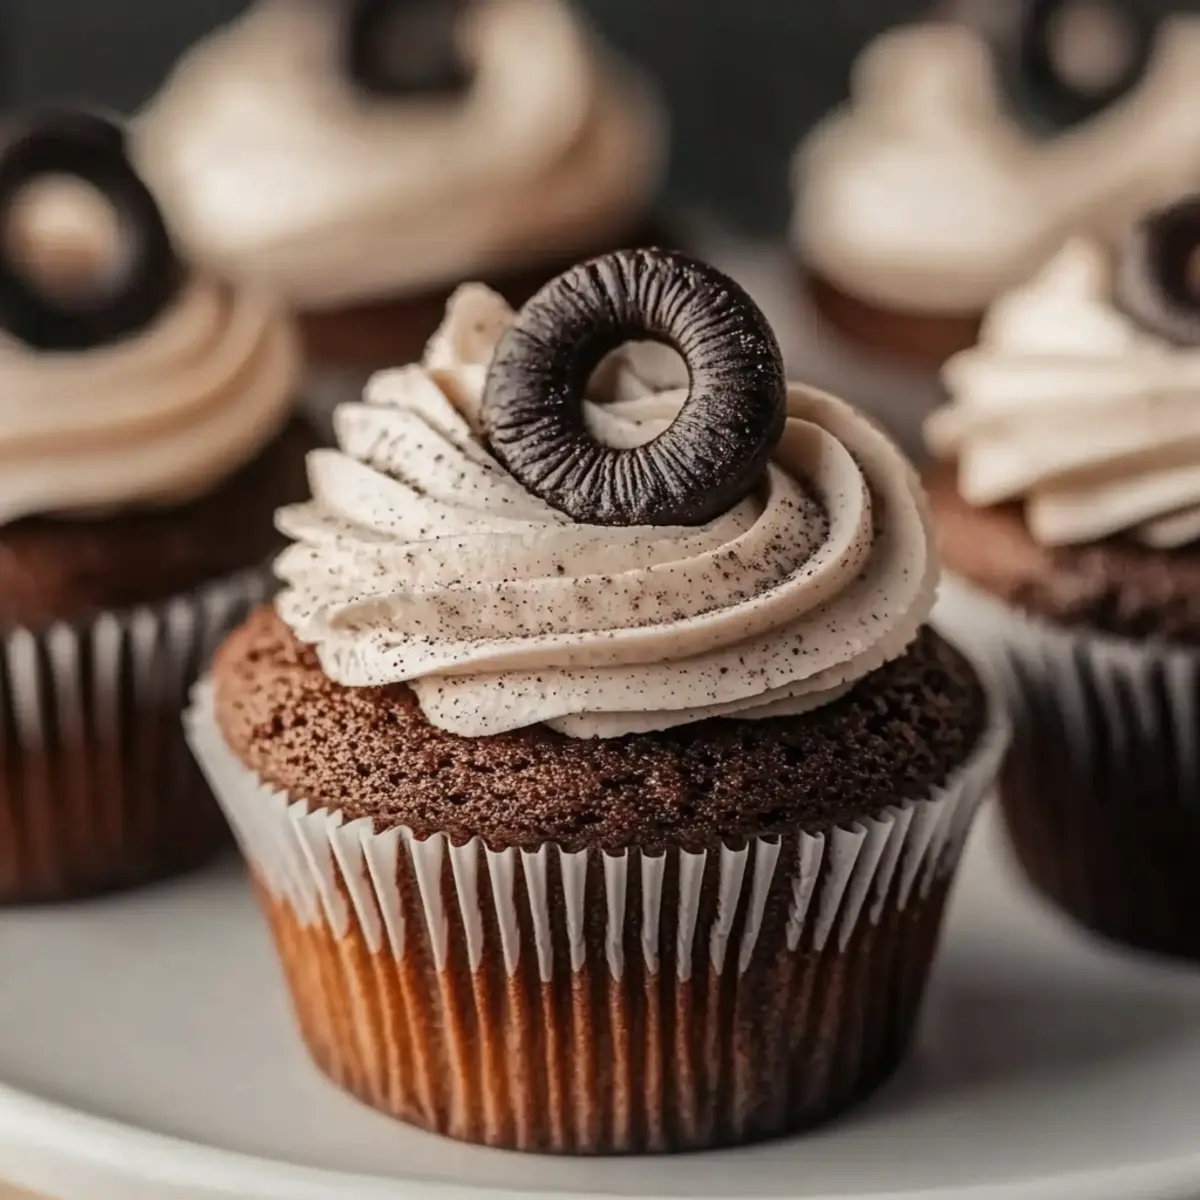
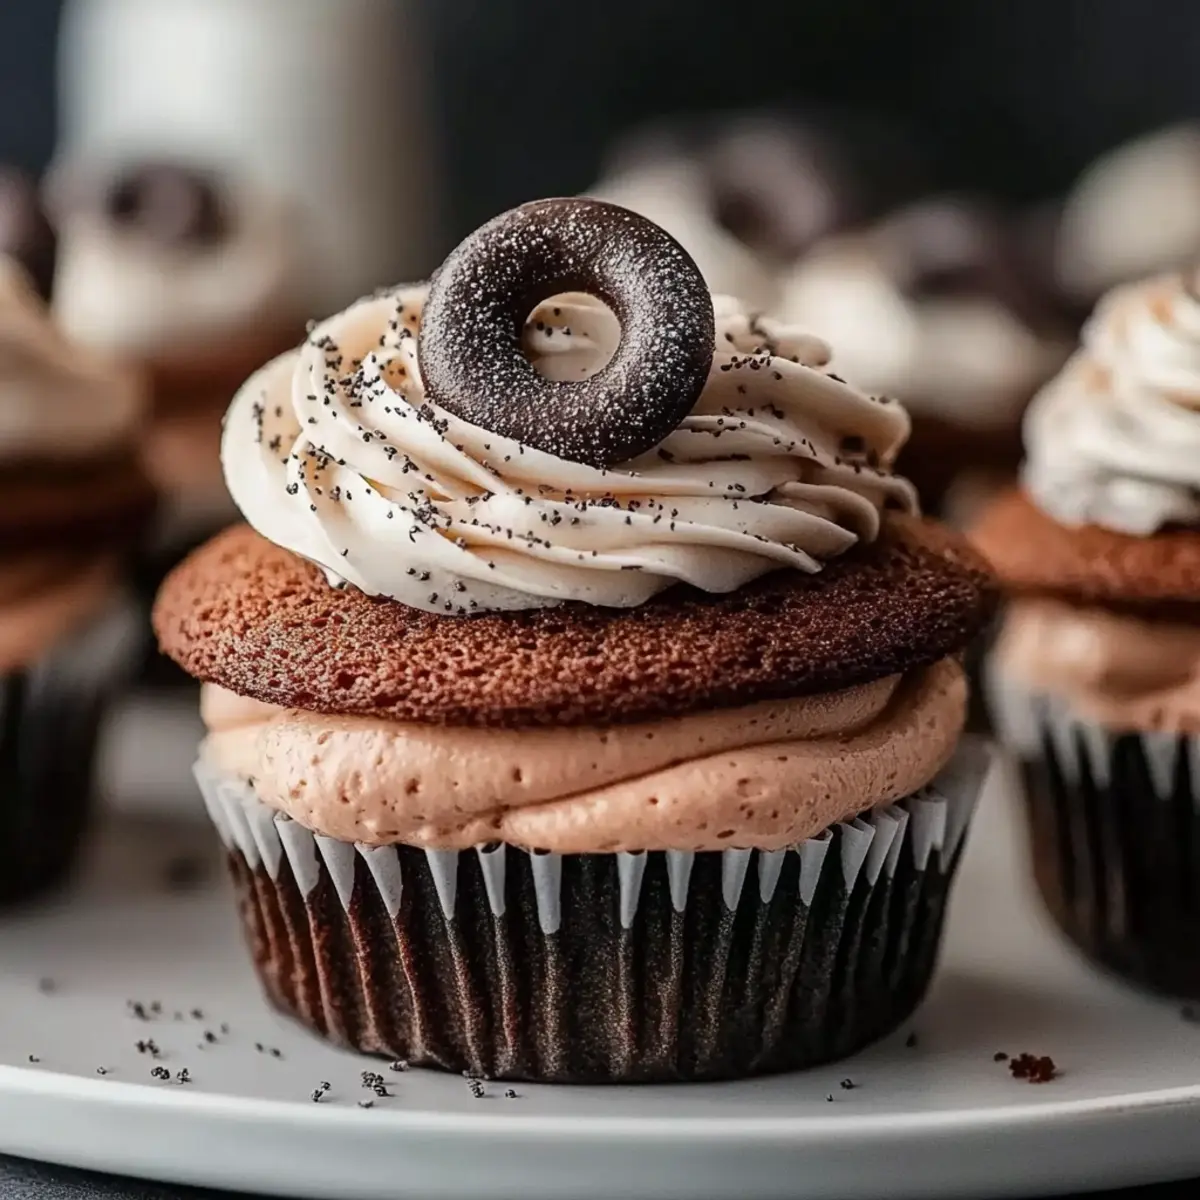
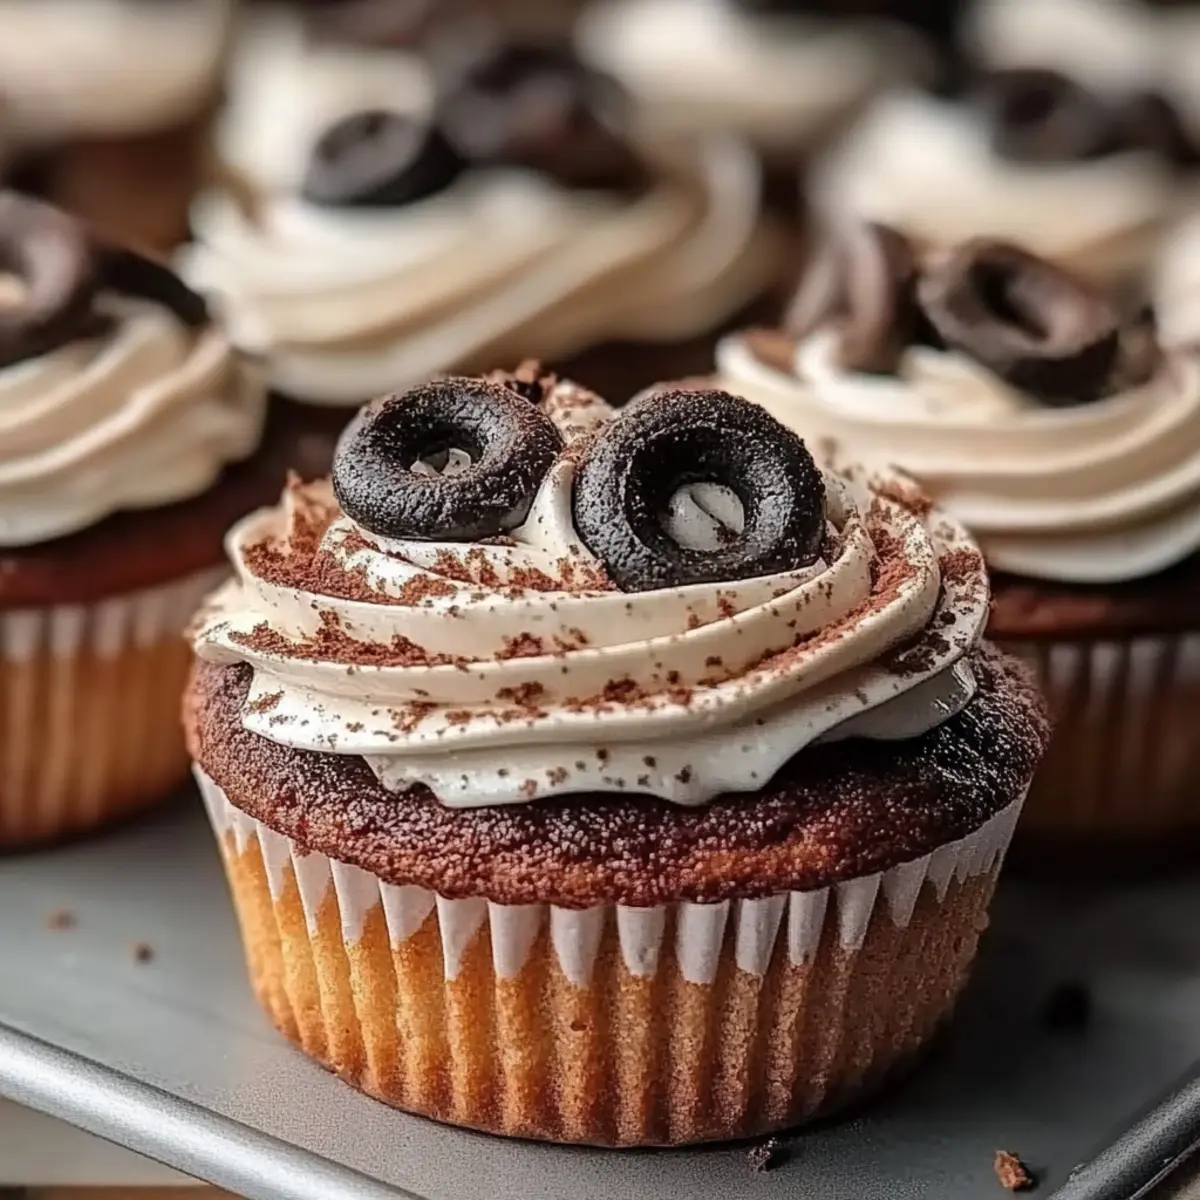
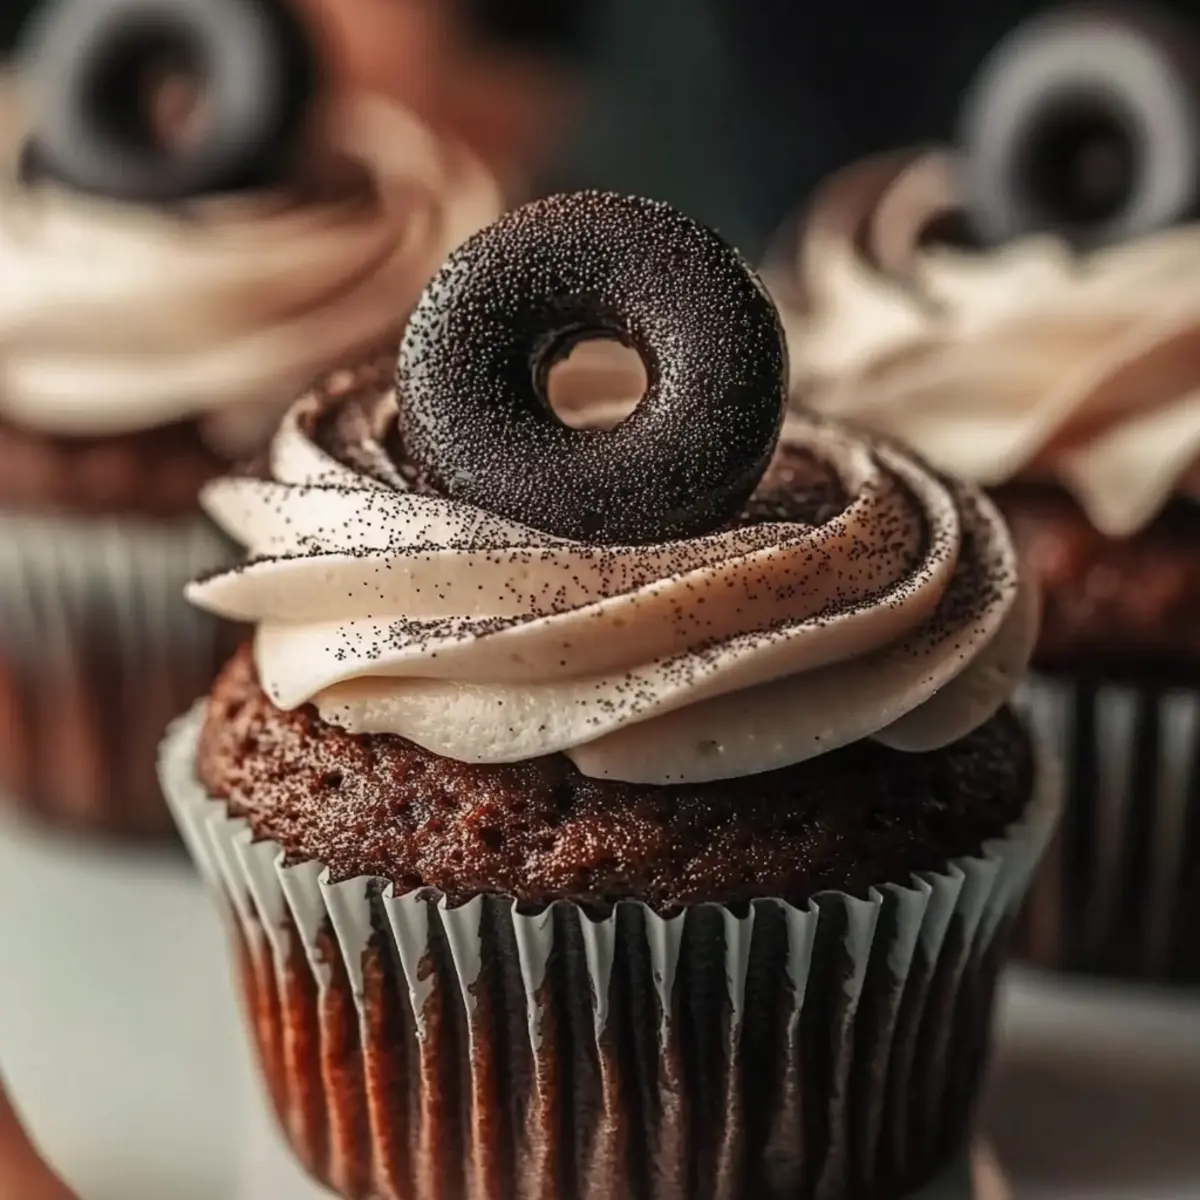
As I stood in my kitchen, the delightful aroma of chocolate began to fill the air, instantly lifting my spirits. There's something truly magical about making Oreo Cupcakes; each bite is a nostalgic invitation to indulge in a sweet treat reminiscent of childhood. This recipe is not only quick to whip up but also perfect for bringing a smile to anyone's face—whether you're planning a cozy family gathering or just treating yourself. Imagine soft, chocolatey cupcakes loaded with crunchy bits of Oreo, topped with a fluffy frosting that’s simply irresistible. Trust me, these cupcakes are going to be your new go-to for any occasion! Ready to bring some joy to your baking routine?
Why Are These Oreo Cupcakes Irresistible?
Deliciously Decadent: These cupcakes are a chocolate lover’s dream, featuring rich cocoa and crunchy Oreo pieces in every bite.
Quick & Easy: With just 35 minutes total time, they're perfect for both beginner bakers and busy chefs alike!
Crowd-Pleasing Treat: Ideal for parties, family gatherings, or a cozy night in, these cupcakes will satisfy cravings and leave everyone wanting more.
Fluffy & Creamy: The whipped frosting adds a light, airy touch that beautifully complements the dense chocolate base.
Nostalgic Flavor: Enjoy the familiar taste of Oreos that brings a rush of sweet memories with every indulgent bite!
Dive into this recipe and let your taste buds rejoice!
Oreo Cupcake Ingredients
Get ready to create something magical!
For the Batter
- All-purpose flour – a foundational ingredient that gives these cupcakes structure.
- Granulated sugar – adds sweetness and moisture, balancing the cocoa.
- Cocoa powder – provides that rich, chocolatey flavor central to these Oreo Cupcakes.
- Baking powder – ensures your cupcakes rise to fluffy perfection.
- Baking soda – boosts the leavening process for a light texture.
- Salt – enhances the overall flavor, making the sweetness pop.
- Softened butter – adds richness and moisture, infusing a delicious buttery taste.
- Large eggs – binds the ingredients and helps achieve a nice rise.
- Vanilla extract – infuses a warm, comforting aroma that enhances the flavor.
- Milk – keeps the batter moist and ensures a tender cupcake.
- Boiling water – activates the cocoa powder for a deeper chocolate flavor.
- Chopped Oreo cookies – the star of the show, adding crunchy bits of deliciousness.
For the Frosting
- Heavy cream – whips up beautifully, creating a luscious and fluffy topping.
- Powdered sugar – sweetens the frosting while providing a smooth texture, perfect for piping.
- Oreo cookies – for topping, adding that extra touch of crunchy goodness on each cupcake.
You're just a few simple steps away from indulging in these delightful Oreo Cupcakes!
Step‑by‑Step Instructions for Oreo Cupcakes
Step 1: Preheat and Prepare
Preheat your oven to 350°F (175°C) and prepare a muffin tin by lining it with cupcake liners. This essential first step ensures your Oreo Cupcakes will bake evenly and come out easily after cooling. Take a moment to gather all your ingredients, so you’re ready to whisk up some deliciousness!
Step 2: Mix Dry Ingredients
In a large mixing bowl, sift together the all-purpose flour, granulated sugar, cocoa powder, baking powder, baking soda, and salt. This mixture provides the foundation for your cupcakes and helps to aerate the dry ingredients. Stir them well until they’re fully combined, creating a uniform chocolate blend that awaits the wet ingredients.
Step 3: Incorporate Wet Ingredients
Add the softened butter, eggs, vanilla extract, and milk to the dry mixture. Using an electric mixer, beat the mixture on medium speed for about 2-3 minutes, or until it turns smooth and creamy. This step is crucial as it combines all the flavors and gives your Oreo Cupcakes their tender texture.
Step 4: Add Boiling Water
Carefully stir in the boiling water to the batter, ensuring it’s well combined. Expect the batter to be thin and runny; this is perfectly normal! The hot water helps to activate the cocoa, enhancing the chocolate flavor. Mix until there are no dry spots, and you have a silky, chocolatey batter.
Step 5: Fold in Oreo Pieces
Gently fold in the chopped Oreo cookies using a spatula, taking care not to overmix. These cookies will create delightful pockets of crunch in your cupcakes. Ensure each spoonful of batter contains some Oreo pieces, promising a delightful surprise in every bite of your Oreo Cupcakes.
Step 6: Fill Muffin Tin
Pour the batter into the lined muffin tin, filling each cup about ⅔ full. This allows enough space for the cupcakes to rise without overflowing. Use a measuring cup for precise pouring, which will help you maintain an even size across all cupcakes.
Step 7: Bake to Perfection
Bake the cupcakes in your preheated oven for 18-20 minutes. They’re done when a toothpick inserted in the center comes out clean or with a few moist crumbs. Keep an eye on them towards the end of cooking, as the chocolatey aroma will fill your kitchen, signaling that they are nearly ready.
Step 8: Cool Completely
Once baked, remove the cupcakes from the oven and allow them to cool in the tin for about 5 minutes. Then transfer them to a wire rack to cool completely. Skipping this step can cause the frosting to melt, so make sure they’re fully cooled before you get ready to frost!
Step 9: Prepare the Frosting
While the cupcakes cool, whip the heavy cream in a bowl until soft peaks form, which takes about 3-4 minutes. Gradually add the powdered sugar and mix until you achieve a light and fluffy consistency. This frosting is crucial for topping your Oreo Cupcakes with a deliciously creamy layer.
Step 10: Frost and Garnish
Once the cupcakes are cool, pipe or spread the whipped frosting generously on top of each cupcake. Finish with an Oreo cookie placed on each for an extra touch of charm and crunch. Your delightful Oreo Cupcakes are now ready to be enjoyed, bringing smiles all around!
Expert Tips for Oreo Cupcakes
Ingredient Temperature: Use room temperature butter and eggs for a smoother batter that incorporates better, ensuring your Oreo Cupcakes are fluffy and moist.
Proper Mixing: Avoid overmixing after adding the boiling water. This ensures you maintain the lightness and tenderness of the cupcakes, preventing them from becoming dense.
Cooling Time: Let the cupcakes cool entirely before frosting. Frosting warm cupcakes can cause the frosting to melt, ruining the fluffy texture and presentation.
Piping Technique: Use a piping bag for a beautiful frosting swirl. If you don’t have one, a simple zip-top bag with the corner snipped off works great too!
Storage Tips: Store leftover cupcakes in an airtight container at room temperature for up to three days. This keeps them moist and delicious, prolonging the pleasure of your Oreo Cupcakes.
What to Serve with Oreo Cupcakes?
Indulging in decadent cupcakes is always more delightful when paired with complementary sides that enhance the experience.
- Rich Vanilla Ice Cream: A classic pairing that balances the chocolatey flavor, adding a creamy and cool contrast.
- Fresh Berries: Bright and juicy strawberries or raspberries not only provide a fresh burst but also a hint of tartness to cut through the sweetness.
- Chocolate Milkshake: For a truly indulgent dessert moment, combine chocolatey flavors with a creamy milkshake that will make hearts race.
- Whipped Cream: Light and fluffy, a dollop of whipped cream is a simple yet elegant addition that elevates those Oreo Cupcakes further.
- Coffee or Espresso: A cup of rich brew enhances the sweetness of the cupcakes, creating a delightful experience that pairs chocolate with the bitter notes of coffee.
- Chocolate Fondue: Dip fresh fruit or marshmallows into warm melted chocolate for a fun sharing experience that complements the cupcakes.
Imagine delighting in warm cupcakes while sipping on a chilled milkshake or nibbling on fresh berries; it turns dessert into an unforgettable gathering moment!
How to Store and Freeze Oreo Cupcakes
Room Temperature: Store leftover Oreo Cupcakes in an airtight container at room temperature for up to 3 days. This helps retain their moisture and flavor.
Fridge: If you prefer a colder treat, keep the cupcakes in the refrigerator for up to a week. Just remember to let them sit at room temperature for a few minutes before enjoying.
Freezer: For longer storage, freeze the cupcakes without frosting in a single layer for up to 3 months. Once frozen, wrap them tightly in plastic wrap and place in a zip-top bag.
Reheating: To enjoy cupcakes after freezing, let them thaw in the fridge overnight, then warm them in the microwave for about 10 seconds for that freshly baked taste.
Oreo Cupcakes: Creative Twists Await!
Feel free to let your imagination run wild as you customize these delectable bites to suit your taste!
- Gluten-Free: Swap all-purpose flour with a gluten-free flour blend for a deliciously inclusive treat.
- Vegan: Replace eggs with flax eggs and use plant-based milk and butter for a delightful vegan version!
- Minty Delight: Add 1 teaspoon of peppermint extract to the batter for a refreshing twist that echoes classic mint Oreos.
- Chocolate Chips: Incorporate semi-sweet chocolate chips along with the Oreo pieces for extra chocolaty goodness.
- Nutty crunch: Fold in chopped walnuts or pecans for a delightful crunch that adds both texture and flavor.
- Frosting Flavors: Experiment with flavored extracts like almond or hazelnut in your whipped frosting for an unexpected surprise.
- Spicy Heat: Add a pinch of cayenne pepper or chili powder to the batter for a surprising and tantalizing kick.
- Decadent Toppings: Drizzle melted chocolate or caramel on top of the frosting for a gourmet finish that will truly impress!
Make Ahead Options
These delightful Oreo Cupcakes are perfect for meal prep enthusiasts! You can prepare the cupcake batter up to 24 hours in advance. Simply mix all ingredients, following the instructions until you add the boiling water, then cover and refrigerate it. When you’re ready to bake, stir in the chopped Oreos and pour the batter into the muffin tin. The whipped frosting can also be made and stored in an airtight container in the fridge for up to 3 days; just give it a quick whip before frosting the cooled cupcakes. This way, you’ll save time and enjoy fresh, delicious cupcake flavor at your convenience!
Oreo Cupcakes Recipe FAQs
How do I know if my Oreos are fresh?
Absolutely! Make sure your Oreos are fresh by checking for any signs of staleness. If they're still in their original packaging, look for a uniform texture without any dark spots or a dry, cracked surface. Fresh Oreos will feel slightly soft and have a pleasant chocolate aroma.
How long can I store Oreo Cupcakes?
You can store your leftover Oreo Cupcakes in an airtight container at room temperature for up to 3 days. This keeps them moist and delicious! If you prefer, you can refrigerate them for up to a week—just allow them to come to room temperature before enjoying.
Can I freeze Oreo Cupcakes?
Yes, you can absolutely freeze Oreo Cupcakes! To do this, it’s best to freeze them without frosting. Place the cooled cupcakes in a single layer on a baking sheet and freeze for about 2 hours until solid. Then, wrap each cupcake tightly in plastic wrap, place them in a zip-top bag, and they will last for up to 3 months in the freezer.
What should I do if my cupcakes sink in the middle?
Very often, cupcakes sink in the center if they're underbaked or if there’s too much liquid in the batter. Ensure you measure ingredients accurately and bake them until a toothpick comes out clean—typically 18-20 minutes. If you find your cupcakes sinking after baking, allow them to cool completely before frosting; they may settle as they cool.
Are there any dietary considerations for Oreo Cupcakes?
Indeed! These cupcakes contain common allergens like gluten, dairy, and eggs, so be cautious if you’re serving individuals with allergies. For a gluten-free alternative, you can try using a gluten-free all-purpose flour mix. If you want to make a dairy-free version, substitute non-dairy milk and vegan butter, and use a dairy-free whipped cream for frosting. Always check the specific brands of Oreos, as some varieties may contain allergens.
Can I customize the frosting for my Oreo Cupcakes?
The more the merrier! You can certainly customize the frosting to add your special touch. Try mixing in some crushed Oreos into the heavy cream before whipping to intensify that Oreo flavor, or add a hint of peppermint extract for a minty twist. Get creative and make each batch uniquely yours!
Indulgent Oreo Cupcakes That Will Make Your Day Better
Ingredients
Equipment
Method
- Preheat your oven to 350°F (175°C) and line a muffin tin with cupcake liners.
- In a mixing bowl, sift together flour, sugar, cocoa powder, baking powder, baking soda, and salt.
- Add butter, eggs, vanilla extract, and milk. Beat on medium speed until smooth and creamy.
- Carefully stir in the boiling water until well combined.
- Fold in chopped Oreo cookies gently until just combined.
- Pour batter into muffin tins, filling each cup ⅔ full.
- Bake for 18-20 minutes until a toothpick comes out clean.
- Cool in the tin for 5 minutes, then transfer to a wire rack.
- Whip heavy cream until soft peaks form, then add powdered sugar and mix until fluffy.
- Frost the cupcakes with whipped cream and top with an Oreo cookie.


Leave a Reply