As I sift through my pantry, preparing for the sweet indulgence that is about to unfold, the idea of Twix Cookies ignites a spark of excitement—a perfect blend of chocolate and caramel captured in a chewy cookie form. These delightful treats not only bring the beloved candy bar into your kitchen but also prove to be a crowd-pleaser that’s ready in under thirty minutes! With just a handful of simple ingredients, you can impress friends and family alike without breaking a sweat or resorting to takeout. Whether you’re cozying up for a movie night or celebrating a special occasion, these cookies are sure to bring smiles all around. Curious about how to whip up your batch of Twix Cookies? Let’s dive in!
Why Are Twix Cookies So Irresistible?
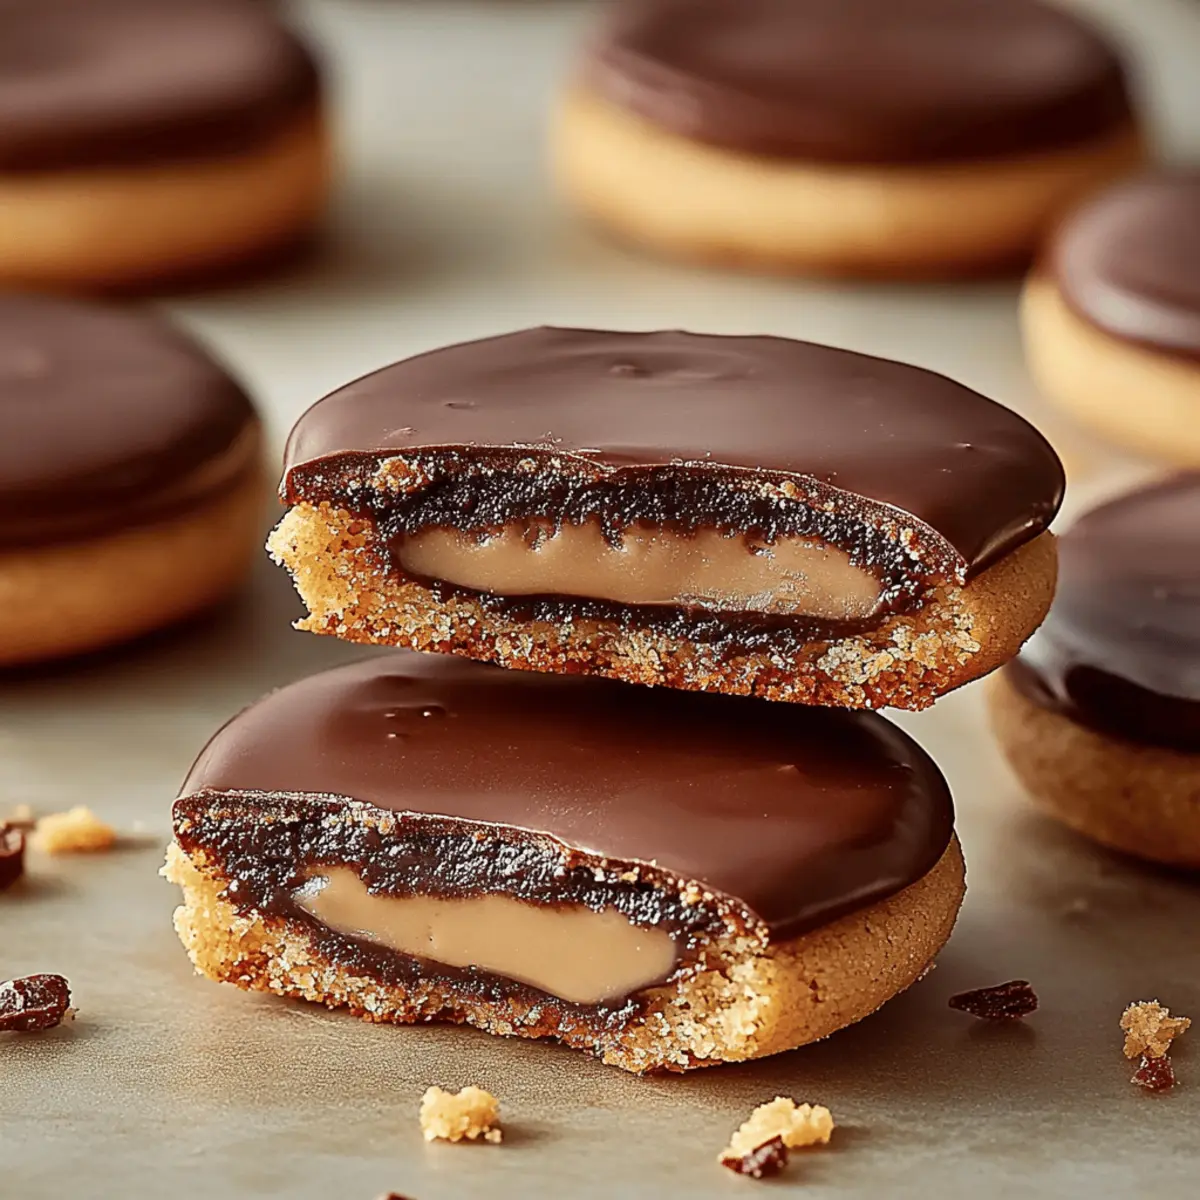
Chewy Texture: The perfect balance of soft and chewy makes each bite a delightful experience you won't forget.
Quick Prep: Ready in just 27 minutes, you can satisfy those sweet cravings without spending hours in the kitchen.
Crowd-Pleasing: These cookies are a hit at parties, gatherings, or simple family dinners—everyone loves a twist on a classic!
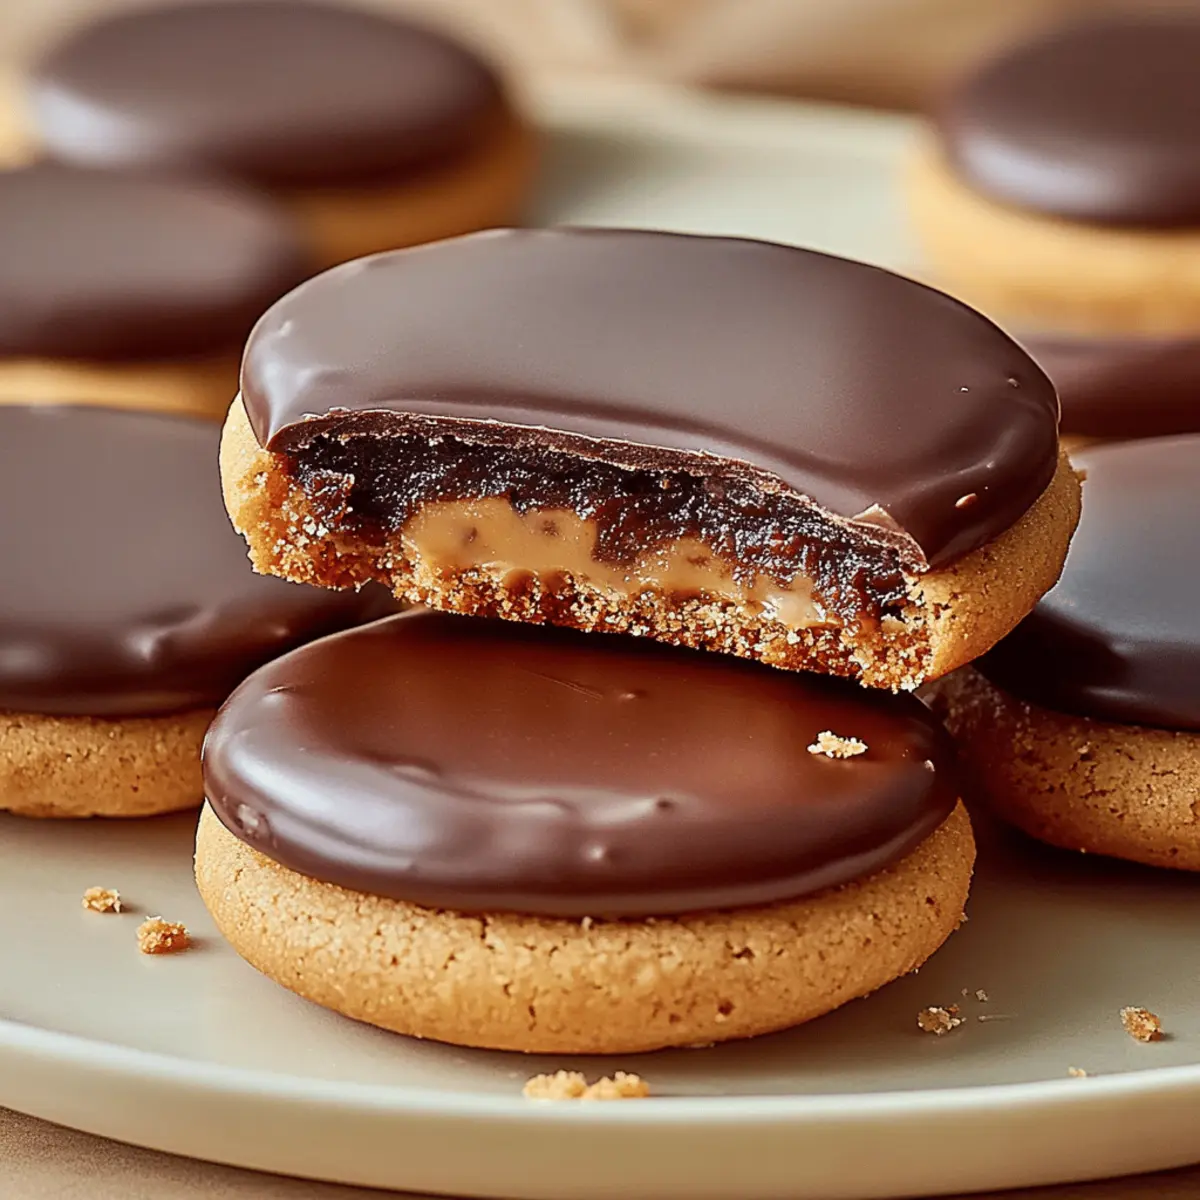
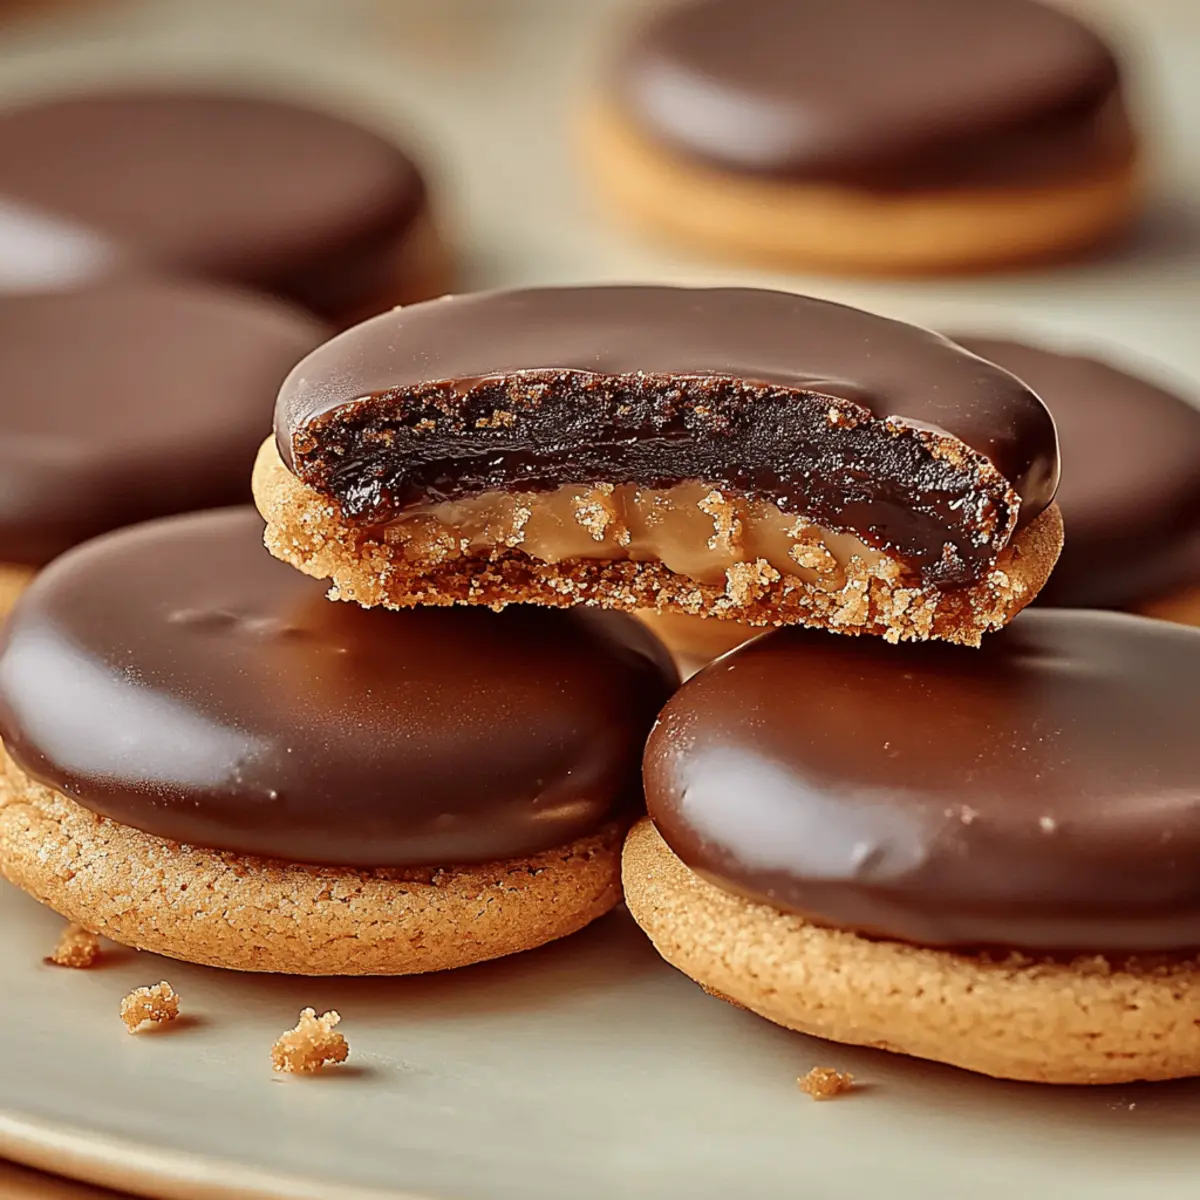
Decadent Flavor: Indulge in rich flavors of caramel and chocolate, uniting to create a taste sensation reminiscent of your favorite candy bar.
Versatile Treat: Enjoy them warm from the oven or pack them for snacks—great for any occasion!
Embrace your inner baker with these Twix Cookies and treat yourself to a delightful homemade experience!
Twix Cookies Ingredients
For the Dough
• All-purpose flour – 2 ¼ cups for that perfect chewy texture.
• Unsalted butter – 1 cup, softened, to create a rich and buttery flavor.
• Granulated sugar – ¾ cup, adds sweetness and a lovely crispness to the edges.
• Brown sugar – ¾ cup, packed; this gives your cookies a deeper caramel flavor.
• Large eggs – 2, providing moisture and binding the ingredients together.
• Vanilla extract – 1 tsp, enhances the overall flavor profile with a warm aroma.
• Baking soda – 1 tsp, helps the cookies rise and achieve their delightful texture.
For the Mix-ins
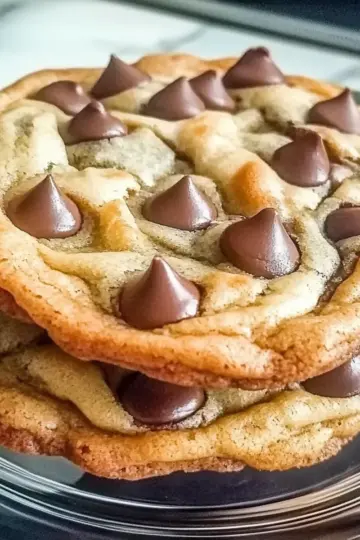
• Semi-sweet chocolate chips – 1 cup for a melty, chocolatey burst in every bite.
• Caramel squares – 1 cup, chopped; these will melt beautifully, giving that nostalgic Twix flavor.
Now that you have everything you'll need, your journey to baking these Twix Cookies is about to get even sweeter!
Step‑by‑Step Instructions for Twix Cookies
Step 1: Preheat and Prepare
Begin by preheating your oven to 350°F (175°C). While the oven warms up, line two baking sheets with parchment paper, ensuring that they are ready for your delights. This step is crucial as it prevents the cookies from sticking and allows for easy cleanup, making your baking experience smooth and enjoyable.
Step 2: Cream the Sugars and Butter
In a mixing bowl, add the softened butter, granulated sugar, and brown sugar. Using a hand mixer or a stand mixer, cream these ingredients together until the mixture becomes light and fluffy, approximately 2-3 minutes. This step is essential for creating a decadent texture in your Twix Cookies, so keep mixing until well combined and creamy.
Step 3: Add Eggs and Vanilla
Next, beat in the eggs, one at a time, into the fluffy butter and sugar mixture, ensuring each egg is fully incorporated before adding the next. Follow this by mixing in one teaspoon of vanilla extract, which will infuse your dough with a warm, inviting aroma. Your mixture should be smooth and well-blended by the end of this step.
Step 4: Combine Dry Ingredients
In a separate bowl, whisk together the all-purpose flour and baking soda until well combined. Gradually incorporate this dry mixture into your wet ingredients, mixing gently until just combined. Be careful not to overmix, as this can lead to tougher cookies. A soft dough should form, setting the stage for your delicious Twix Cookies.
Step 5: Add the Mix-ins
Now it’s time to fold in the semi-sweet chocolate chips and chopped caramel squares into the dough. Use a spatula to ensure that they are evenly distributed throughout the mixture. The chocolate and caramel will create that signature Twix flavor, offering pockets of gooey delight in every bite.
Step 6: Scoop and Space
Using a tablespoon or a cookie scoop, portion out the cookie dough and place it onto your prepared baking sheets, leaving about two inches between each scoop. This spacing is important, as the cookies will spread while baking. You should see a beautiful, glistening mounds of Twix Cookies ready for the oven.
Step 7: Bake to Perfection
Pop the trays into your preheated oven and bake for 10-12 minutes. Keep an eye on them; the edges should turn golden brown while the centers remain soft and slightly underbaked. This contrast is key to achieving that gooey texture that makes Twix Cookies so irresistible.
Step 8: Cool and Enjoy
Once baked, remove the cookies from the oven and allow them to cool on the baking sheets for about 5 minutes. Afterwards, transfer the cookies to wire racks to cool completely. This step enhances their texture, making them the perfect treat to savor with family and friends. Get ready for those mouthwatering moments!
Tips for the Best Twix Cookies
Don’t Overmix: Avoid overmixing the dough once you combine the wet and dry ingredients. This keeps the Twix Cookies tender and chewy.
Chill the Dough: For an extra flavorful cookie, chill the dough for 30 minutes before baking. It helps solidify the fats, resulting in a thicker cookie.
Watch the Bake Time: Keep an eye on the cookies as they bake. They should be golden brown on the edges but soft in the center, to ensure they stay chewy.
Use Fresh Ingredients: Always use fresh baking soda and room temperature butter. This can significantly affect the rise and texture of your cookies.
Space for Spreading: Make sure to leave enough space between each cookie on the baking sheet. This prevents them from merging together while baking.
How to Store and Freeze Twix Cookies
Room Temperature: Store your Twix Cookies in an airtight container for up to 3 days, keeping them fresh and chewy while preventing them from drying out.
Fridge: If you'd like to extend their shelf life, keep them in the fridge for up to 1 week. Just give them a gentle reheat in the microwave for a warm treat!
Freezer: For longer storage, freeze your cookies for up to 3 months. Place them in a freezer-safe bag or container, separating layers with parchment paper to avoid sticking.
Reheating: To enjoy your frozen Twix Cookies, thaw them in the fridge overnight, then warm them in the oven at 350°F (175°C) for about 5 minutes for that just-baked goodness!
Twix Cookies Variations & Substitutions
Feel free to explore your creativity and make this recipe your own with these delicious ideas!
-
Gluten-Free: Substitute the all-purpose flour with a gluten-free flour blend for a tasty alternative that everyone can enjoy.
-
Vegan: Replace the butter with coconut oil and use flaxseed meal mixed with water in place of eggs for a completely plant-based treat. Each bite will be just as delightful!
-
Nutty Addition: Fold in ½ cup of chopped nuts, like pecans or walnuts, for an added crunch and richness that pairs beautifully with the chocolate and caramel.
-
Choco-Lovers: Use dark chocolate chips instead of semi-sweet for a deeper chocolate flavor that's sure to satisfy the most intense cravings.
-
Candied Twist: Try adding a handful of crushed toffee bits along with the caramel for an extra layer of flavor and crunch—perfect for caramel lovers!
-
Pumpkin Spice: During the fall, consider adding 1 teaspoon of pumpkin spice to the dough for a seasonal twist that warms the heart.
-
Melted Caramel Drizzle: If you like a sweeter touch, drizzle melted caramel over the cooled cookies for an indulgent finish that will make your cookies irresistible!
-
Spicy Kick: Want to turn up the heat? Add a pinch of chili powder to the dough to create a surprising balance with the sweetness—it's an adventure in every bite!
What to Serve with Twix Cookies?
Twix Cookies are a delightful treat that can easily be part of a heartwarming, cozy gathering or sweet dessert table.
-
Vanilla Ice Cream: A scoop of creamy vanilla ice cream pairs wonderfully, creating a nostalgic flavor combination reminiscent of caramel and chocolate desserts. It adds a refreshing contrast to the warm, chewy cookies.
-
Coffee: The robust notes of freshly brewed coffee enhance the sweet flavors, offering a comforting, warm beverage option as you enjoy each delectable bite.
-
Milk: This classic pairing brings a nostalgic touch, cutting through the sweetness and enhancing the flavors of the cookies. Whether cold or warm, milk is a delightful companion.
-
Chocolate Sauce: Drizzle warm chocolate sauce over your Twix Cookies for an indulgent, rich layer that elevates each bite into chocolate heaven, embracing the perfect balance of flavors.
-
Caramel Drizzle: A hint of caramel sauce on top adds an extra layer of gooey sweetness, echoing the rich flavors of the cookies and making each bite an irresistible delight.
-
Fresh Berries: Light, tart berries like raspberries or strawberries offer a refreshing contrast to the richness of the cookies. Their bright acidity can help balance the sweetness perfectly.
Embrace these delicious pairings as you savor each bite of your Twix Cookies, turning a simple treat into a full celebration of flavor and warmth!
Make Ahead Options
These Twix Cookies are perfect for busy home cooks looking to simplify their meal planning! You can prepare the cookie dough up to 24 hours in advance; simply scoop the dough onto baking sheets as instructed, cover tightly with plastic wrap, and refrigerate. This method enhances the flavors while keeping the dough fresh and ready for baking. Alternatively, you can freeze the formed cookie dough balls for up to 3 months. When you're ready to bake, just pop them directly from the freezer into the preheated oven, adding an extra minute or two to the baking time. By prepping ahead, you’ll have delicious, homemade Twix Cookies at your fingertips, bringing joy without the stress!

Twix Cookies Recipe FAQs
How do I select the right caramel squares for Twix Cookies?
Opt for quality caramel squares like Kraft or Werther's, as they melt beautifully and provide that gooey texture you crave. Look for pieces that are soft and pliable, avoiding any that have a hard or brittle texture.
How should I store my Twix Cookies?
Absolutely! Store your Twix Cookies in an airtight container at room temperature for up to 3 days. For added longevity, you can keep them in the fridge for up to 1 week. Just pop them in the microwave for a few seconds to warm them up before indulging!
Can I freeze Twix Cookies, and if so, how?
Yes, you can freeze your cookies! Place them in a freezer-safe bag with layers separated by parchment paper to prevent sticking. They can last in the freezer for up to 3 months. When you want to enjoy them, just thaw overnight in the fridge, then warm them in the oven at 350°F (175°C) for about 5 minutes for that fresh-baked taste!
What should I do if my cookies spread too much while baking?
If your cookies spread excessively, it could be due to softened butter or excessive mixing. For next time, try using chilled dough and ensure your butter is slightly softened, not melted. Also, increasing the flour by a couple of tablespoons can help them hold their shape better!
Are Twix Cookies safe for pets?
No, it's best to avoid giving Twix Cookies to your pets. They contain ingredients like chocolate and sugar that are harmful to animals. Keep these delicious treats to yourself and enjoy the bliss without worry!
Can I substitute any ingredients for dietary restrictions?
Certainly! If you have dietary restrictions, you can use gluten-free flour as a substitute for all-purpose flour to make gluten-free Twix Cookies. Also, vegan butter and egg replacements like flaxseed meal mixed with water can be used to accommodate a vegan diet—just be aware that it may alter the texture slightly!
Irresistibly Chewy Twix Cookies to Satisfy Your Sweet Cravings
Ingredients
Equipment
Method
- Preheat your oven to 350°F (175°C) and line two baking sheets with parchment paper.
- In a mixing bowl, cream together softened butter, granulated sugar, and brown sugar until light and fluffy (2-3 minutes).
- Beat in the eggs one at a time, then mix in the vanilla extract until well blended.
- Whisk together the all-purpose flour and baking soda, then gradually incorporate into the wet ingredients until just combined.
- Fold in the chocolate chips and chopped caramel squares, ensuring even distribution.
- Using a cookie scoop, portion the dough onto the prepared baking sheets, leaving space between each.
- Bake for 10-12 minutes until edges are golden brown and centers are soft.
- Cool on baking sheets for 5 minutes before transferring to wire racks to cool completely.

Leave a Reply