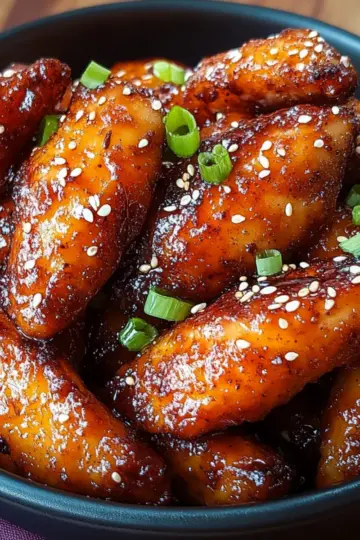
As I stood in my kitchen, the delicious aroma of sizzling pork and fresh vegetables wafted through the air, transporting me straight to the bustling streets of Manila. Making Filipino Spring Rolls has become a cherished ritual in my home; not only do these little bundles of joy deliver a satisfying crunch, but they also bring friends and family together in a delightful way. In just 35 minutes, you’ll create these crispy morsels that are perfect for appetizers or snacking, and they’re incredibly versatile. Whether you’re a seasoned chef or just starting your culinary adventure, this recipe is forgiving, allowing you to customize fillings to your taste. So, what secret ingredient will you add to make these spring rolls your own?
Why Are Filipino Spring Rolls So Irresistible?
Flavor Explosion: Each bite bursts with savory goodness, combining meat and veggies in a delightful wrapper.
Quick and Easy: With just 35 minutes, you can serve a snack that impresses everyone.
Versatile Filling: Feel free to swap in your favorite proteins or veggies for a personalized twist!
Crispy Delight: The golden-brown exterior provides that satisfying crunch, perfect for dipping.
Crowd-Pleasing: These spring rolls are always a hit at gatherings, ensuring seconds and thirds are in order!
Filipino Spring Rolls Ingredients
Get ready to whip up a batch of these delightful treats!
For the Filling
- Ground pork or chicken – This is the star protein; feel free to substitute with tofu for a vegetarian option.
- Carrots – Finely chopped for a touch of sweetness and crunch.
- Cabbage – Adds a tender texture; Napa cabbage works wonders too!
- Green onions – Chopped for a burst of flavor and freshness.
- Garlic – Minced for that aromatic kick.
- Soy sauce – Adds a savory depth; low-sodium is an excellent alternative.
- Ground black pepper – For a hint of spiciness that balances the filling.
For the Wrapping
- Lumpia wrapper – These thin sheets hold everything together; spring roll wrappers can also be used in a pinch.
For Frying
- Oil – Choose a neutral oil like vegetable or canola, perfect for frying to golden perfection.
Make these Filipino Spring Rolls your own by experimenting with different ingredients and enjoy every crunchy, savory bite!
Step‑by‑Step Instructions for Filipino Spring Rolls
Step 1: Prepare the Ingredients
Start by gathering all your ingredients for the Filipino Spring Rolls. Finely chop the carrots, cabbage, and green onions, placing them in a large bowl. If you’re using ground pork or chicken, ensure it’s fully thawed. Mince the garlic as well, and get ready to combine everything into a delicious filling.
Step 2: Mix the Filling
In the large mixing bowl, combine the ground meat with the chopped ingredients: carrots, cabbage, green onions, and minced garlic. Add soy sauce and ground black pepper for flavor. Use your hands or a spoon to mix the ingredients thoroughly until everything is evenly distributed, creating a savory filling that invites everyone to grab a bite.
Step 3: Roll the Spring Rolls
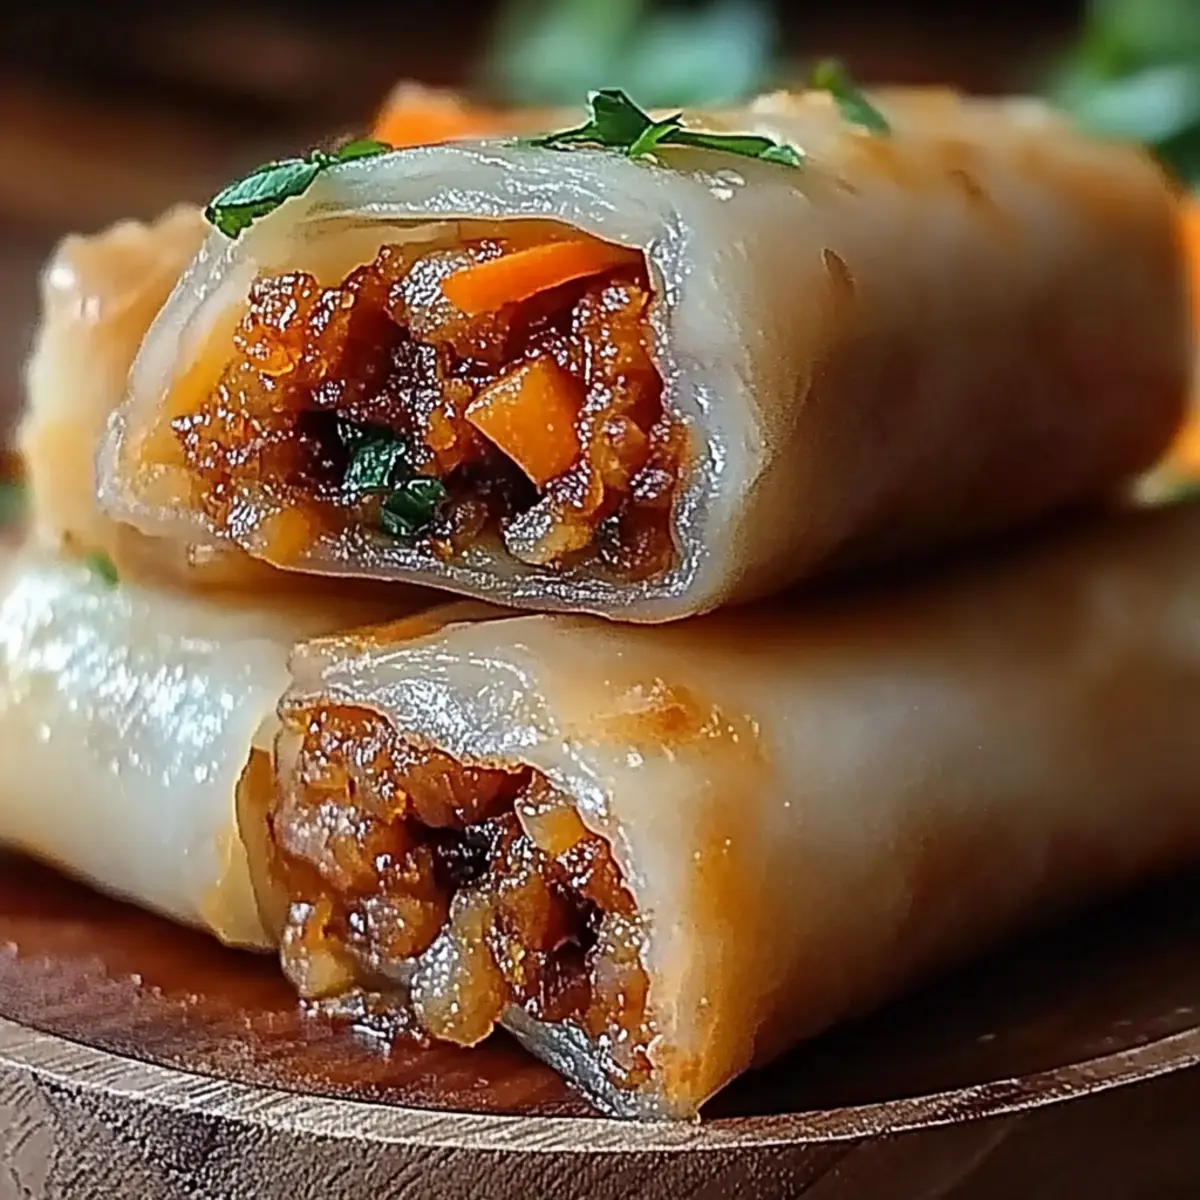
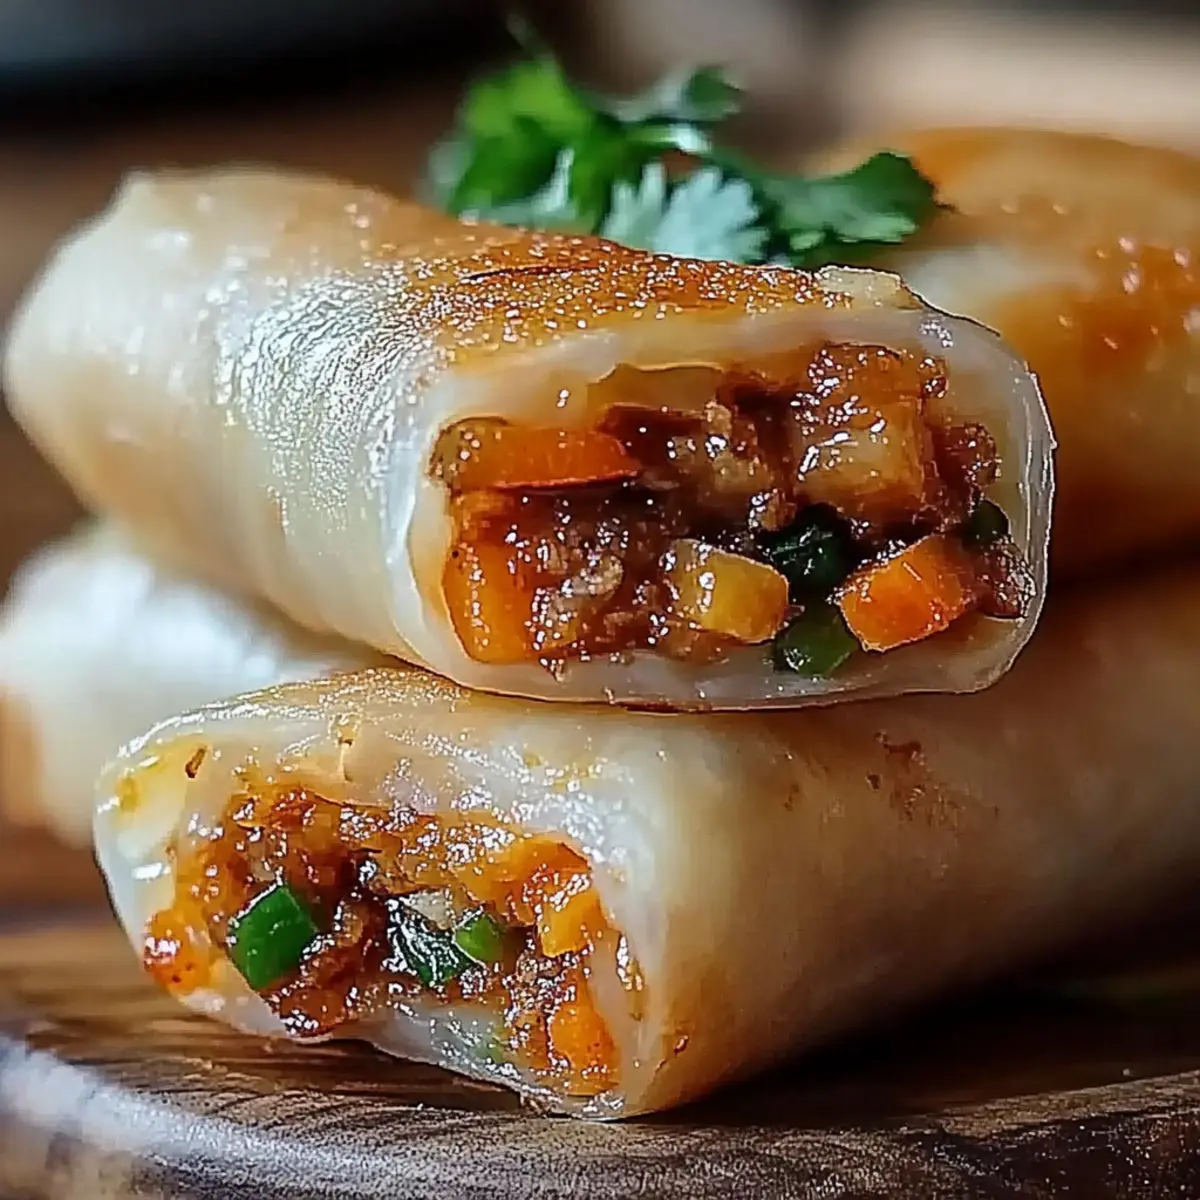
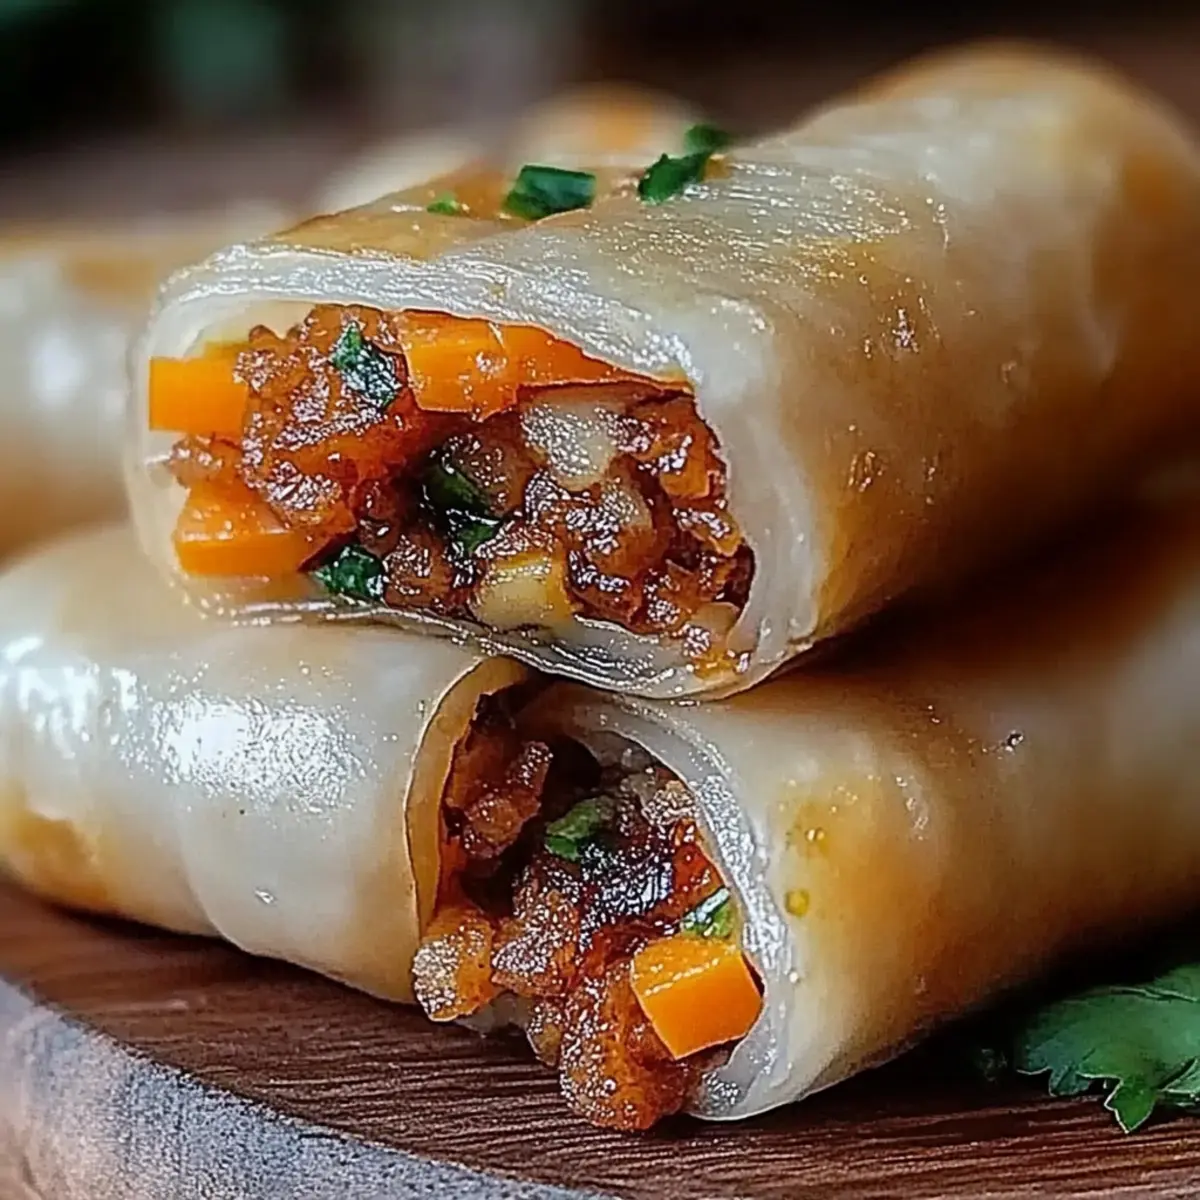
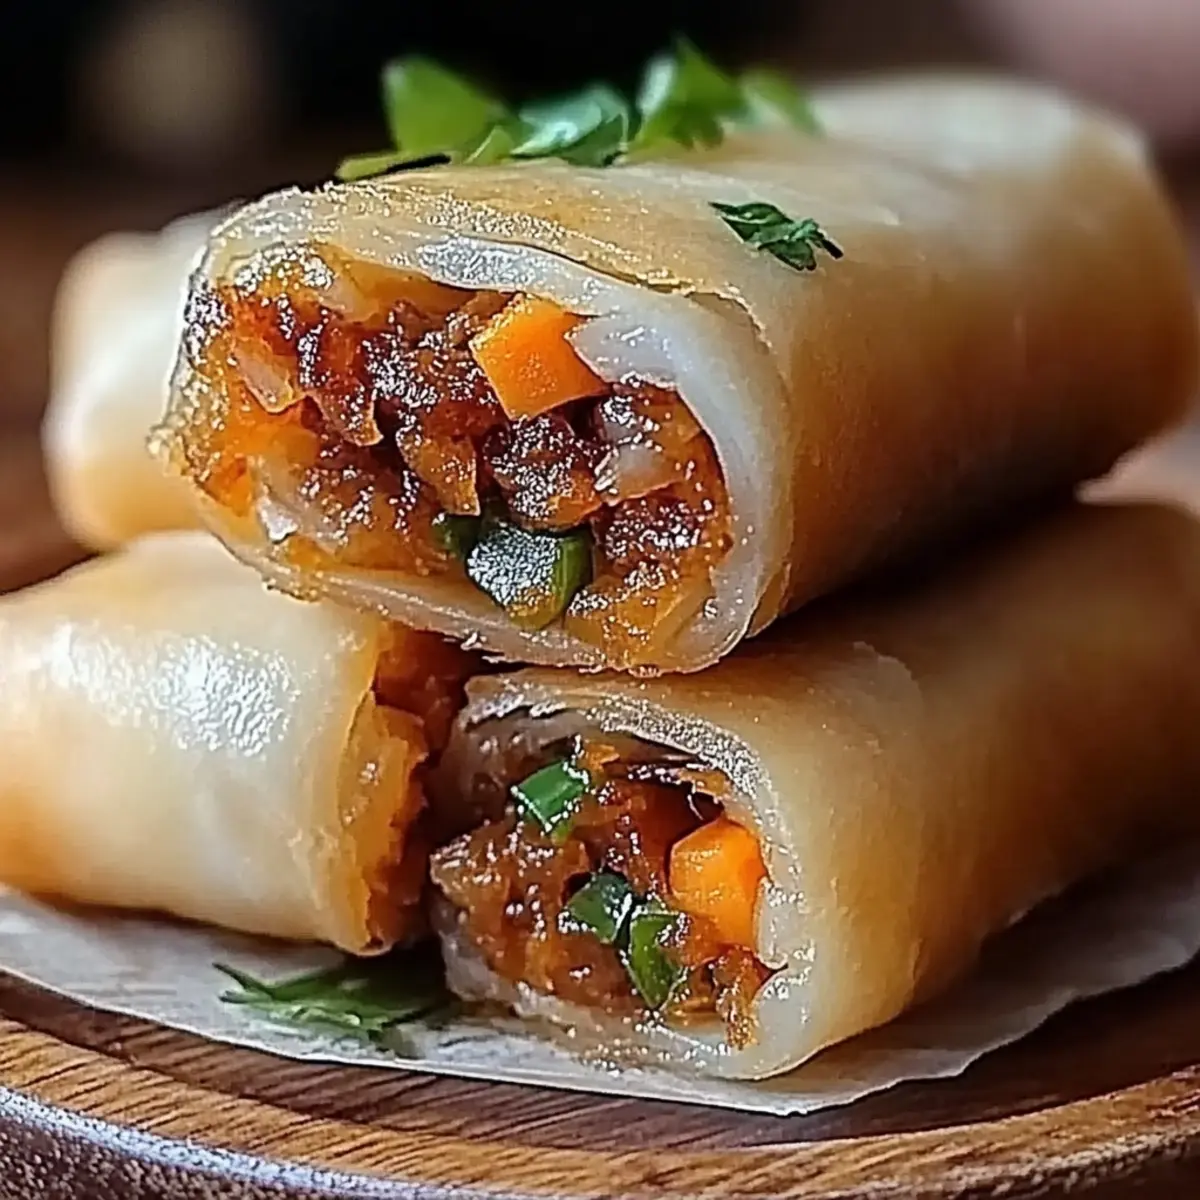
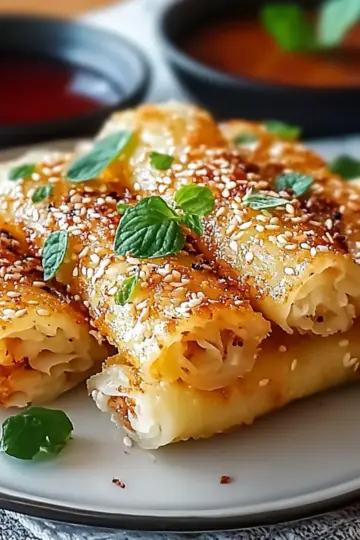
Lay a lumpia wrapper flat on a clean surface at a diagonal angle. Spoon a generous amount of filling toward one edge of the wrapper. Fold in the sides over the filling, then roll tightly from the filling edge to the opposite point to form a cylinder. Seal the edges with a dab of water, ensuring the filling stays secure as it cooks.
Step 4: Heat the Oil
In a deep pan, pour enough oil to submerge the spring rolls, ideally about two inches deep. Heat the oil over medium heat until it reaches about 350°F. To test if the oil is ready, drop a small piece of the wrapper into the oil; it should sizzle immediately, indicating that it's perfect for frying.
Step 5: Fry the Spring Rolls
Carefully add the prepared Filipino Spring Rolls into the hot oil in batches, avoiding overcrowding. Fry each batch for about 5–7 minutes or until they turn a delightful golden brown. Keep an eye on them, turning occasionally for even cooking, and enjoy the inviting aroma filling your kitchen!
Step 6: Drain and Cool
Using a slotted spoon, gently remove the fried spring rolls from the oil. Place them on a plate lined with paper towels to drain excess oil and cool slightly. This step helps preserve their crispiness while ensuring they are safe to eat.
Step 7: Serve and Enjoy
Serve the crispy Filipino Spring Rolls hot, accompanied by your favorite dipping sauces like vinegar with chili or sweet and sour sauce. Gather your friends and family around as you share these delightful treats, making every crunchy bite a celebration of flavor and togetherness!
What to Serve with Filipino Spring Rolls
Creating the perfect dining experience goes beyond just the main dish; it's about crafting an entire meal that delights the senses.
- Sweet and Sour Sauce: This classic pairing enhances the savory profile of the rolls, delivering a perfect balance of flavor.
- Vinegar with Chili: Tangy and spicy, this simple dip complements the crispy texture while offering a punch that excites the palate.
- Coconut Rice: The creamy sweetness of coconut rice provides a beautiful contrast to the crunchy spring rolls, making every bite comforting.
- Asian Slaw: A crisp, refreshing side made with cabbage and carrots, Asian slaw adds brightness to your table while bringing in extra crunch.
- Soy and Garlic Dipping Sauce: For those loving umami, this sauce adds a savory richness to dip your Filipino Spring Rolls, tantalizing your taste buds.
- Beer or Iced Tea: An ice-cold beer or a refreshing iced tea pairs wonderfully, enhancing the flavors without overshadowing the delicious spring rolls.
- Mango Salad: Fresh mangoes mixed with herbs bring a tropical sweetness that beautifully contrasts the deep-fried goodness of the rolls.
- Steamed Edamame: Lightly salted steamed edamame provides a fun, easy appetizer that complements the hearty spring rolls while offering a touch of protein.
Make Ahead Options
These Filipino Spring Rolls are perfect for meal prep enthusiasts! You can prepare the filling up to 24 hours in advance by mixing the ground meat, chopped vegetables, garlic, soy sauce, and black pepper in a bowl, then refrigerate it in an airtight container to keep it fresh. The rolling process can be done just before frying; simply wrap the filling in lumpia wrappers when you're ready to cook. If you’d like, you can also fry the spring rolls ahead and store them in the refrigerator for 3-4 days. To maintain their crispy texture when reheating, place them in an oven preheated to 350°F for 10-15 minutes. Enjoy restaurant-quality results with minimal effort!
How to Store and Freeze Filipino Spring Rolls
Fridge: Store leftover spring rolls in an airtight container for up to 3-4 days. This keeps them fresh and ready for a snack anytime!
Freezer: For longer preservation, freeze the spring rolls in a single layer on a baking sheet until firm, then transfer to a freezer bag for up to 2 months.
Reheating: To enjoy those delicious spring rolls again, reheating in an oven preheated to 350°F for 10-15 minutes will restore their crispiness.
Filipino Spring Rolls Variations & Substitutions
Feel free to explore new flavors and textures and make these spring rolls truly your own!
- Dairy-Free: Substitute any butter or cream with coconut milk to add a rich tropical flavor.
- Vegetarian: Replace meat with finely chopped mushrooms or firm tofu for a satisfying plant-based option. These ingredients soak up the flavors beautifully while offering a delightful texture.
- Spicy Kick: Add a touch of sambal oelek or chopped fresh chili to the filling for an extra layer of heat. Just remember to control the amount, adjusting it to your spice preference!
- Herb Infusion: Mix in chopped fresh herbs like cilantro or basil to brighten up the flavor of the filling. It’s the perfect way to add an aromatic twist to every bite.
- Crunch Factor: Toss in some chopped water chestnuts for an added crunch that contrasts beautifully with the tender veggies. The delightful crunch elevates the entire experience!
- Baked Alternative: For a healthier twist, brush the rolled spring rolls with oil and bake at 400°F until golden and crisp. It’s an easy way to enjoy the dish with less oil.
- Seasonal Veggies: Swap out the carrots and cabbage for seasonal vegetables like zucchini or bell peppers to keep things fresh and ever-changing. You’re really only limited by your imagination!
- Asian Twist: Incorporate a teaspoon of sesame oil into the filling for a nutty flavor that perfectly complements the other ingredients. It adds a delicious depth you won’t forget!
Expert Tips for Filipino Spring Rolls
Filling Consistency: Ensure your filling is not too wet, as excess moisture can cause the wrappers to break. Balance your meat and veggies for the best texture.
Sealing Techniques: Use a bit of water to seal the edges of the wrappers firmly; this prevents your spring rolls from unraveling during frying.
Oil Temperature: Maintain the right oil temperature (around 350°F) for perfect frying. If the oil is too hot, the rolls will brown too quickly without cooking through.
Batch Frying: Fry the spring rolls in small batches to avoid overcrowding the pan. This ensures even cooking and crispiness.
Serving Fresh: Enjoy your Filipino Spring Rolls immediately after frying for the best flavor and crunch. If reheating, use an oven to restore crispiness rather than a microwave.
Filipino Spring Rolls Recipe FAQs
How do I choose the best ingredients for Filipino Spring Rolls?
Absolutely! When selecting vegetables, look for fresh produce without blemishes—carrots should be firm and smooth, and cabbage should be crisp with no dark spots. For ground meat, always choose high-quality options, whether you go for pork, chicken, or a plant-based substitute like tofu. Fresh green onions should have vibrant green tops, and garlic should be plump and firm.
What is the best way to store leftover Filipino Spring Rolls?
You can store leftover spring rolls in an airtight container in the refrigerator for 3-4 days. Make sure they are completely cooled before sealing to avoid moisture build-up. I often place a layer of parchment paper between the spring rolls to keep them from sticking.
Can I freeze Filipino Spring Rolls for later use?
Definitely! To freeze, lay the uncooked spring rolls in a single layer on a baking sheet and place them in the freezer until firm, about 1-2 hours. Once solid, transfer them to a freezer bag or airtight container, stacking them with parchment paper in between. They can be frozen for up to 3 months. To cook from frozen, fry directly without thawing—just add an extra minute to the cooking time!
What should I do if my spring rolls are soggy after frying?
Very often, soggy spring rolls can be the result of excess filling moisture. To troubleshoot, ensure your filling ingredients are well-drained and not too wet. After frying, let them rest on paper towels to absorb any excess oil. If they do turn out soggy, you can revive them by placing them in a preheated oven at 350°F for about 5 minutes to help restore their crispiness.
Are there any dietary considerations I should be aware of when making Filipino Spring Rolls?
Yes! If you’re preparing these for guests, let them know that the traditional fillings may not be suitable for vegans or those with dietary restrictions. If allergies are a concern, be aware that soy sauce contains gluten unless you use a gluten-free version. You can easily adapt the recipe by using vegetables or plant-based proteins to cater to different dietary needs.
How long does it take to achieve the perfect golden brown color when frying?
Frying each batch of spring rolls should take about 5-7 minutes on medium heat. It’s important to keep an eye on them and turn occasionally for even browning. Look for a deep golden color—this is your cue that they’re done and delicious! Enjoy every crunchy bite!
Deliciously Easy Filipino Spring Rolls to Savor at Home
Ingredients
Equipment
Method
- Prepare the Ingredients: Gather all your ingredients, finely chop the carrots, cabbage, and green onions, and place them in a large bowl.
- Mix the Filling: Combine the ground meat with the chopped ingredients, add soy sauce and ground black pepper, and mix until evenly distributed.
- Roll the Spring Rolls: Lay a lumpia wrapper flat; spoon filling, fold in sides, and roll tightly, sealing edges with water.
- Heat the Oil: Pour enough oil into a deep pan and heat until it reaches about 350°F.
- Fry the Spring Rolls: Add spring rolls in batches, frying for 5–7 minutes until golden brown.
- Drain and Cool: Remove from oil and place on paper towels to drain excess oil and cool.
- Serve and Enjoy: Serve hot with your favorite dipping sauces.


Leave a Reply