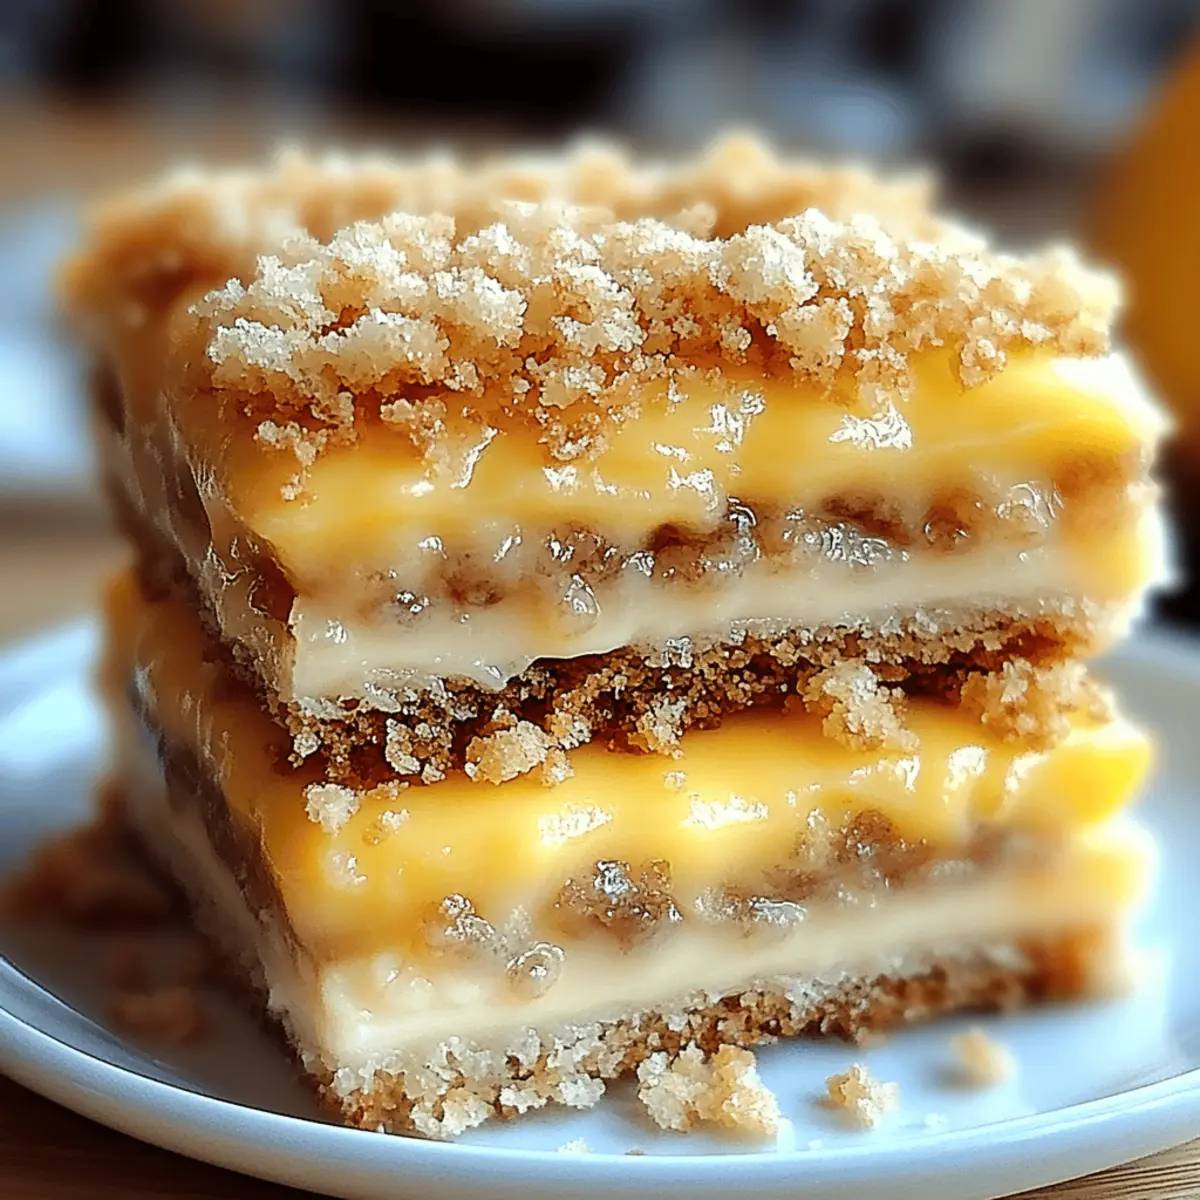
"Baking these delightful Lemon Crumb Bars is like hosting a warm, sunlit afternoon party in your kitchen. With just a handful of ingredients, you’ll create a zesty dessert that’s refreshingly light yet satisfyingly sweet. Perfect for satisfying those sugar cravings or impressing guests at a gathering, this recipe is a breeze to whip up. The buttery crust combined with the citrusy filling offers an irresistible perk: no complex techniques required. In just 15 minutes of prep time and a total of 50 minutes, you'll have a homemade treat that everyone will love. Are you ready to brighten your dessert game and explore this mouthwatering recipe?"
Why Are These Lemon Crumb Bars Unforgettable?
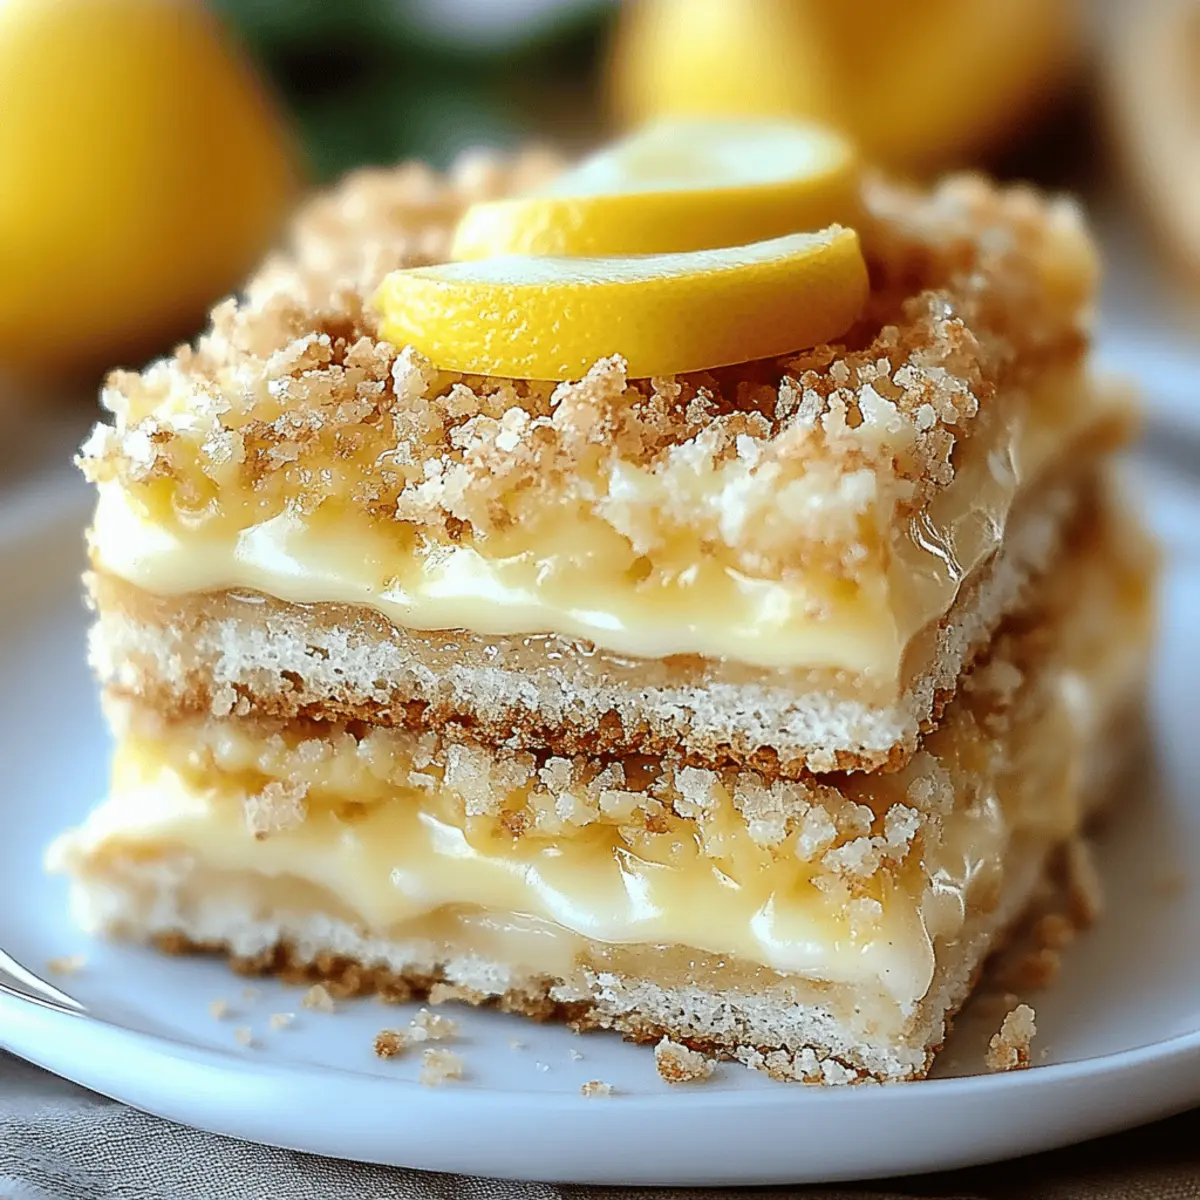
Bright, zesty flavor: Each bite bursts with fresh lemon juice and zest, delivering a citrus punch that's simply irresistible.
Easy to make: With just a few ingredients and minimal steps, you can create a delightful treat that looks impressive without the fuss.
Crowd-pleaser: Whether for a family gathering or a picnic, these bars are guaranteed to be a hit with everyone!
Versatile enjoyment: They can be enjoyed fresh out of the oven or chilled for a refreshing dessert that’s perfect year-round.
Convenient storage: These bars last days at room temperature or can be frozen, making them an ideal make-ahead dessert!
Lemon Crumb Bars Ingredients
For the Crust
– 1 cup all-purpose flour – The foundation of our Lemon Crumb Bars, providing the perfect texture.
– 1 cup granulated sugar – Sweetens the crust and balances the tangy filling beautifully.
– ½ cup unsalted butter, cold and cubed – Ensures a rich, buttery flavor for a delightful crumbly texture.
For the Filling
– ½ cup freshly squeezed lemon juice – Adds that vibrant zing that makes these bars truly refreshing.
– Zest of 2 lemons – Enhances the lemon flavor, giving it a fragrant and bright touch.
– 2 large eggs – Binds the filling together, creating a creamy consistency that complements the crust.
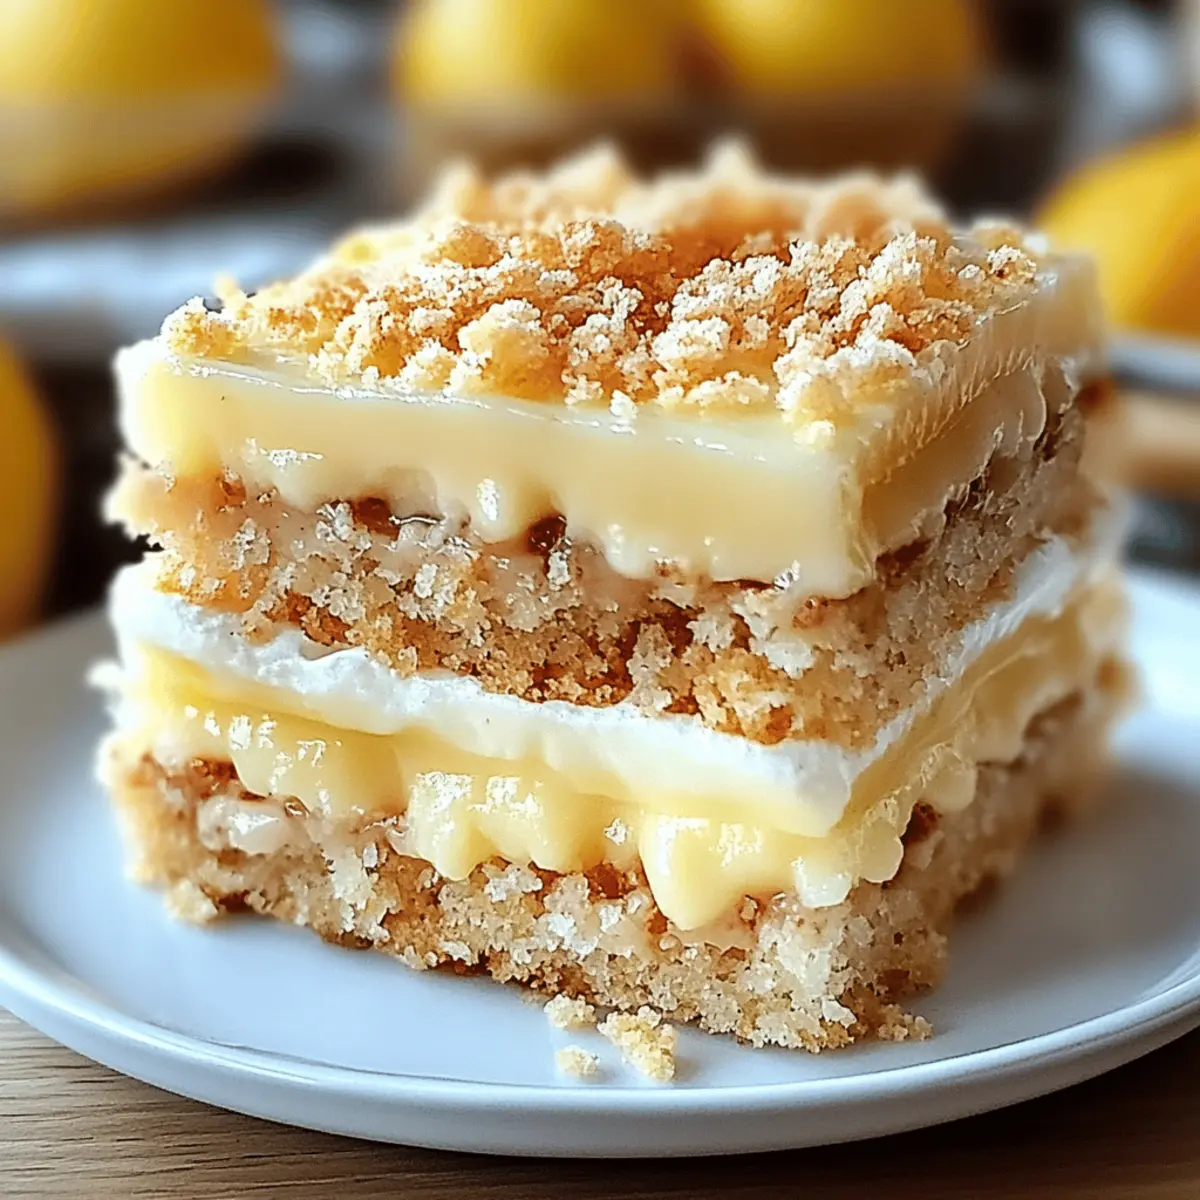
Embrace the bright zing of these Lemon Crumb Bars and let the delightful combination of flavors shine!
Step‑by‑Step Instructions for Lemon Crumb Bars
Step 1: Preheat the Oven and Prepare the Dish
Begin by preheating your oven to 350°F (175°C). While the oven heats up, take an 8-inch square baking dish and generously grease it with butter or non-stick spray. This will help ensure that your delightful Lemon Crumb Bars come out perfectly without sticking to the pan.
Step 2: Make the Crust Mixture
In a mixing bowl, combine 1 cup of all-purpose flour, 1 cup of granulated sugar, and ½ cup of cold, cubed unsalted butter. Use a pastry cutter or your fingers to mix until the mixture resembles coarse crumbs. Once ready, press this crumbly mixture firmly into the bottom of the prepared baking dish, creating an even base for your bars.
Step 3: Bake the Crust
Place the baking dish in the preheated oven and bake the crust for about 15 minutes, or until it turns a light golden brown. You'll know it's ready when it has a deliciously aromatic smell filling your kitchen. Once baked, remove the dish from the oven and let it cool slightly while you prepare the filling.
Step 4: Whisk the Filling Ingredients
In another bowl, whisk together ½ cup of freshly squeezed lemon juice, the zest of 2 lemons, 1 cup of granulated sugar, and 2 large eggs. Mix until all the ingredients are well blended and frothy. This mixture will create the refreshing and tangy lemon filling that will top your crust, so make sure it's thoroughly combined!
Step 5: Pour the Filling Over the Crust
Once the crust has cooled slightly, carefully pour the lemon filling over the baked crust, spreading it evenly. This zesty layer will contrast beautifully with the buttery base. You can use a spatula to ensure all areas of the crust are covered, allowing the flavors to mingle and shine through.
Step 6: Add the Crumb Topping
If you have any remaining crumb mixture from the crust, sprinkle it on top of the lemon filling. This will create a delightful texture that complements the creamy lemon layer beneath. Make sure to distribute the crumbs evenly for a balanced topping on your Lemon Crumb Bars.
Step 7: Bake the Bars
Return the baking dish to the oven and bake for an additional 20-25 minutes. You'll know the bars are ready when the filling is set and the edges turn a beautiful golden brown. Keep an eye on them to avoid overbaking, as the perfect consistency is key to a joyful dessert experience.
Step 8: Cool and Slice
Once done, remove the dish from the oven and allow the bars to cool completely in the pan. This cooling process is essential for slicing clean squares. Once cooled, use a sharp knife to cut into 9 squares, revealing the delicious layers of your homemade Lemon Crumb Bars, ready for serving!
Expert Tips for Lemon Crumb Bars
Chill the Butter: Use cold butter for the crust to achieve that perfect crumbly texture. Warm butter can make your crust too greasy.
Fresh Juice & Zest: Always opt for freshly squeezed lemon juice and zest. Bottled juices can’t replicate the vibrant flavor you want in these Lemon Crumb Bars.
Cool Before Cutting: Let the bars cool completely in the pan before slicing. This ensures cleaner cuts and prevents the filling from oozing out.
Watch the Baking Time: Keep an eye on the edges as they turn golden brown. Overbaking can lead to dry bars, so remove them when the filling is just set.
Store Properly: To maintain freshness, store in an airtight container. They can last up to three days at room temperature or a week in the fridge.
Make Ahead Options
These Lemon Crumb Bars are a fantastic choice for meal prep, allowing you to enjoy their zesty goodness with minimal effort! You can prepare the crust and filling up to 24 hours in advance. To do this, prepare the crust mixture as instructed, then press it into the baking dish and refrigerate. For the filling, whisk together the lemon juice, zest, sugar, and eggs, then cover it tightly and store it in the fridge as well. When you’re ready to bake, pour the filling over the chilled crust, sprinkle any remaining crumb mixture on top, and bake accordingly; this keeps everything fresh and delicious! Enjoy the time-saving convenience of these make-ahead Lemon Crumb Bars without compromising on flavor!
Lemon Crumb Bars Variations & Substitutions
Feel free to experiment with your Lemon Crumb Bars! The possibilities are as bright and zesty as the dessert itself.
- Gluten-Free: Substitute all-purpose flour with a gluten-free flour blend to enjoy the same deliciousness without gluten.
- Vegan: Replace eggs with flaxseed meal mixed with water and use coconut oil in place of butter for a plant-based delight! The consistency remains just as scrumptious.
- Honey-Sweetened: Swap granulated sugar with honey for a natural sweetener that adds a touch of floral flavor. Adjust the lemon juice slightly to maintain balance.
- Coconut Flakes: Sprinkle unsweetened coconut flakes atop the crumb layer for a tropical twist that harmonizes beautifully with lemon's brightness.
- Blueberry Burst: Fold in fresh blueberries into the lemon filling before pouring it over the crust for a vibrant berry contrast. Each bite is bursting with sweet-tart flavor!
- Herbal Infusion: Add a teaspoon of fresh thyme or mint into the lemon filling for a subtle herbal note that elevates these bars to a new level.
- Spiced Up: Mix in a pinch of cinnamon or nutmeg with the dry ingredients for warming spices that complement the citrus zing perfectly.
- Heat it Up: Add finely chopped jalapeño or a sprinkle of cayenne pepper in the filling for those who like a spicy sweetness, creating an unexpected and delightful flavor profile.
What to Serve with Lemon Crumb Bars
Enhance your dessert experience with delightful pairings that complement the zesty sweetness of these Lemon Crumb Bars.
-
Fresh Berries: The natural sweetness and tartness of berries create a refreshing contrast that elevates the lemon flavor. Serve a mix of strawberries, blueberries, and raspberries for a colorful garnish.
-
Whipped Cream: A dollop of lightly sweetened whipped cream adds a creamy, luscious texture to balance the bars’ tanginess. It’s the perfect finishing touch to each bite!
-
Vanilla Ice Cream: Creamy vanilla ice cream offers a smooth, cool counterpoint to the bright lemon. As it melts into the warm bars, it creates a heavenly pairing loved by all.
-
Mint Tea: A warm cup of mint tea pairs beautifully with the citrus notes, bringing a soothing, herbal complexity to your dessert course. This refreshing beverage complements the bars' flavors perfectly.
-
Sparkling Water with Citrus: For a refreshing drink option, serve sparkling water with lemon or lime slices. The fizz and zest will keep the palate refreshed, enhancing the dessert experience.
-
Chocolate Drizzle: A light drizzle of melted chocolate adds a rich twist to the bars. The combination of sweet and tart flavors mingles beautifully, creating an enticing visual appeal that's hard to resist.
Consider these delightful accompaniments next time you serve your Lemon Crumb Bars to create the ultimate sweet experience!
How to Store and Freeze Lemon Crumb Bars
Room Temperature: Store the bars in an airtight container at room temperature for up to 3 days to maintain their delightful freshness.
Fridge: If you need to extend their shelf life, refrigerate for up to 1 week, keeping them in an airtight container to prevent drying out.
Freezer: For long-term storage, wrap the Lemon Crumb Bars tightly in plastic wrap and freeze for up to 3 months. Thaw them in the refrigerator overnight before enjoying.
Reheating: If desired, you can enjoy them slightly warmed—just pop them in the microwave for 10-15 seconds for a cozy treat!
Lemon Crumb Bars Recipe FAQs
What type of lemons should I use for the best flavor?
Absolutely use fresh, ripe lemons! Look for lemons that are firm and heavy for their size, as they tend to have the juiciest flesh. Avoid any with dark spots or blemishes, as these may indicate spoilage. I recommend organic lemons if possible, as they often have a more intense flavor.
How should I store Lemon Crumb Bars to keep them fresh?
For short-term storage, simply keep your Lemon Crumb Bars in an airtight container at room temperature for up to 3 days. If you want them to last longer, refrigerate them for up to one week—just make sure they're sealed well to prevent drying out.
Can I freeze Lemon Crumb Bars and if so, how?
Yes, you can! To freeze your Lemon Crumb Bars, wrap them tightly in plastic wrap and then place them in a freezer-safe container or bag. They can be frozen for up to 3 months. When you're ready to enjoy them again, simply thaw them in the refrigerator overnight before serving. This helps maintain their lovely texture and flavor.
What should I do if my crust is too crumbly?
If your crust mixture feels too crumbly and isn't holding together, try adding a tablespoon or two of ice-cold water until it binds better. Make sure the butter is really cold when mixing it into the flour and sugar. Cold temperature helps create that perfect crumbly texture while allowing it to stay together when pressed.
Are there any dietary concerns I should be aware of with this recipe?
Certainly! If you're concerned about allergies, keep in mind that these Lemon Crumb Bars contain eggs and dairy. For a vegan alternative, you could use flax eggs and a non-dairy butter substitute. Always check the labels for any hidden allergens, particularly if you're serving others!
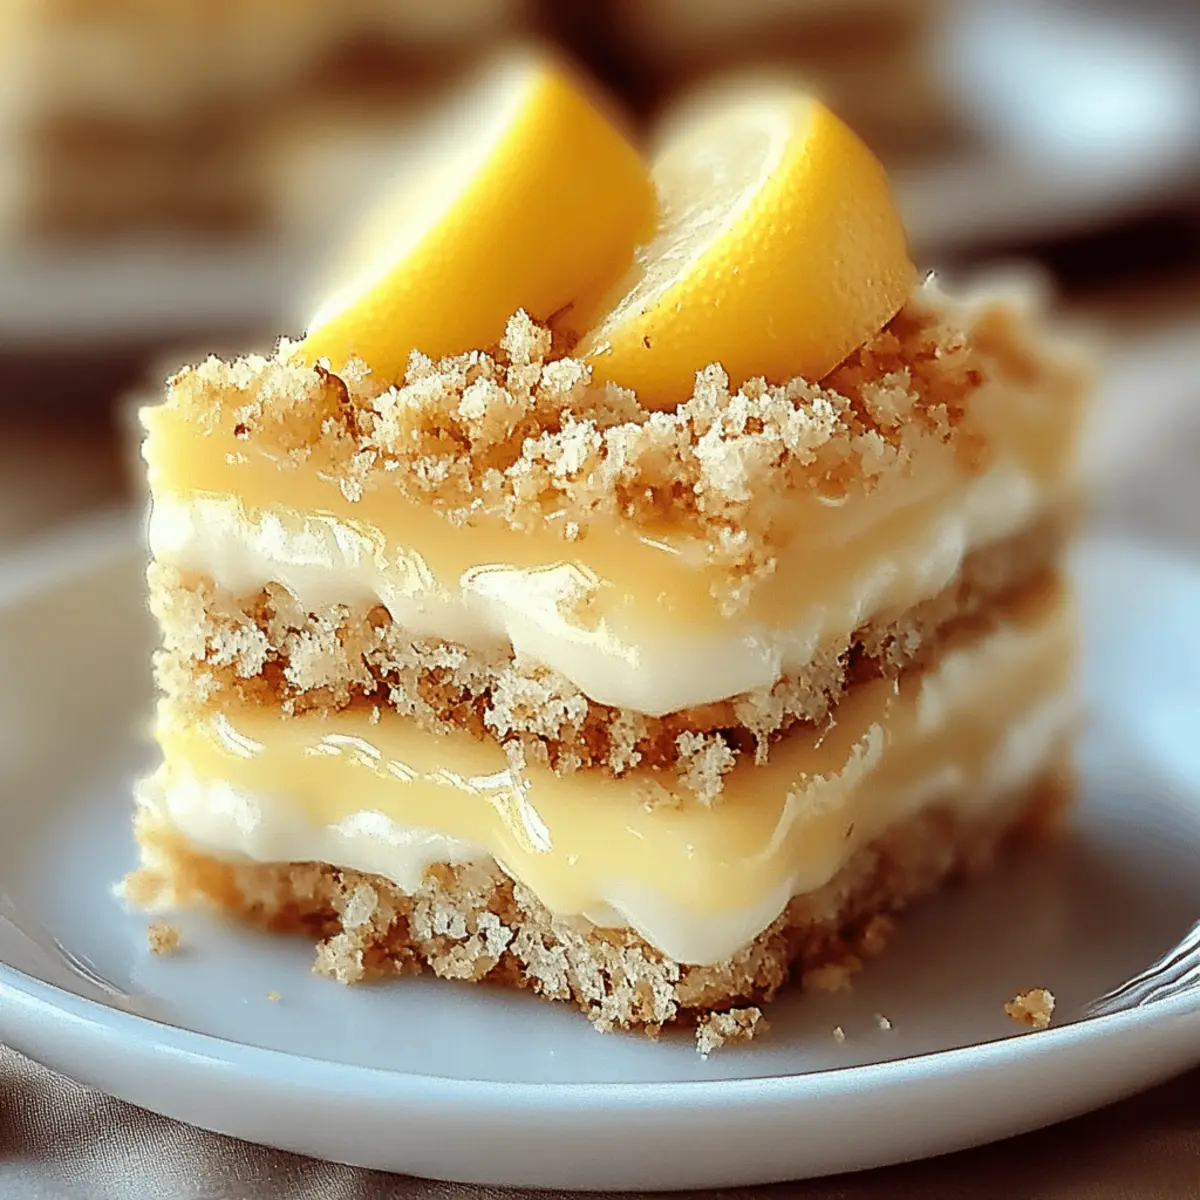
Delicious Lemon Crumb Bars for a Zesty Sweet Treat
Ingredients
Equipment
Method
- Preheat your oven to 350°F (175°C) and grease an 8-inch square baking dish with butter or non-stick spray.
- In a mixing bowl, combine 1 cup of all-purpose flour, 1 cup of granulated sugar, and ½ cup of cold, cubed unsalted butter. Mix until resembling coarse crumbs, then press into the prepared baking dish.
- Bake the crust for about 15 minutes until light golden brown, then let it cool slightly.
- In another bowl, whisk together ½ cup of freshly squeezed lemon juice, the zest of 2 lemons, 1 cup of granulated sugar, and 2 large eggs until blended.
- Pour the lemon filling over the cooled crust, spreading it evenly.
- If there are any crumbs left from the crust, sprinkle them on top of the filling.
- Bake for an additional 20-25 minutes until the filling is set and edges are golden brown.
- Remove from oven and let cool completely in the pan before slicing into 9 squares.
Leave a Reply