The sizzle of chicken hitting hot oil is a sound that never fails to bring a smile to my face. Today, I’m thrilled to share my Crispy Chicken Sandwich recipe—an irresistible treat that turns a simple meal into a moment of pure happiness. This dish not only promises a delightful crunch with every bite but also comes together in just 30 minutes. Whether you’re feeding a hungry crowd or seeking a satisfying dinner for yourself, this sandwich is sure to be a hit. The combination of juicy chicken, crispy panko, and fresh toppings creates a perfect balance that elevates any ordinary day. So, are you ready to bring some homemade magic to your kitchen? Let’s dive into the details of making this crispy goodness!

Why is This Crispy Chicken Sandwich Special?
Irresistible Crunch: The panko breadcrumbs provide an extra layer of crunch that makes every bite satisfying.
Quick Recipe: With just 30 minutes of prep and cook time, you can serve this delicious meal without spending hours in the kitchen.
Customizable: Add your favorite toppings and sauces to make this sandwich entirely your own!
Crowd-Pleaser: Perfect for family dinners or gatherings, this recipe is sure to impress your guests.
Homemade Goodness: Say goodbye to fast food! This crispy chicken sandwich is made from scratch, ensuring quality and taste in every bite.
Crispy Chicken Sandwich Ingredients
For the Chicken
• Boneless, skinless chicken breasts – Choose approximately 3-4 pieces for a hearty filling.
• Salt – 1 teaspoon to enhance the chicken’s natural flavors.
• Pepper – 1 teaspoon for a touch of warmth and spice.
• Paprika – 1 teaspoon adds a beautiful color and smoky flavor to the chicken.
For the Breading
• All-purpose flour – 1 cup for a solid base that helps the egg adhere.
• Large eggs – 2, whisked until blended for a rich coating.
• Panko breadcrumbs – 1 cup for an incredibly crunchy finish; this is what makes the Crispy Chicken Sandwich truly special!
For Frying
• Vegetable oil – Enough to cover the bottom of your skillet to ensure even frying.
For the Assembly
• Fresh burger buns – 4, soft and perfectly toasted for the ultimate sandwich experience.
• Fresh lettuce – Adds a refreshing crunch to your sandwich.
• Fresh tomatoes – Sliced, they provide juiciness and freshness.
• Mayonnaise (or sauce of choice) – Spread this on your buns for an extra layer of flavor.
Get ready to create a mouthwatering Crispy Chicken Sandwich that the whole family will adore!
Step‑by‑Step Instructions for Crispy Chicken Sandwich
Step 1: Prepare the Chicken
Start by washing the boneless, skinless chicken breasts under cold water, then pat them dry with paper towels. This ensures that the breading will stick well. Set your workspace for the Crispy Chicken Sandwich by gathering all ingredients and equipment, including three bowls for the breading station, which will make the process smooth and organized.
Step 2: Set Up the Breading Station
Prepare your breading station by placing the seasoned flour, whisked eggs, and panko breadcrumbs in separate bowls. Mix a teaspoon of salt and pepper into the flour for the perfect seasoning. This setup allows you to easily coat each chicken breast evenly, ensuring that they are covered in all the delicious flavors before frying.
Step 3: Dredge the Chicken
Begin the breading process by dredging each chicken breast in the seasoned flour, turning them to coat thoroughly while shaking off any excess. Next, dip them into the whisked eggs, making sure they are well-coated and ready to move onto the final step of pressing them into the panko breadcrumbs, which will give your Crispy Chicken Sandwich its delightful crunch.
Step 4: Heat the Oil
In a large skillet, heat vegetable oil over medium-high heat until shimmering but not smoking, approximately 350°F (175°C). You want the oil hot enough to create that perfect golden crust. Carefully place the breaded chicken breasts into the hot oil, ensuring there’s enough space between each piece for even cooking and crispness.
Step 5: Fry the Chicken
Fry the chicken breasts for about 4-5 minutes on each side, or until they are golden brown and the internal temperature reaches 165°F (75°C). Keep an eye on them to prevent burning, and enjoy the sound of sizzling as they cook. Once done, gently remove the chicken from the skillet and place them on paper towels to drain excess oil.
Step 6: Toast the Buns
If desired, lightly toast the fresh burger buns in the same skillet for a minute or so, cut-side down, until they are golden and warm. This adds an extra layer of flavor and texture. Once toasted, spread a generous layer of mayonnaise or your favorite sauce on both sides of each bun to complement the flavors of your Crispy Chicken Sandwich.
Step 7: Assemble the Sandwich
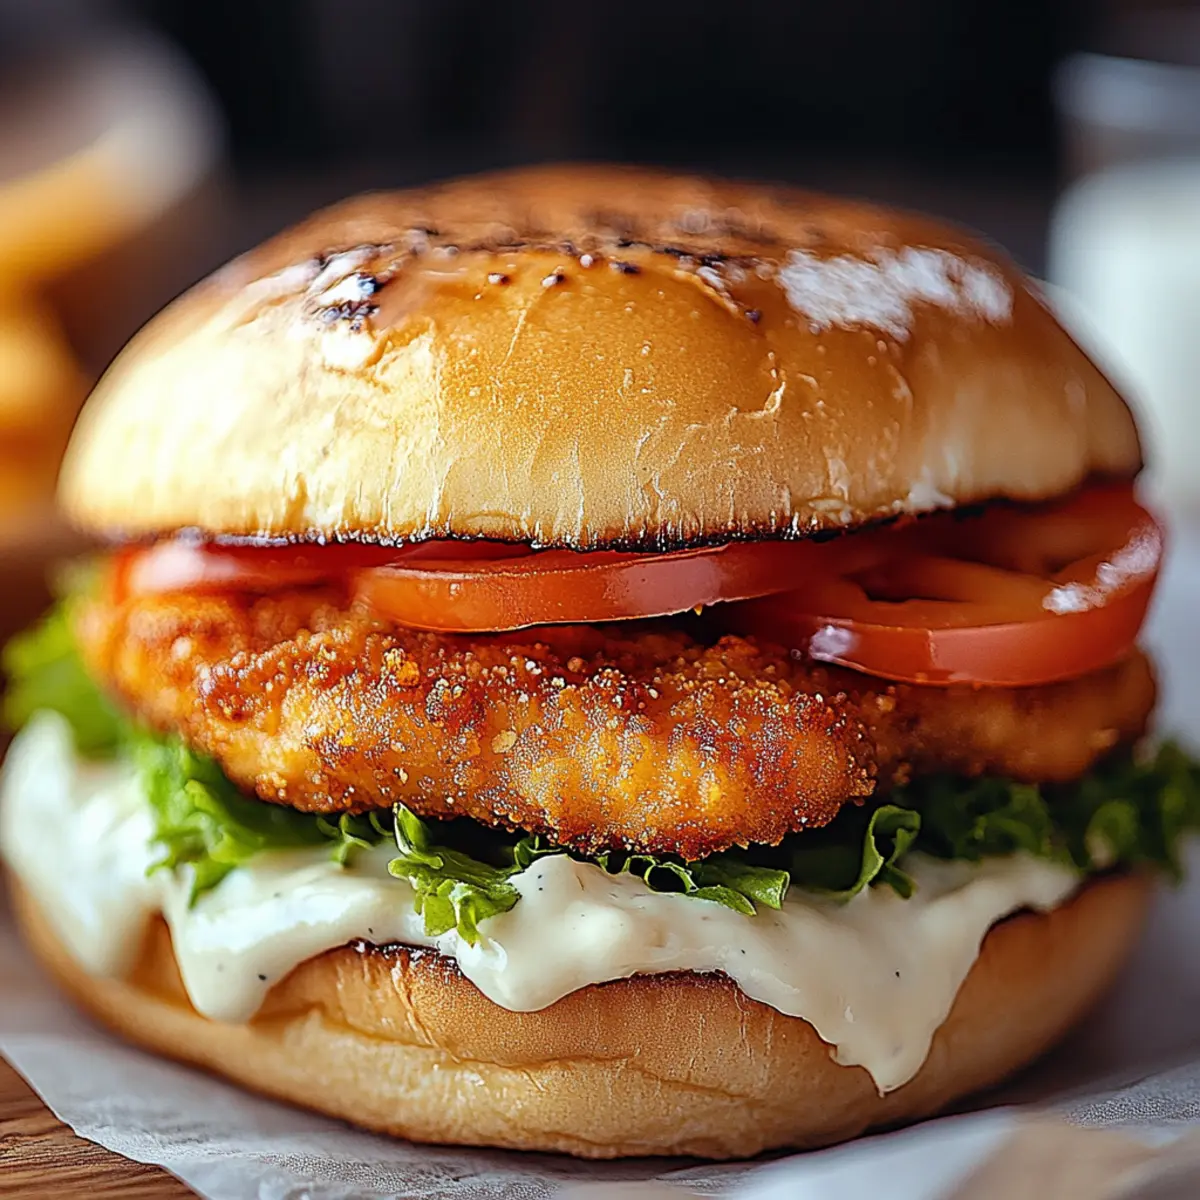
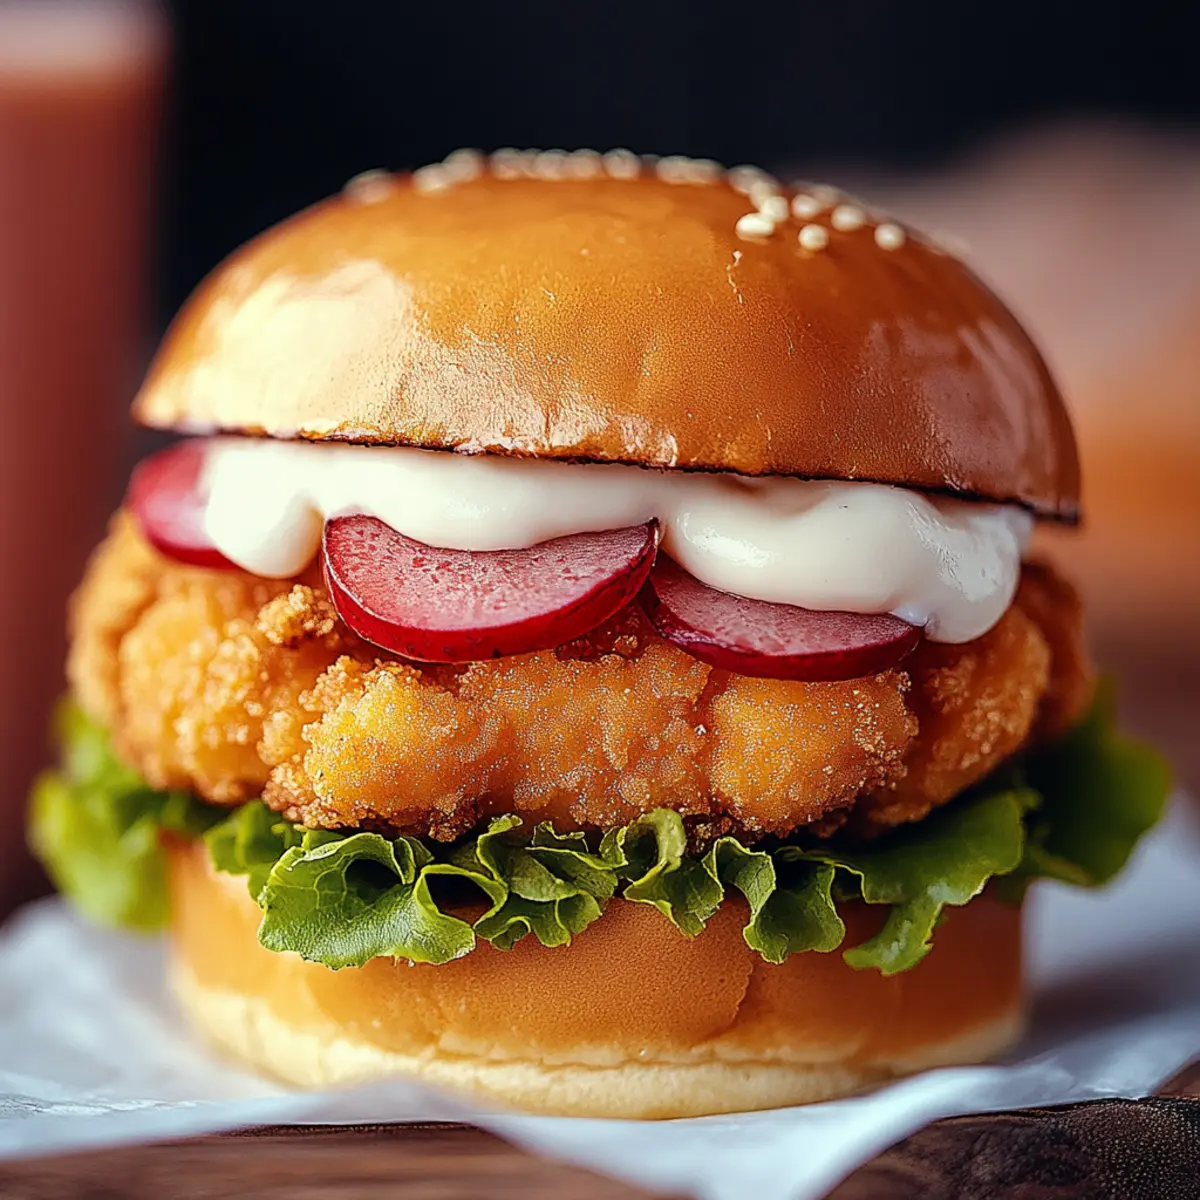
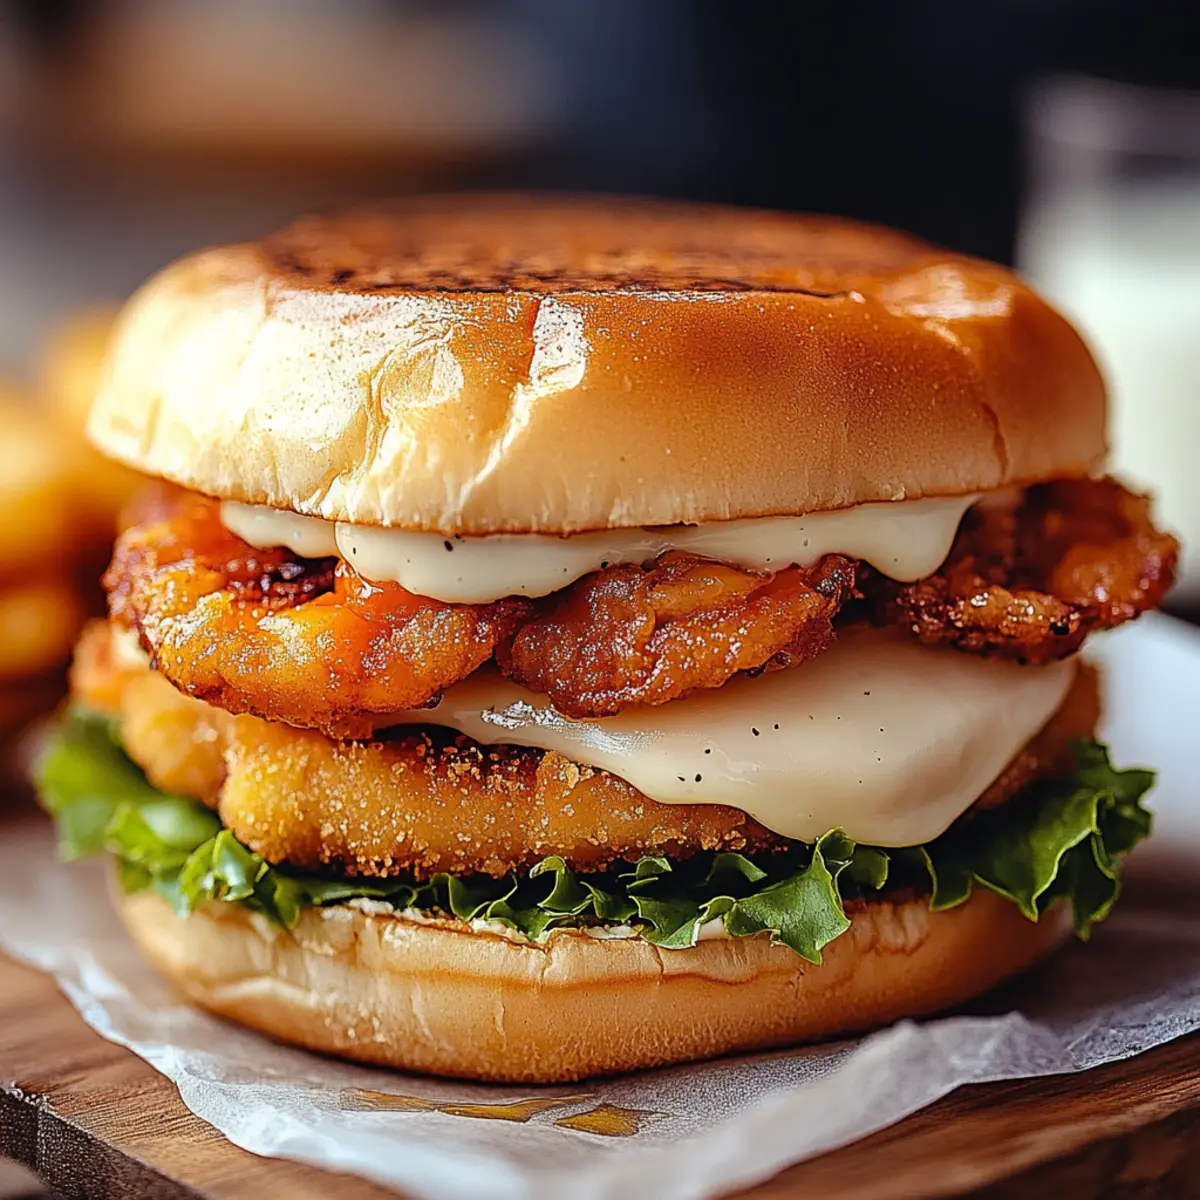
Now it’s time to assemble your Crispy Chicken Sandwich! Start with the bottom half of the bun, adding a layer of fresh lettuce and tomato slices. Place the crispy chicken on top, allowing its warmth to slightly wilt the lettuce. Finally, cover it with the top bun, press down gently, and get ready to savor every bite of your delicious creation!
How to Store and Freeze Crispy Chicken Sandwich
Fridge: Store the assembled sandwich in an airtight container and keep it in the fridge for up to 3 days. The fresh toppings can be added just before serving to maintain their crunch.
Freezer: If you have leftover fried chicken, wrap each piece tightly in plastic wrap and foil, then freeze for up to 2 months. Reheat in the oven to regain crispiness.
Reheating: For the best results, reheat the chicken in the oven at 375°F (190°C) for about 15-20 minutes to let it stay crispy. Avoid microwaving to prevent sogginess.
Unassembled Storage: If you prefer to store the sandwich components separately, keep the cooked chicken and sauces in the fridge and the buns at room temperature for optimum freshness.
Crispy Chicken Sandwich Variations
Feel free to get creative with this recipe and customize your sandwich to your heart's content!
-
Gluten-Free: Substitute all-purpose flour with a gluten-free blend and use gluten-free breadcrumbs for a suitable option.
-
Spicy Kick: Add cayenne pepper to the flour mixture or drizzle hot sauce over the chicken before frying for an extra layer of heat. This will awaken your taste buds like nothing else!
-
Herb-Infused: Mix dried herbs like oregano or thyme into the flour for a fragrant twist that adds depth to every bite. This subtle change will awaken nostalgia for family dinners around the table.
-
Buttermilk Soak: Marinate chicken breasts in buttermilk for at least an hour before breading to enhance moisture and flavor. The result? Ultra-juicy chicken that packs a flavorful punch.
-
Baked Version: For a healthier alternative, spray the breaded chicken with cooking oil and bake at 400°F (200°C) for 20-25 minutes instead of frying. You won’t miss the frying pan once you taste this guilt-free delight.
-
Cheesy Addition: Layer slices of your favorite cheese over the hot chicken while it rests for a melty, gooey treat. It’s comfort food at its best—perfect for indulgent nights in!
-
Vegetarian Option: Swap the chicken for thick slices of eggplant or zucchini, bread them, and fry until golden for a satisfying plant-based sandwich.
-
Toppings Galore: Experiment with toppings like pickles, sliced avocado, or even coleslaw to add a fresh twist and punchy flavor to your sandwich! Let your taste adventure begin with these inspired creations.
What to Serve with Crispy Chicken Sandwich
Transform your delicious sandwich into a fulfilling meal that delights the senses and warms the heart.
-
Creamy Coleslaw: This refreshing side adds a crisp texture and tang that perfectly complements the richness of the sandwich. The crunch of cabbage against the crunch of chicken creates a beautiful balance.
-
Sweet Potato Fries: Their sweetness and light crispiness provide a delightful contrast, making each bite of this meal even more satisfying. Enjoy them dipped in a spicy aioli for extra flavor!
-
Garlic Parmesan Roasted Vegetables: These savory roasted veggies enhance the meal with a touch of earthiness, creating a colorful and healthy addition to your plate. Plus, the garlicky aroma is simply irresistible!
-
Pickles or Gherkins: The zesty crunch of pickles brings a burst of acidity that cuts through the sandwich’s richness and brightens the flavor profile, making each bite even more enjoyable.
-
Chilled Lemonade: A refreshing glass of lemonade offers a sweet and tart contrast to the savory sandwich, making it a perfect thirst-quencher on a warm day.
-
Chocolate Chip Cookies: Satisfy your sweet tooth after the meal with these classic treats. The gooey chocolate pairs wonderfully with the savory flavors of the sandwich for a delightful end.
Incorporate these sides to elevate your crispy chicken sandwich into a well-rounded feast that everyone will love!
Make Ahead Options
These Crispy Chicken Sandwiches are a perfect meal prep candidate for busy weeknights! You can bread the chicken breasts and refrigerate them for up to 24 hours before frying, ensuring they stay fresh and packed with flavor. Just pop the breaded chicken in an airtight container, and it’ll be ready to go. If you want to prep even further, wash and slice your tomatoes and lettuce a day ahead; store them in the refrigerator in separate containers to maintain freshness and crunch. When you’re ready to serve, simply fry the chicken as instructed, toast your buns, add your fresh toppings, and enjoy a delightful homemade meal with minimal effort.
Expert Tips for the Best Crispy Chicken Sandwich
-
Choose Chicken Wisely: Opt for boneless, skinless breasts; they ensure even cooking and remain juicy throughout the frying process.
-
Perfect Breading Technique: Make sure to shake off excess flour and egg; too much can lead to clumpy breading that won't crisp up properly.
-
Heat Control: Maintain the right oil temperature (350°F/175°C) to avoid soggy chicken or burnt outsides—temp is key for a perfect crispy chicken sandwich!
-
Don’t Overcrowd the Pan: Fry chicken in batches if necessary, leaving space in the skillet to allow for even cooking and a delicious crunch.
-
Drain and Respect Time: After frying, let the chicken rest on paper towels to absorb excess oil, keeping each bite crispy and light.
-
Toast Those Buns: Lightly toasting the buns adds flavor and prevents them from getting soggy, enhancing your overall crispy chicken sandwich experience.
Crispy Chicken Sandwich Recipe FAQs
How do I choose the right chicken breasts for this recipe?
Absolutely! When selecting chicken breasts, look for boneless and skinless options to ensure even cooking and maintain juiciness. Choose pieces that are uniform in size for consistent frying, and avoid those with dark spots, as they may indicate spoilage. Fresh chicken should feel firm to the touch and have a pinkish hue.
How should I store leftovers of my Crispy Chicken Sandwich?
You can store assembled sandwiches in an airtight container in the fridge for up to 3 days. To keep the veggies crisp, I recommend adding fresh lettuce and tomatoes right before serving. For optimal flavor, reheat the chicken on its own, then assemble it again before enjoying!
Can I freeze the fried chicken for later use?
Absolutely! If you have leftover fried chicken, wrap each piece tightly in plastic wrap and then foil before placing them in the freezer. This method protects the chicken from freezer burn for up to 2 months. When you're ready to enjoy them again, reheat in the oven at 375°F (190°C) for about 15-20 minutes until they’re hot and crispy again—avoid the microwave to keep that delightful crunch!
What can I do if my breading isn't sticking properly?
Very good question! If your breading isn't sticking as you’d like, try these tips: ensure that you coat the chicken lightly in seasoned flour first; this creates a "dry" base for the egg to adhere to. Make sure to shake off the excess flour and egg before dipping in panko. If your panko is not adhering well, you might be dipping the chicken into the egg too quickly, which can lead to clumping. Take your time and make sure each piece is evenly coated!
Are there any dietary considerations I should be aware of when making this recipe?
Yes! For those with gluten sensitivities, you can replace the all-purpose flour and panko breadcrumbs with gluten-free alternatives such as almond flour or gluten-free breadcrumbs. This ensures everyone can enjoy your Crispy Chicken Sandwich without worry. Also, check the mayonnaise for potential allergens if you're serving guests with dietary restrictions. Making these adjustments will still lead to a delicious outcome everyone will love!
Crispy Chicken Sandwich That’s Juicy and Simply Irresistible
Ingredients
Equipment
Method
- Prepare the Chicken: Wash the boneless, skinless chicken breasts under cold water, then pat dry with paper towels.
- Set Up the Breading Station: Place the seasoned flour, whisked eggs, and panko breadcrumbs in separate bowls.
- Dredge the Chicken: Dredge each chicken breast in the seasoned flour, then dip into the whisked eggs and press into panko breadcrumbs.
- Heat the Oil: In a large skillet, heat vegetable oil over medium-high heat until shimmering.
- Fry the Chicken: Fry each chicken breast for about 4-5 minutes on each side until golden brown.
- Toast the Buns: Lightly toast the fresh burger buns in the same skillet until golden.
- Assemble the Sandwich: Start with the bottom bun, add lettuce, tomato, and then the crispy chicken, topped with the other half.


Leave a Reply