While flipping through old family recipes, I stumbled upon a gem that instantly transported me back to cozy gatherings and laughter-filled afternoons—Chocolate Dump Cake. This delightful dessert is a lifesaver for anyone pressed for time but still craving a warm, homemade treat. With just five minutes of prep time, you'll whip up a dessert that not only satisfies your chocolate cravings but also impresses guests (who will never believe you made it so quickly!). The beauty of this recipe lies in its simplicity; you just layer the ingredients and let the oven work its magic. Plus, it’s the kind of comforting dessert that’s perfect either warm out of the oven or enjoyed later in the week—really, what’s not to love? Are you ready to dive into this easy chocolate indulgence?
Why is Chocolate Dump Cake so special?
Simplicity at its Core: With only five minutes of prep, even novice bakers can impress with this effortless dessert.
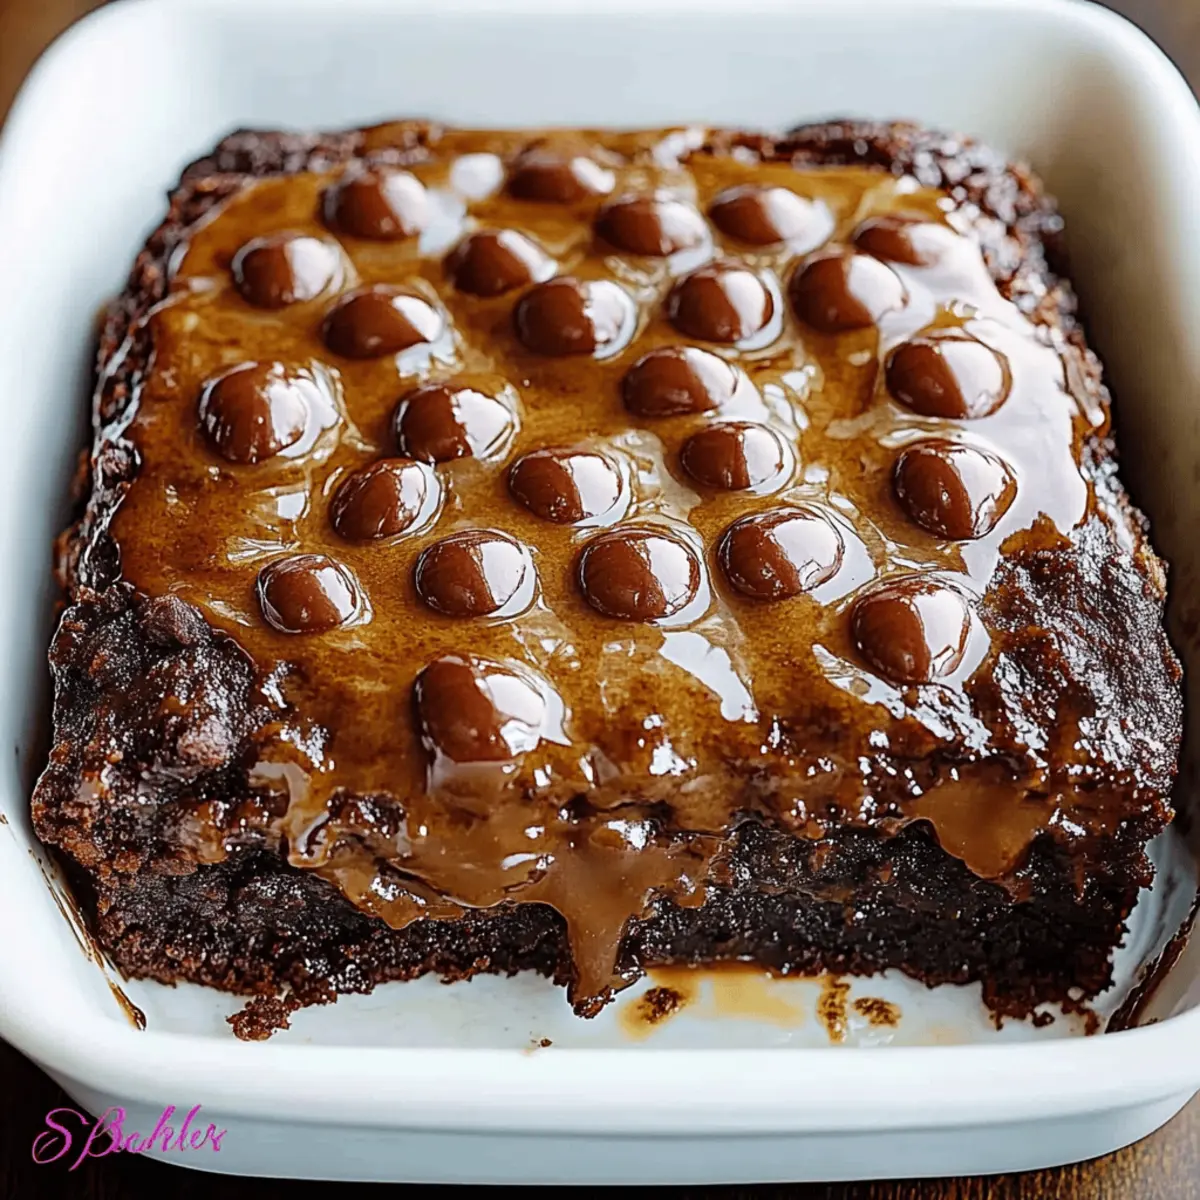
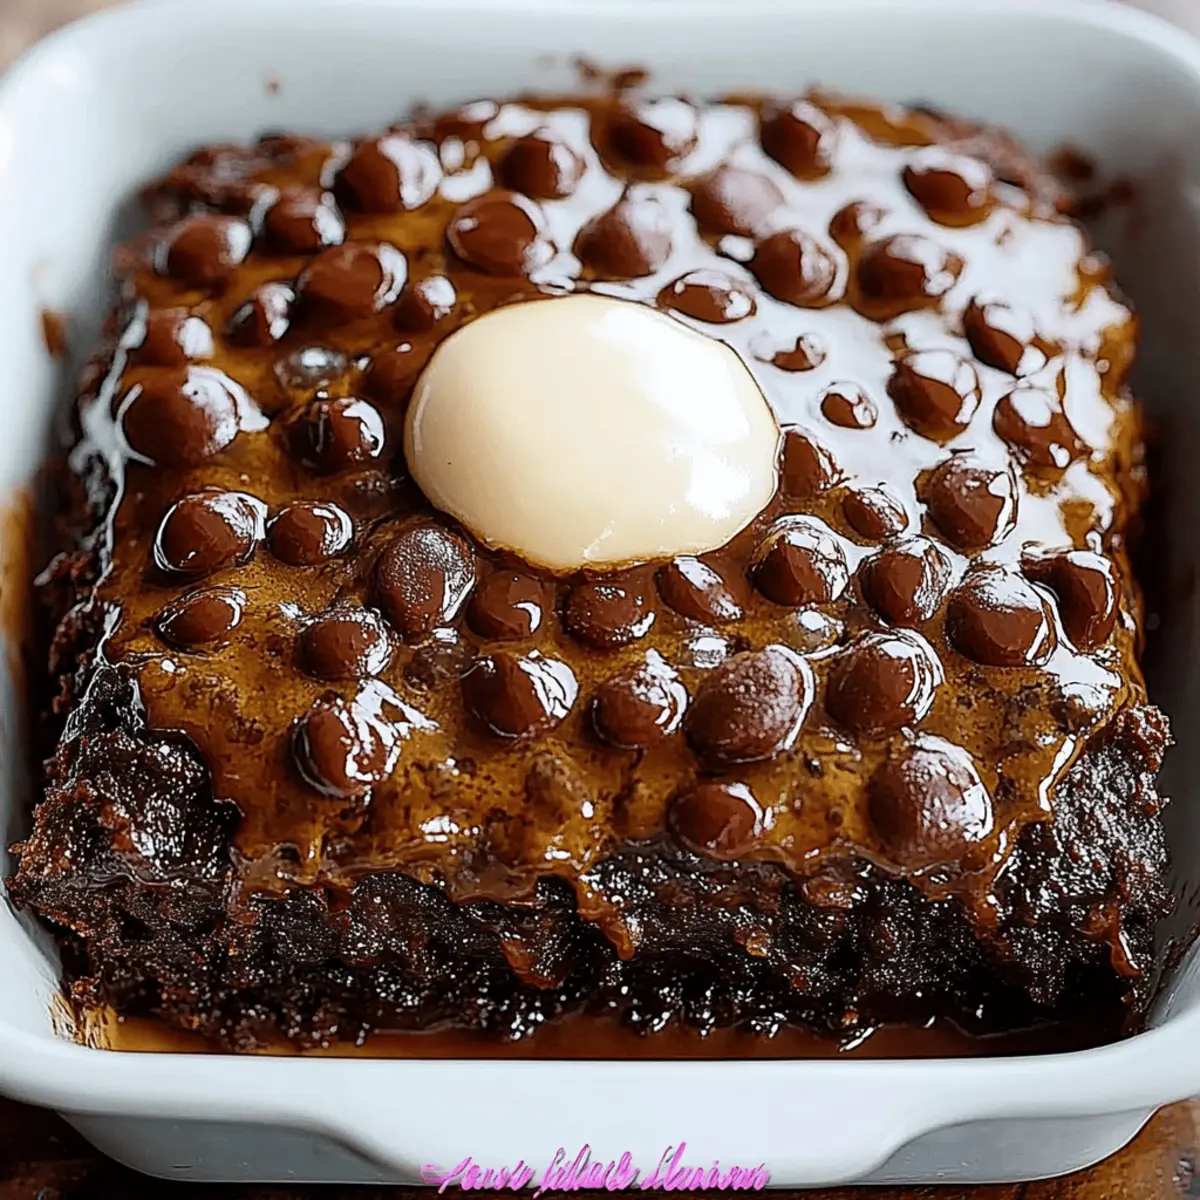
Decadent Chocolate Bliss: Each bite offers rich, fudgy goodness, enhanced by the gooey chocolate layer that emerges during baking.
Crowd-Pleaser: Perfect for gatherings, this cake serves 12, making it ideal for parties, family dinners, or simply satisfying your sweet tooth!
Versatility: Enjoy it warm with vanilla ice cream, or dress it up with fresh berries for a gourmet touch!
Make-Ahead Friendly: Bake it in advance and easily reheat later, providing a delicious dessert at a moment's notice.
Chocolate Dump Cake Ingredients
• You won't believe how simple these are!
For the Cake and Pudding
• 2 cups whole milk – This creamy base helps achieve that luscious pudding layer.
• 1 box (3.9 oz) instant chocolate pudding mix – The secret to a rich, gooey interior that makes this Chocolate Dump Cake unforgettable!
• 1 box (15.25 oz) chocolate cake mix – Choose your favorite brand for a quick flavor-packed base.
For the Topping
• ½ cup unsalted butter, melted – Drizzling this on top gives the cake a wonderfully crispy texture as it bakes.
• 1 ½ cups semi-sweet chocolate chips – For those who crave an extra chocolate hit; they melt into delightful pockets of fudginess.
Miscellaneous
• nonstick cooking spray – Ensures your cake releases effortlessly from the pan, making for a beautiful presentation!
Step‑by‑Step Instructions for Chocolate Dump Cake
Step 1: Preheat and Prepare
Begin by preheating your oven to 350°F (175°C). While the oven warms up, grab a 9×13-inch baking dish and lightly coat it with nonstick cooking spray. This essential step ensures your Chocolate Dump Cake will pop out effortlessly after baking, giving you a beautiful presentation.
Step 2: Mix Pudding Layer
In the prepared baking dish, pour the instant chocolate pudding mix and then add 2 cups of whole milk. Using a whisk or spatula, gently mix the ingredients until they are smooth and well combined. This creamy base will form the luscious layer beneath your cake, setting the stage for that decadent dessert to come.
Step 3: Add Cake Mix
Next, evenly sprinkle the dry chocolate cake mix directly over the pudding layer. Remember, do not mix; this is crucial as the layers maintain their distinct textures during baking. The cake mix will rise and form a delightful crust while adding an irresistible chocolatey flavor to your Chocolate Dump Cake.
Step 4: Drizzle with Butter
Now, drizzle the melted unsalted butter evenly across the surface of the cake mix. This step adds a wonderful crispy texture to the top. Pour it slowly to cover as much of the dry mix as possible, allowing the butter to soak in and enhance each mouthful of the delectable chocolate layers.
Step 5: Scatter Chocolate Chips
To elevate your Chocolate Dump Cake further, take 1 ½ cups of semi-sweet chocolate chips and scatter them evenly over the top. These chips will melt into the cake, creating delightful pockets of gooey chocolate that every chocoholic will adore, adding to the indulgent experience.
Step 6: Bake the Cake
Place the baking dish in the preheated oven and bake for 35–40 minutes. Keep an eye on it; you'll know it’s done when the edges are bubbling and the center is mostly set. The tempting aromas will fill your kitchen, making it hard to resist until it's time to dig in.
Step 7: Cool and Serve
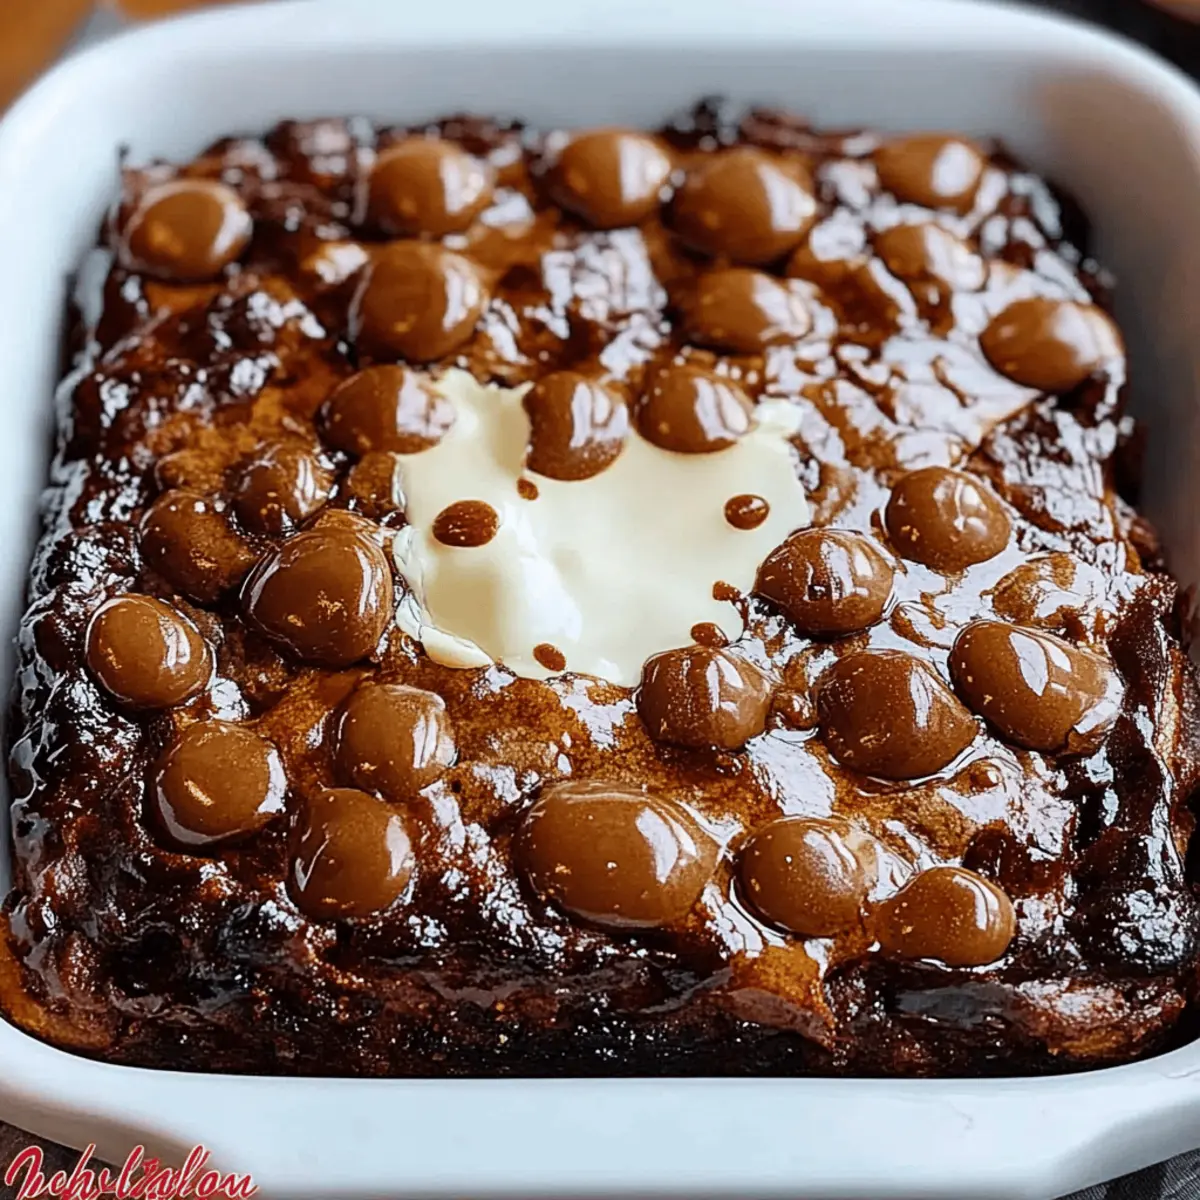
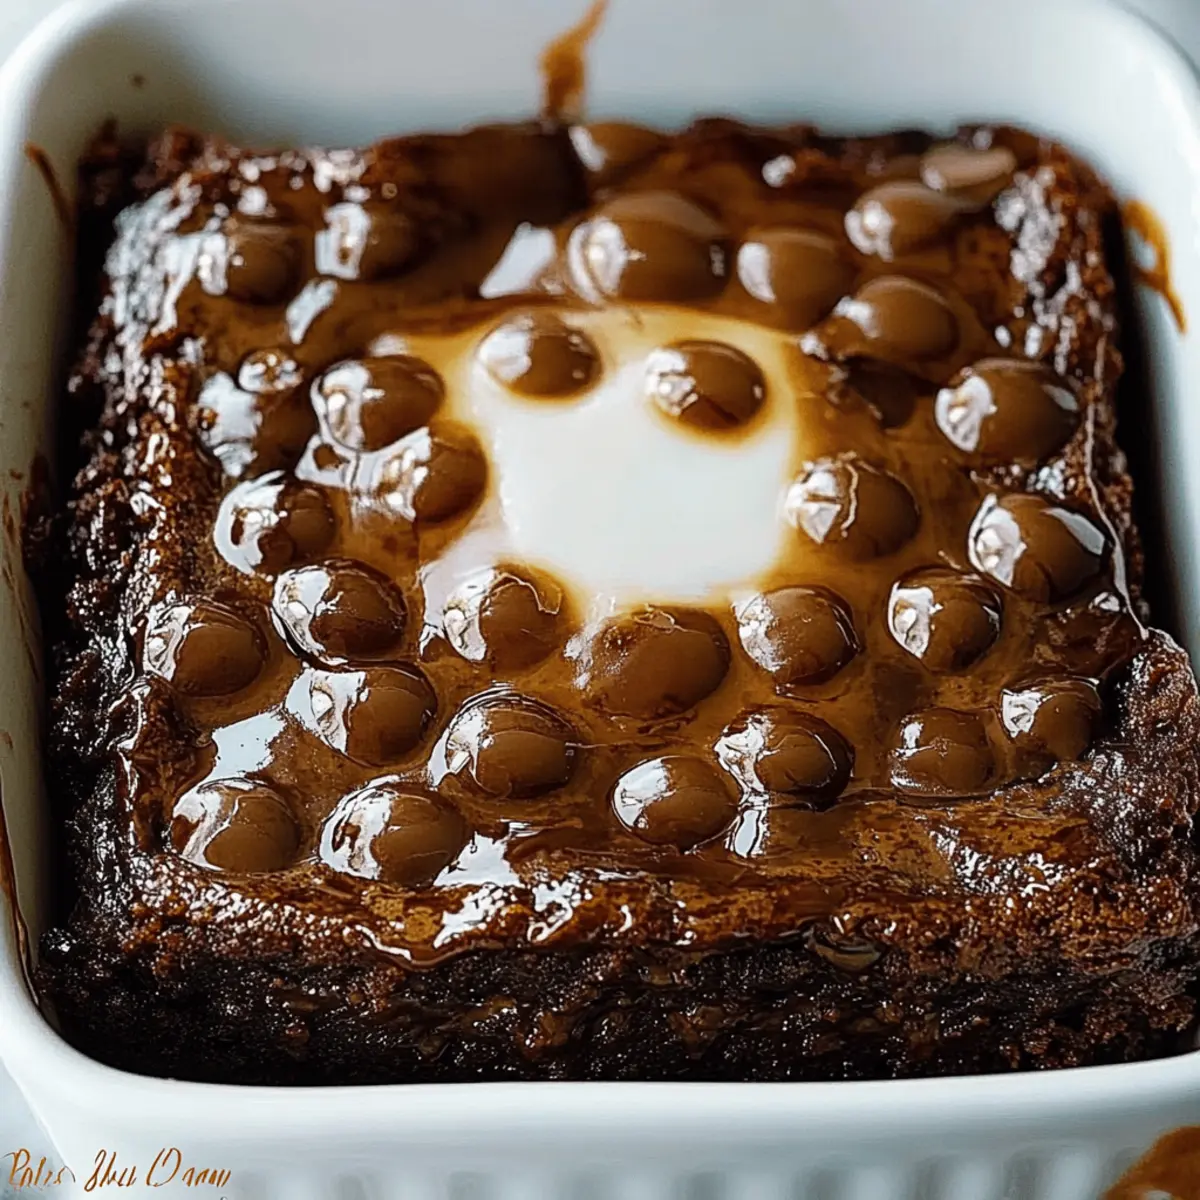
Once your Chocolate Dump Cake is baked to perfection, remove it from the oven and let it rest for 10–15 minutes. This resting period allows the layers to settle, making serving easier. Slice into squares and enjoy the warm, gooey goodness with a scoop of ice cream or a dollop of whipped cream for an extra treat!
Storage Tips for Chocolate Dump Cake
Room Temperature: Store leftover Chocolate Dump Cake in an airtight container at room temperature for up to 3 days to maintain its moist texture.
Fridge: If you prefer, you can refrigerate the cake for up to a week; simply cover it well to prevent it from drying out.
Freezer: For longer storage, wrap individual portions in plastic wrap and freeze for up to 2 months. Just thaw overnight in the fridge before enjoying!
Reheating: To reheat, place a piece in the microwave for about 15-20 seconds or until warm. Serve with a scoop of ice cream for an extra treat!
Expert Tips for Chocolate Dump Cake
• Layer Wisely: Ensure you don’t stir once you add the cake mix on top of the pudding. This preserves the unique layers that create the cake’s delightful texture.
• Check for Doneness: If the edges bubble and the center is mostly set, then your Chocolate Dump Cake is ready. Overbaking can lead to a dry dessert, so keep a close eye!
• Quality Ingredients: Using high-quality chocolate pudding mix and chocolate cake mix elevates the flavor significantly. Treat yourself to your favorite brands for better results.
• Butter Coverage: Drizzle the melted butter evenly over the cake mix. A well-covered mix will help form a deliciously crispy top, making each bite even more satisfying.
• Serving Storage: If you're making it ahead, store it in an airtight container at room temperature. Just reheat gently in the microwave before serving to bring back that glorious warmth!
What to Serve with Chocolate Dump Cake
The indulgent richness of this dessert deserves delightful companions to create a truly memorable meal.
-
Vanilla Ice Cream: A classic pairing that enhances the chocolate flavor while providing a creamy contrast to the warm cake. Simply scoop generously on top for an extra layer of indulgence.
-
Fresh Berries: Strawberries and raspberries add a refreshing burst of flavor and a pop of color, cutting through the richness and elevating presentation.
-
Whipped Cream: Light and airy, a dollop of freshly whipped cream brings a touch of elegance, making each bite feel like a celebration. Ideal for those who love textures in their dessert.
-
Chocolate Sauce: Drizzling chocolate sauce over the cake not only intensifies the chocolate experience but also adds a luscious finish that will satisfy any chocolate lover's cravings.
-
Coffee: A nice cup of freshly brewed coffee pairs wonderfully with chocolate, balancing the dessert’s sweetness and enhancing the overall experience.
-
Fresh Mint Leaves: Garnishing with a sprig of mint adds a lovely touch of brightness, creating an inviting contrast against the rich chocolate for the perfect final flourish.
Chocolate Dump Cake Variations
Feel free to let your creativity shine and make this delightful treat truly your own!
-
Gluten-Free: Substitute the chocolate cake mix with a gluten-free blend to enjoy a moist, delicious cake everyone can savor.
-
Nutty Twist: Add 1 cup of chopped nuts, like walnuts or pecans, into the cake mix for a delightful crunch that complements the fudgy texture.
-
Peppermint Flavor: Mix in ½ teaspoon of peppermint extract with the pudding layer for a festive spin that's perfect for the holiday season!
-
Spicy Kick: Add a pinch of cayenne pepper to the melted butter for a surprising yet delightful warmth that balances the sweetness.
-
Fruit Surprise: Scatter 1 cup of fresh raspberries or sliced strawberries over the pudding layer for a burst of tartness that elevates each bite.
-
Vegan Option: Use almond milk and a vegan chocolate cake mix, plus coconut oil instead of butter, for a plant-based version everyone will love.
-
Coffee Infusion: Stir in ½ cup of brewed coffee with the milk to deepen the chocolate flavor, creating a luscious espresso chocolate cake!
-
Cheesecake Swirl: Drop spoonfuls of cream cheese mixture on top before baking, making for a decadent chocolate and cream cheese layered dessert.
Let your culinary instincts guide you as you explore these tasty twists!
Make Ahead Options
These Chocolate Dump Cakes are perfect for busy home cooks looking to save time! You can prepare the pudding layer (milk and chocolate pudding mix) up to 24 hours in advance by mixing and covering it tightly with plastic wrap in the fridge. The dry cake mix can also be measured out and stored in an airtight container, ensuring it stays fresh. When you’re ready to bake, simply spread the cake mix over the pudding layer, drizzle with melted butter, and scatter chocolate chips before popping it in the oven. This way, you’ll enjoy a delightful dessert with minimal effort, just as delicious as if made fresh!
Chocolate Dump Cake Recipe FAQs
How do I choose ripe ingredients for Chocolate Dump Cake?
Absolutely! While the recipe’s primary ingredients are boxed, for the best results, ensure you use fresh, high-quality products. Opt for a chocolate pudding mix with no visible air in the packaging, as that indicates freshness. The milk should be within its expiration date—look for it to be cold and creamy before using. Remember, quality always makes a difference!
What’s the best way to store leftover Chocolate Dump Cake?
Very easy! Store leftover Chocolate Dump Cake in an airtight container at room temperature, where it will stay fresh for up to 3 days. For longer storage, you can refrigerate it for about a week. Just make sure to cover it well to avoid drying out. If you have a big batch and want to save it for later, consider freezing it.
Can I freeze Chocolate Dump Cake?
Absolutely, you can! To freeze, first, let the cake cool completely. Then, wrap individual pieces tightly in plastic wrap and place them in a freezer-safe bag or container. This way, you can store it for up to 2 months. When you’re ready to enjoy, simply thaw it overnight in the fridge before reheating it in the microwave for about 15-20 seconds until warm and gooey!
What should I do if my Chocolate Dump Cake is too dry?
No one likes a dry cake! If you find your Chocolate Dump Cake hasn't turned out as moist as expected, it could be due to overbaking. Keep an eye on it while baking—when the edges are bubbling and the center is mostly set, it’s time to take it out. If needed, you can also serve it warm with a drizzle of cream or ice cream to add moisture and richness!
Are there any dietary considerations for Chocolate Dump Cake?
Definitely! This scrumptious dessert contains dairy, gluten, and sugar, making it unsuitable for those with lactose intolerance, gluten allergies, or certain dietary restrictions. For a gluten-free version, you can switch to gluten-free cake mix and ensure the chocolate chips are also gluten-free. Additionally, if you're baking for someone with allergies, always check ingredient lists carefully for any potential allergens.
Can I modify the recipe for a healthier option?
Very much! For a lighter Chocolate Dump Cake, consider using non-fat milk and reducing the amount of sugar in cake mix. You can also substitute unsweetened applesauce for the melted butter to reduce fat. Just remember, these substitutions may change the cake's texture slightly but can make it a bit healthier while still capturing that irresistible chocolatey goodness.
Decadent Chocolate Dump Cake: Easy to Make and Irresistible
Ingredients
Equipment
Method
- Preheat your oven to 350°F (175°C) and lightly coat a 9×13-inch baking dish with nonstick cooking spray.
- Pour the instant chocolate pudding mix and then add 2 cups of whole milk into the prepared baking dish. Mix until smooth.
- Evenly sprinkle the dry chocolate cake mix directly over the pudding layer without mixing.
- Drizzle the melted unsalted butter evenly across the surface of the cake mix.
- Scatter 1 ½ cups of semi-sweet chocolate chips evenly over the top.
- Bake for 35–40 minutes until the edges are bubbling and the center is mostly set.
- Let it cool for 10–15 minutes before serving warm with ice cream or whipped cream.

Leave a Reply