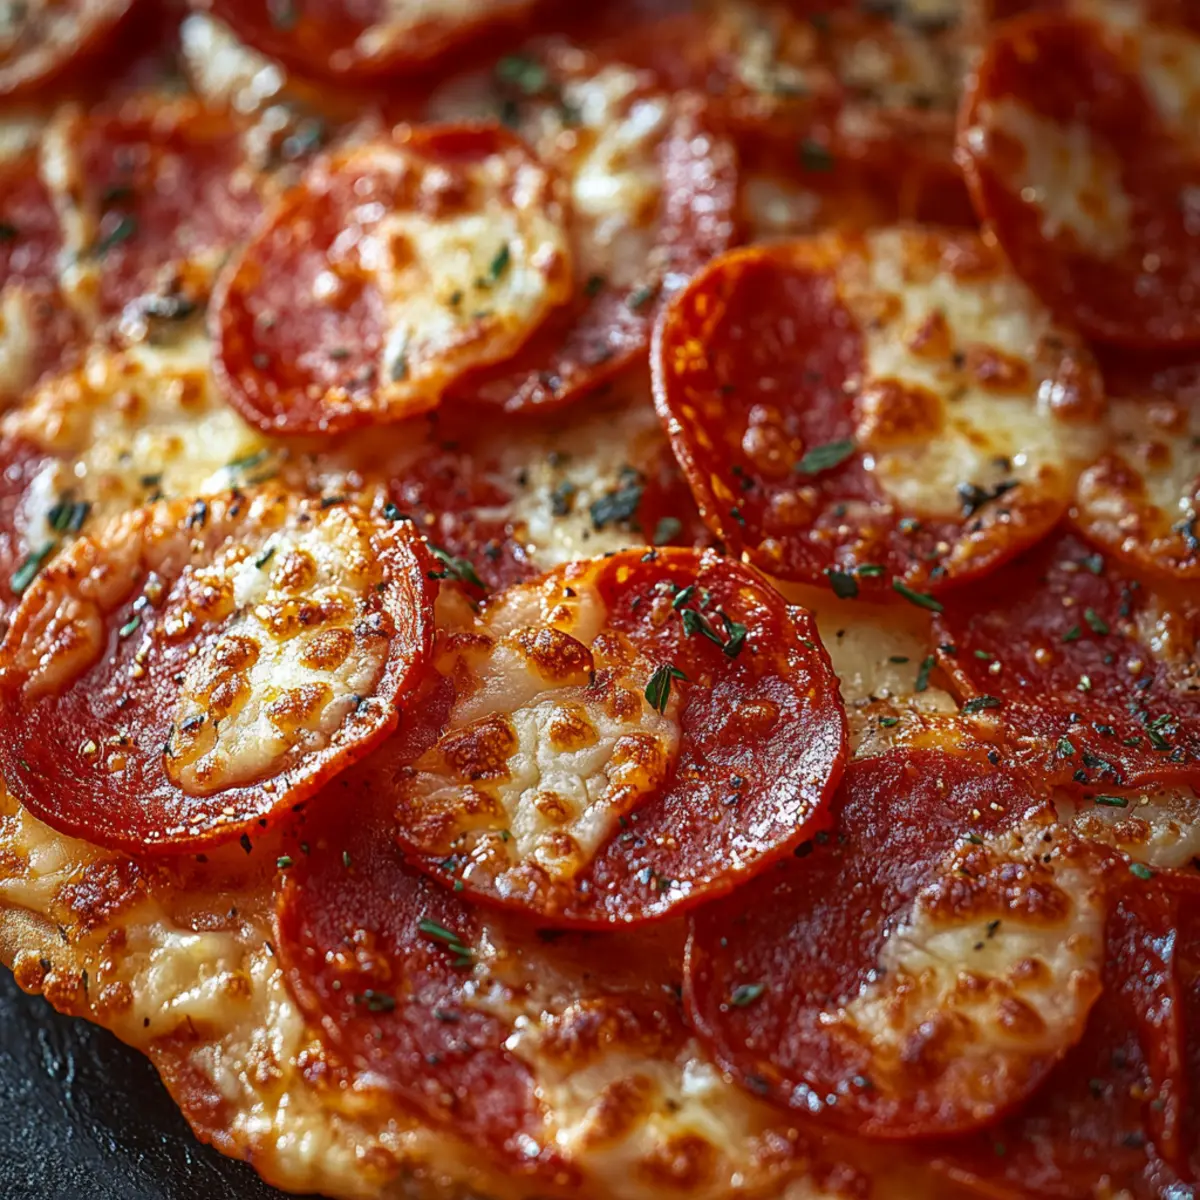
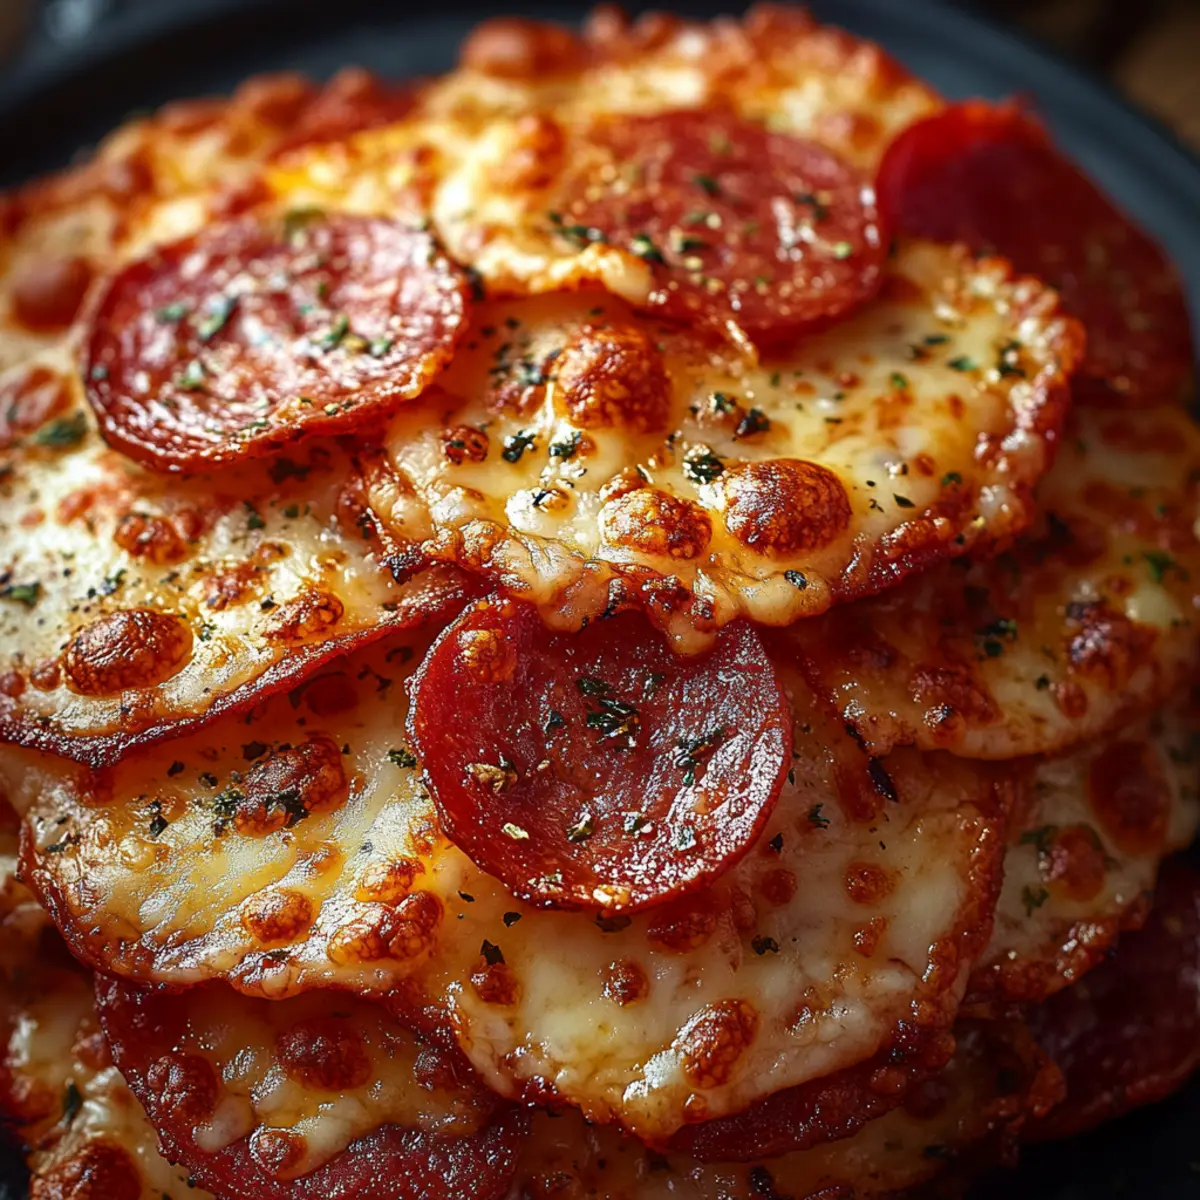
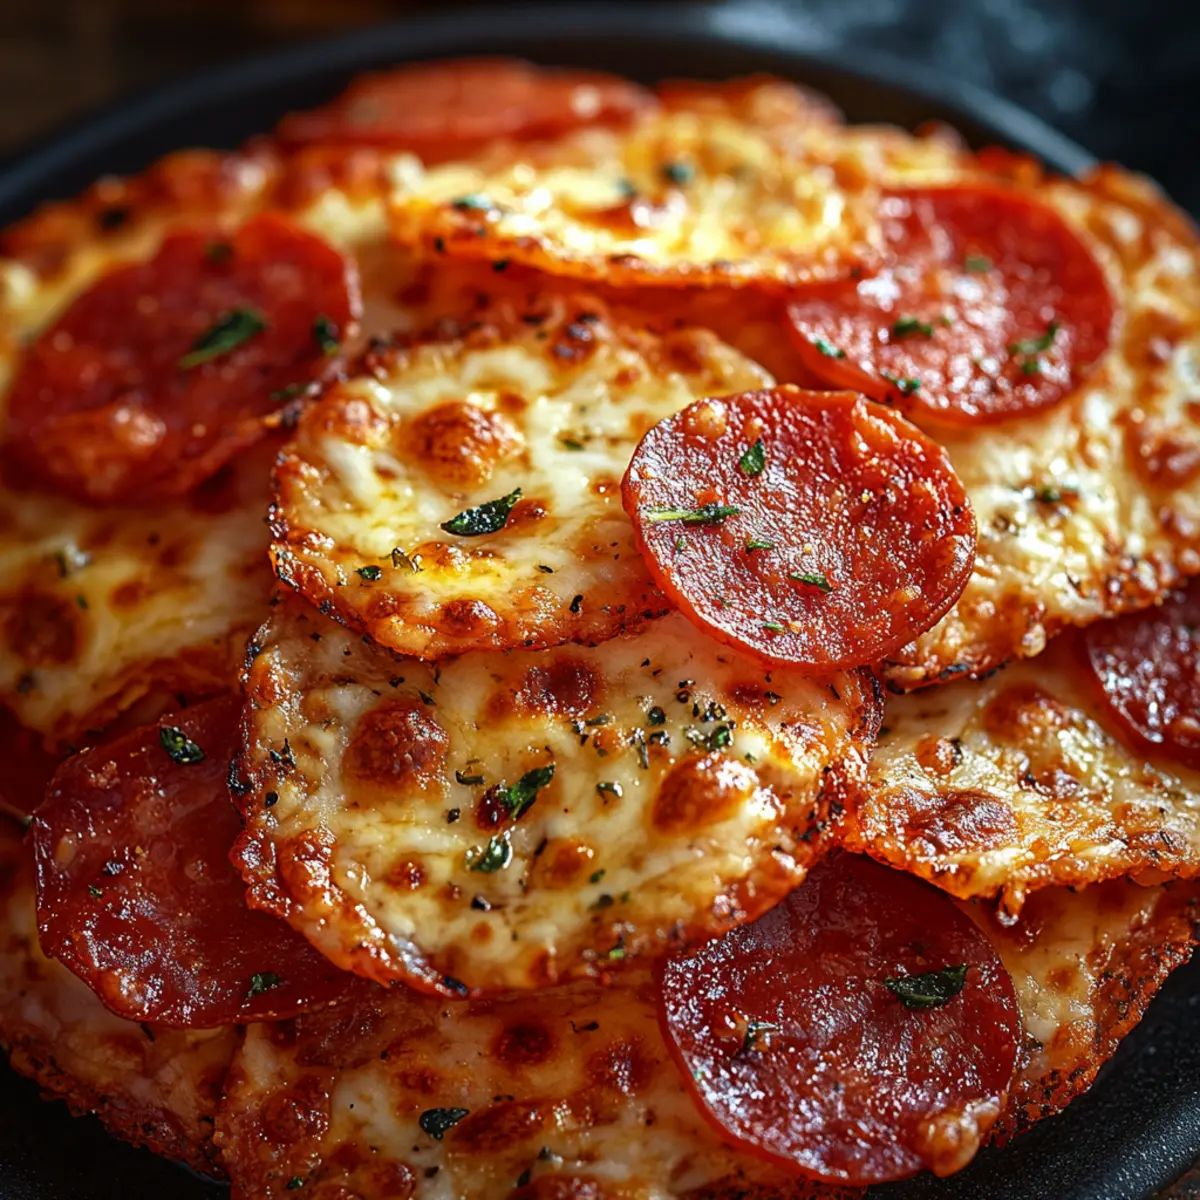
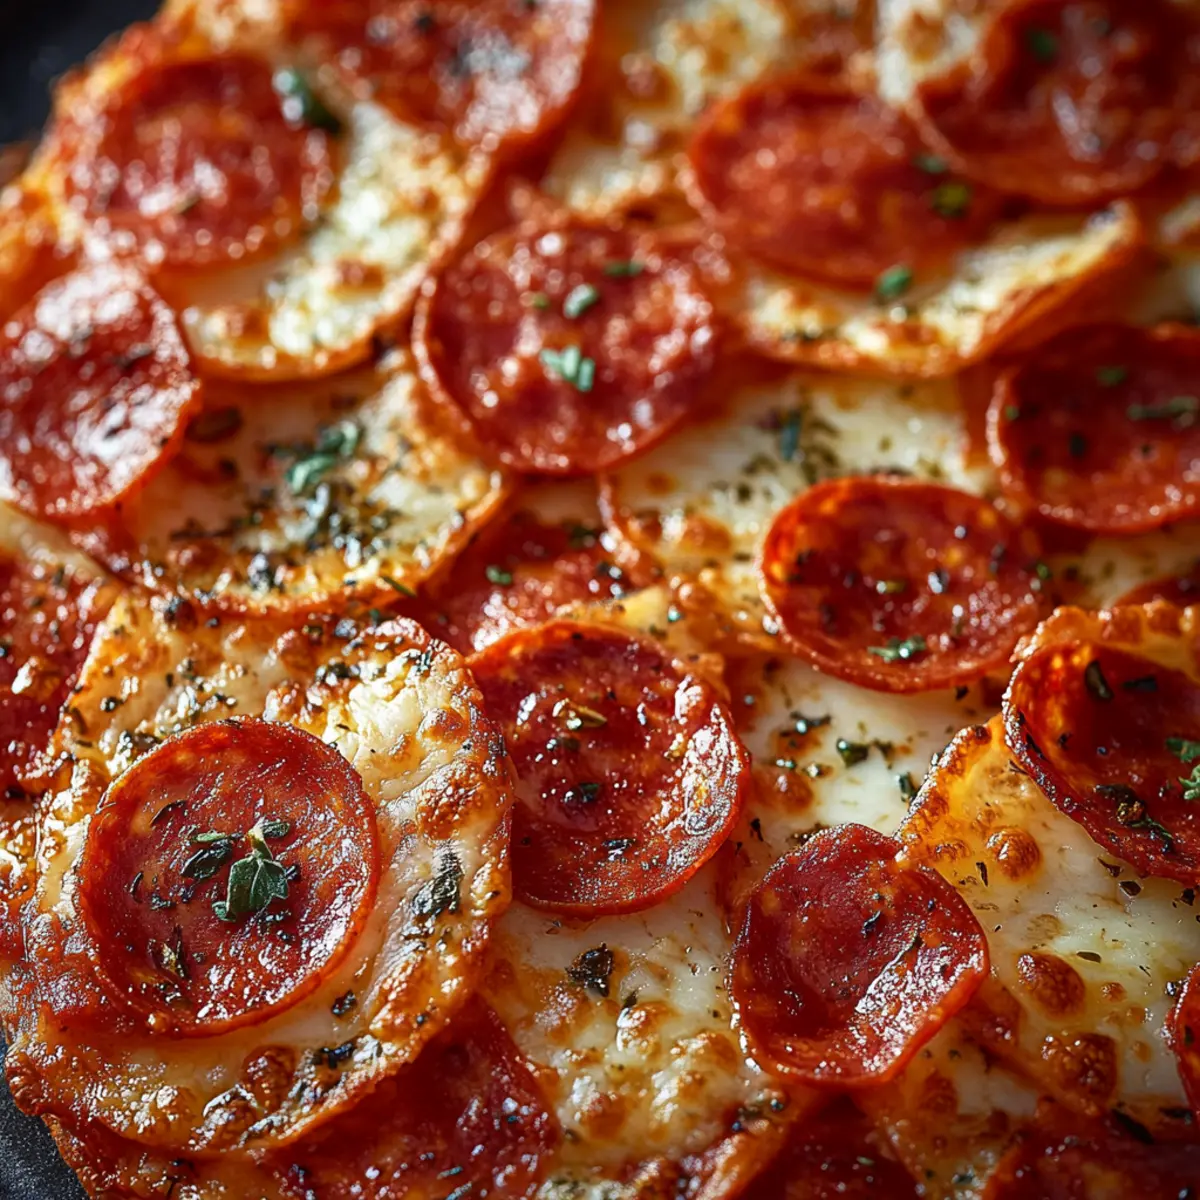
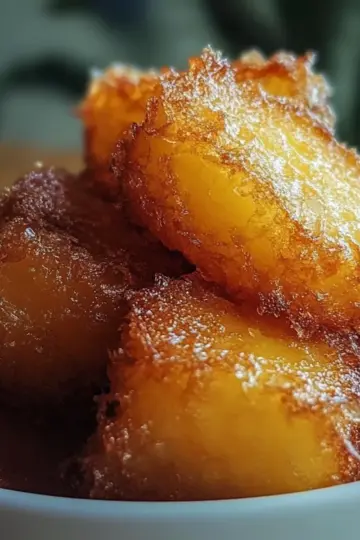
As I stood in my kitchen, the aroma of melting cheese and tangy marinara wafted around me, instantly transporting me to my favorite pizzeria. That's when I decided to whip up a batch of Crispy Pizza Chips, a delightful twist on traditional pizza that’s perfect for snacking or entertaining. With just a handful of ingredients and a total prep time of only 25 minutes, these chips come together quickly, making them a perfect solution for anyone tired of fast food. Plus, they’re easily customizable—load them up with your favorite toppings or enjoy them with a delicious dip. Curious about how to create these flavor-packed bites of joy? Let’s dive into the recipe!
Why Are These Crispy Pizza Chips So Special?
Quick, Easy Snack: You'll love how simple this recipe is! With just a handful of ingredients, you're only 25 minutes away from a delicious snack.
Bursting with Flavor: The combination of melty cheeses and zesty marinara offers a delightful explosion of taste in every bite.
Customizable: Tailor these chips to your liking! Add your favorite toppings, spices, or dips to create a uniquely personal treat.
Perfect for Sharing: Whether it’s game day or a cozy movie night, these chips are a crowd-pleaser that everyone will rave about!
Crunchy Delight: The crispy texture of the baked tortilla chips paired with gooey cheese is an irresistible combo that can't be beat.
Crispy Pizza Chips Ingredients
Get ready to unveil your culinary creativity with these delightful crispy pizza chips!
For the Chips
• 4 flour tortillas – Use medium-sized tortillas for optimal chip thickness and crunch.
• Olive oil – A light brush adds flavor and helps achieve that perfect golden crisp.
For the Toppings
• Marinara sauce – This classic sauce is the essential base for your crispy pizza chips.
• 1 cup shredded mozzarella cheese – Go for whole milk mozzarella for a rich and gooey experience.
• ½ cup grated Parmesan cheese – Adds a sharp, nutty flavor that complements the mozzarella beautifully.
• Italian seasoning – Sprinkle to taste for that familiar pizza flavor profile.
• Red pepper flakes – Add a pinch for a hint of heat, if you like a spicy kick!
For Garnish
• Fresh basil leaves – These brighten up the dish and add a fresh, aromatic touch.
• Chopped parsley – This is perfect for that vibrant garnish and added freshness.
• Garlic powder – An optional dusting gives a lovely depth of flavor if desired.
Step‑by‑Step Instructions for Crispy Pizza Chips
Step 1: Prepare the Tortillas
Start by cutting your flour tortillas into triangle or chip-sized pieces using a sharp knife or pizza cutter for even shapes. Aim for uniformity to ensure they cook evenly. Once cut, lay the tortilla pieces flat on a baking sheet lined with parchment paper, allowing space between them for optimal crisping.
Step 2: Coat with Olive Oil
Lightly brush each tortilla chip with olive oil on both sides, ensuring they are fully coated. This step is crucial as it enhances the flavor and promotes a beautifully crispy texture. You can use a pastry brush or your hands to apply the oil, making sure to cover all surfaces generously.
Step 3: Bake the Chips
Preheat your oven to 375°F (190°C) and place your baking sheet in the oven. Bake the tortilla pieces for about 7-10 minutes, flipping them halfway through to achieve even crispness. Keep an eye on them; they should be lightly golden and crispy when finished.
Step 4: Add Marinara Sauce
Once your chips are baked to perfection, remove them from the oven and quickly spoon small amounts of marinara sauce onto each chip. Aim for just a dollop on each one, creating a delightful base without overwhelming the chips. The warmth of the chips will help the sauce spread nicely.
Step 5: Top with Cheeses and Seasoning
Now it's time to layer on the flavors! Generously sprinkle shredded mozzarella cheese and grated Parmesan over each sauced chip. Next, add your desired amount of Italian seasoning and red pepper flakes for a little extra kick. This combination will meld beautifully together as they bake.
Step 6: Bake Again
Return the topped chips to the oven for an additional 5-7 minutes. Keep a close watch; the cheese should become melted and bubbly, creating a mouthwatering sight. Once you see that glorious golden layer topping your Crispy Pizza Chips, it’s time to take them out of the oven.
Step 7: Cool and Garnish
Allow your deliciously cheesy chips to cool slightly on the baking sheet to let the flavors settle. This cooling period is essential as it helps them firm up. Once slightly cooled, add a burst of freshness by garnishing with fresh basil leaves, chopped parsley, or a sprinkle of garlic powder if desired.
Step 8: Serve with Dips
To serve your Crispy Pizza Chips, present them alongside ranch dressing, garlic aioli, or cucumber yogurt dip for an extra layer of flavor. These chips are perfect for sharing or for enjoying solo during your snack time. Dive into this delightful homemade treat, and celebrate the joy of cooking!
Make Ahead Options
These Crispy Pizza Chips are perfect for busy weeknights and make ahead meal prep! You can cut the flour tortillas into chips and brush them with olive oil up to 24 hours in advance. Store them in an airtight container in the fridge to maintain their crispiness. When you're ready to enjoy, simply bake the chips for about 7-10 minutes at 375°F (190°C) until lightly golden, add the marinara sauce, top with cheese and seasonings, and then bake again for another 5-7 minutes until perfectly melted. This way, you save precious time during meal prep while still enjoying the deliciousness of homemade Crispy Pizza Chips!
How to Store and Freeze Crispy Pizza Chips
Room Temperature: Store leftover crispy pizza chips in an airtight container at room temperature for up to 2 days. This keeps them crunchy, ensuring you can enjoy them anytime!
Fridge: If you’ve got extra chips, place them in a sealed container in the fridge for up to 3 days. They may lose a bit of crispness, so reheat when you’re ready to enjoy.
Freezer: For longer storage, freeze the chips without any cheese toppings to maintain their texture. Layer them in a single layer in a freezer-safe bag, and they’ll keep for up to 1 month.
Reheating: To bring back that delightful crispiness, reheat your leftover crispy pizza chips in the oven at 350°F (175°C) for about 3-5 minutes. Avoid microwaving, as it can make them soggy.
Expert Tips for Crispy Pizza Chips
-
Uniform Sizes: Cut tortillas evenly to ensure that all chips bake at the same rate, resulting in consistently crispy pizza chips.
-
Oil Generously: Don’t skimp on the olive oil; a good coating prevents burning and promotes a delightful crunch.
-
Watch Baking Time: Keep an eye on the chips while they bake. Over-baking can lead to a burnt taste, so check for golden, not brown chips.
-
Layering Toppings: Spoon marinara carefully to prevent sogginess. Less is more; just a dab keeps the chips from getting too wet.
-
Alternate Toppings: Get creative! Swap in your favorite toppings like pepperoni or jalapeños for personalized crispy pizza chips.
What to Serve with Crispy Pizza Chips
Enhance your flavor experience by pairing these delightful snacks with mouthwatering sides and drinks that create a full meal.
- Creamy Ranch Dip: The cool, tangy ranch contrasts beautifully with the warm, cheesy chips, making each bite a delight.
- Classic Caesar Salad: Crisp romaine and buttery croutons provide a refreshing crunch that balances the rich flavors of the pizza chips.
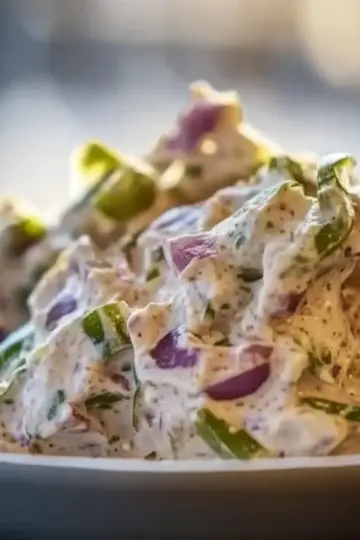
- Garlic Aioli: Smooth and garlicky, this dip elevates your chips, adding an exquisite touch to every flavorful morsel.
- Cucumber Yogurt Dip: A cool, refreshing dip that softens the savory kick of the chips while adding a burst of freshness.
- Italian Antipasto Platter: Prosciutto, olives, and roasted peppers create an inviting, hearty spread that complements the crispy textures beautifully.
- Sparkling Lemonade: The bubbly, citrusy goodness adds a zesty contrast, brightening your snack time and enhancing all the rich flavors.
- Homemade Marinara Marinade: Serve a small bowl of warm marinara on the side for dipping to amplify that classic pizza experience.
- Grilled Veggie Skewers: Smoky, charred vegetables can bring a healthful contrast to your snack table and add vibrant colors!
- Cheesy Garlic Bread: For the ultimate indulgent pairing, this warm, buttery treat offers a deliciously satisfying companion to your chips.
Crispy Pizza Chips Variations
Feel free to bring your personal touch to these tasty treats and make them your own!
-
Gluten-Free: Swap flour tortillas for corn tortillas to create a gluten-free version that is just as delicious.
-
Dairy-Free: Use vegan cheese alternatives for a luscious melt without the dairy, perfect for those avoiding animal products.
-
Loaded Nacho Style: Top with black beans, jalapeños, and guacamole for a fiesta twist that adds extra flavor and fun to every bite!
-
Herbed Delight: Mix fresh chopped herbs like oregano or thyme into the cheese layer for an aromatic boost that elevates the flavor profile.
-
Spicy Kick: Sprinkle sliced fresh jalapeños or a drizzle of hot sauce on your chips before baking for those who love a little heat!
-
Sweet Treat: Transform these chips by using cinnamon sugar instead of savory toppings and serve with a side of chocolate sauce for dessert!
-
Veggie Boost: Load on diced bell peppers, onions, or mushrooms along with the cheese for a nutritious twist; it adds both flavor and color!
-
Buffalo Style: Add a swirl of buffalo sauce alongside the marinara for a fiery, tangy surprise that’ll please any heat lover in your crew!
Crispy Pizza Chips Recipe FAQs
How do I choose the best flour tortillas?
Absolutely! For best results, select medium-sized flour tortillas that feel fresh and pliable. Look for tortillas without dark spots or hard edges, as these can affect the texture of your crispy pizza chips. A soft tortilla will yield a crispier chip when baked.
How should I store leftover crispy pizza chips?
You can store any leftover crispy pizza chips in an airtight container at room temperature for up to 2 days. Make sure the chips are completely cooled before sealing them to retain their crunch. For best taste and texture, they'll be ideal for snacking within that window!
Can I freeze crispy pizza chips?
Yes, indeed! To freeze your crispy pizza chips, it’s best to do so without any cheese toppings. Lay them in a single layer on a baking sheet to freeze them individually, then transfer them into a freezer-safe bag. They can last for up to 3 months. When you're ready to enjoy them, just reheat in the oven until warm and crispy!
Why are my crispy pizza chips soggy?
If your chips turn out soggy, it could be due to too much marinara sauce. Make sure to use a small dollop on each chip to avoid excess moisture. Using room temperature or cooled chips before assembly helps too. If this happens to your leftovers, reheating them in the oven at 350°F (175°C) for about 3-5 minutes will restore some of their original crunch.
Are crispy pizza chips suitable for everyone?
Absolutely! Just be mindful of any dietary restrictions. For those with gluten sensitivities or allergies, consider using gluten-free tortillas. The topping ingredients can be adjusted as well - try dairy-free cheese alternatives for a vegan take or omit the Parmesan cheese altogether. It's all about making these crispy pizza chips your own!
Irresistibly Crispy Pizza Chips: Easy Homemade Snack
Ingredients
Equipment
Method
- Cut your flour tortillas into triangle or chip-sized pieces using a sharp knife or pizza cutter for even shapes.
- Lightly brush each tortilla chip with olive oil on both sides.
- Preheat your oven to 375°F (190°C) and bake the tortilla pieces for about 7-10 minutes, flipping halfway through.
- Spoon small amounts of marinara sauce onto each chip.
- Sprinkle shredded mozzarella cheese and grated Parmesan over each sauced chip, along with Italian seasoning and red pepper flakes.
- Return the topped chips to the oven for an additional 5-7 minutes until the cheese is melted and bubbly.
- Allow the chips to cool slightly before garnishing with fresh basil, parsley, or garlic powder.
- Serve alongside ranch dressing, garlic aioli, or cucumber yogurt dip.


Leave a Reply