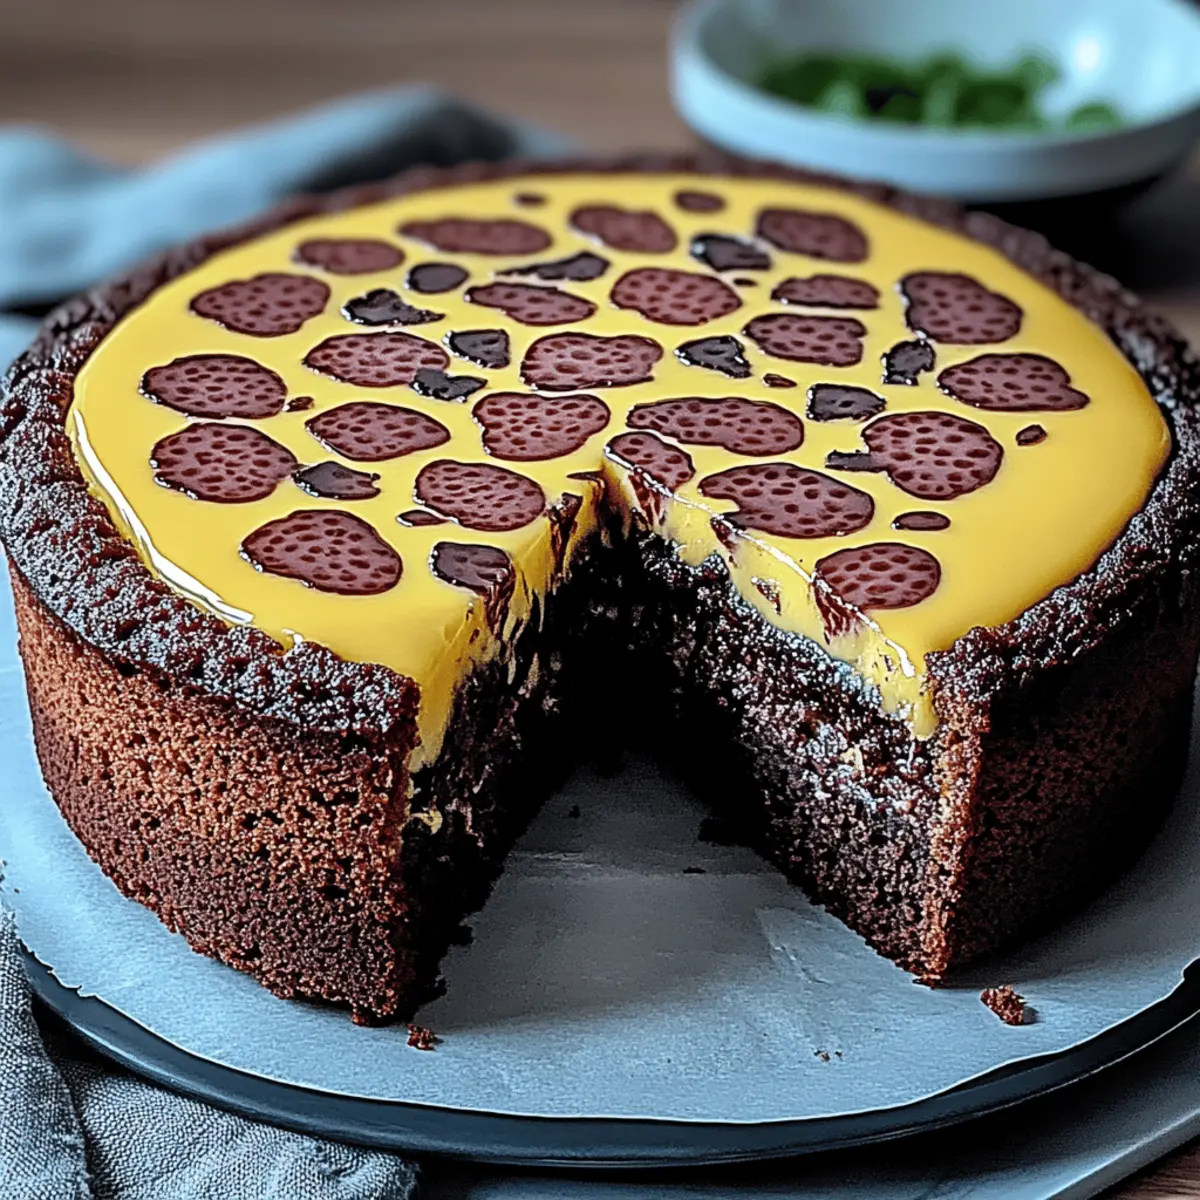
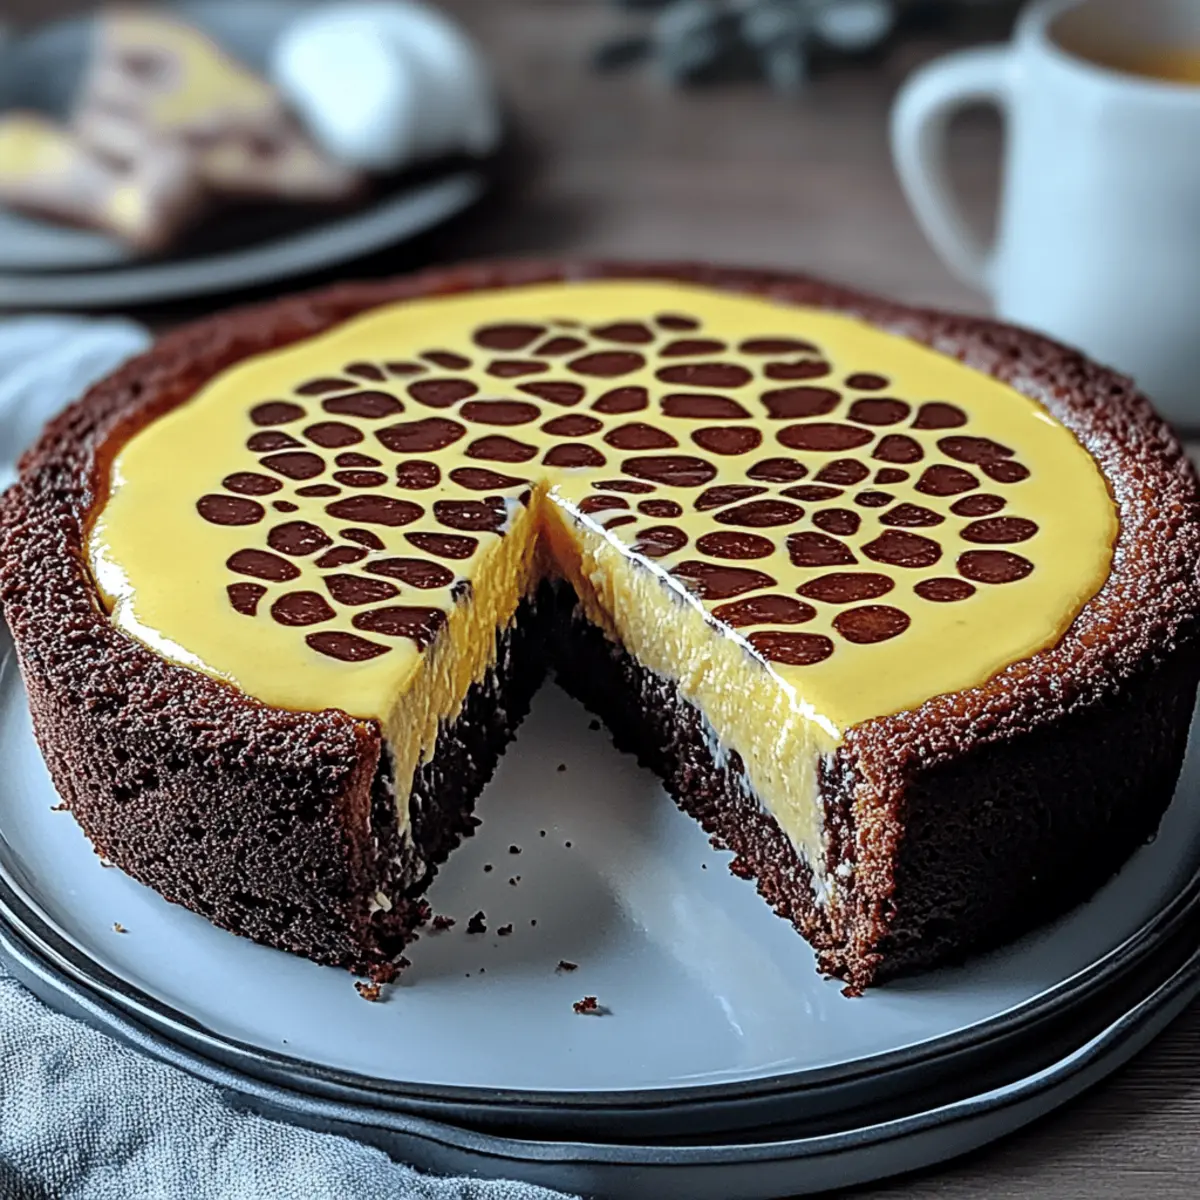
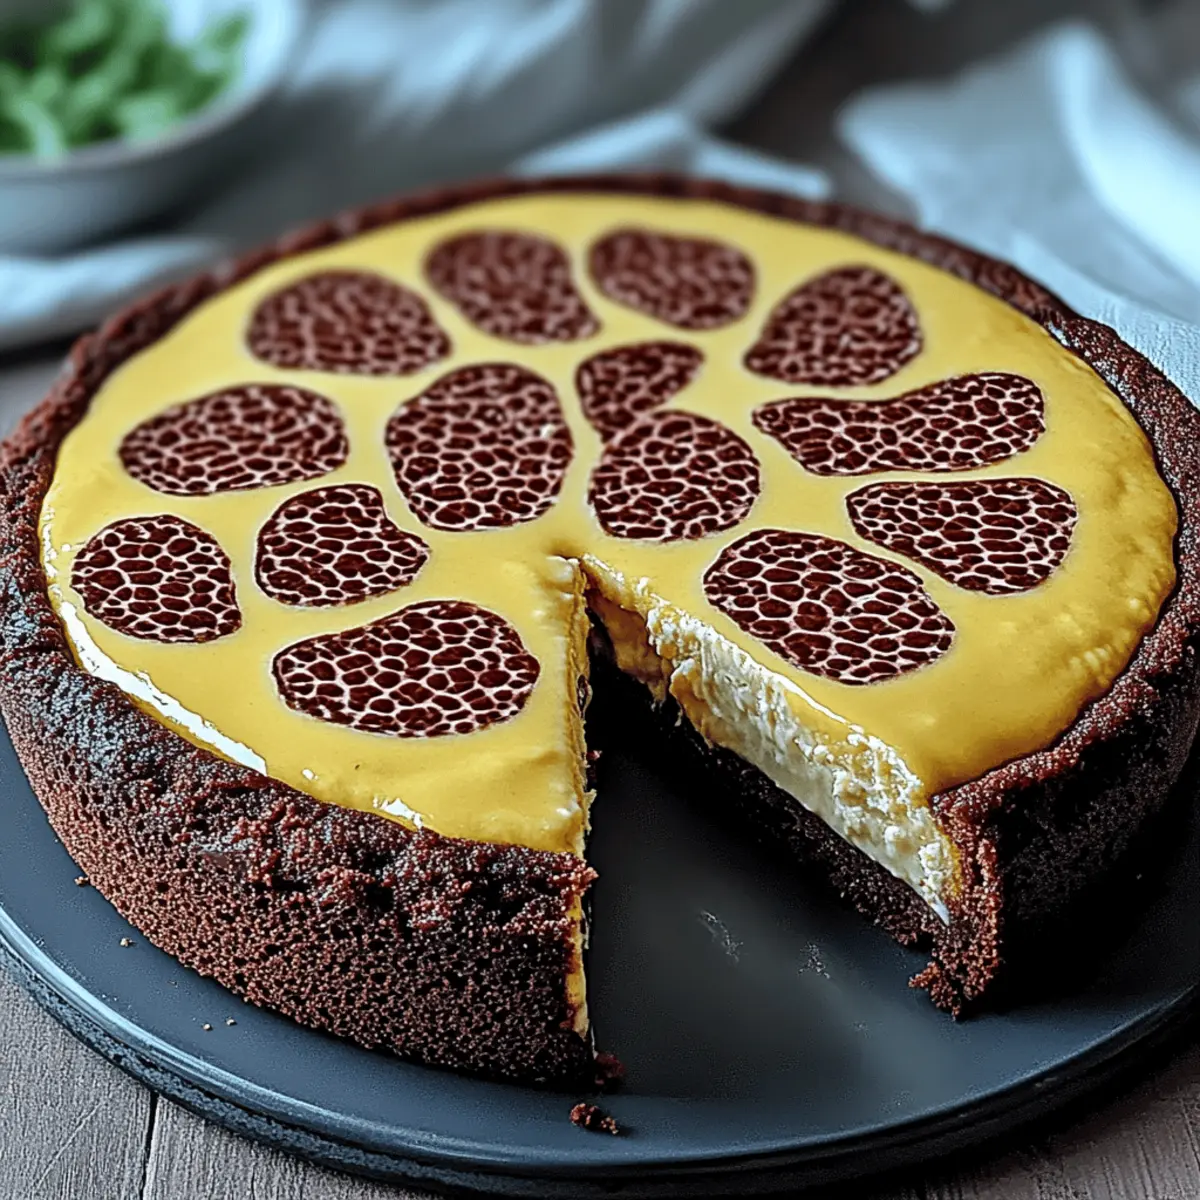
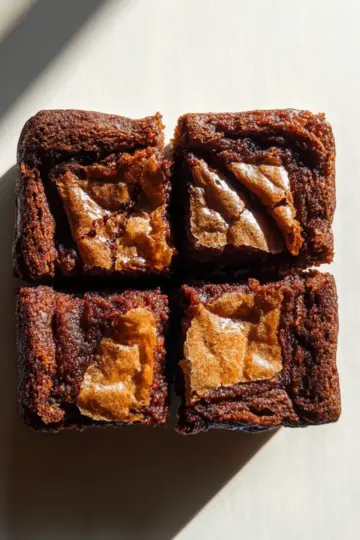
As I sifted through the flour and cocoa powder, I was immediately transported to my grandmother's cozy kitchen, where the rich aroma of chocolate baked goods always lingered. This Russian Chocolate Cake is a delightful homage to those cherished memories, and it captures the heart of homemade comfort food. Within just over an hour, you can whip up this crowd-pleaser that not only has a moist, flavorful texture but is also surprisingly easy to make! The secret lies in its simple ingredients, allowing you to create a decadent dessert without the fuss of complicated techniques. So, are you ready to indulge in a slice of nostalgia? Let's dive into this delicious recipe that’s bound to become a favorite in your home!
Why choose this Russian Chocolate Cake?
Decadent, this cake is perfectly chocolatey and rich, making it a showstopper at any gathering. Simple steps mean you don’t need to be a pro baker to impress your family and friends. Moist texture is achieved with just the right balance of milk and oil, ensuring every bite melts in your mouth. You’ll find that it pairs beautifully with various frostings or even just a sprinkle of powdered sugar. Plus, the short prep time means you’ll have more moments to enjoy with loved ones while your dessert bakes!
Russian Chocolate Cake Ingredients
For the Cake
- All-purpose flour – using a kitchen scale for accuracy ensures your cake rises perfectly.
- Unsweetened cocoa powder – this adds richness; feel free to substitute with Dutch-processed for a deeper flavor.
- Granulated sugar – sweetness balances with the cocoa; consider using brown sugar for a hint of molasses.
- Baking powder – this leavening agent helps your cake rise; make sure it’s fresh for best results.
- Salt – enhances all flavors; a pinch goes a long way!
- Large eggs – they provide moisture and structure; bring them to room temperature for better mixing.
- Whole milk – this adds creaminess; you can swap with almond milk for a dairy-free alternative.
- Vegetable oil – for a moist cake; melted butter could be a delicious substitute!
- Vanilla extract – adds warmth; pure vanilla is preferred for the best aroma.
Step‑by‑Step Instructions for Russian Chocolate Cake
Step 1: Preheat and Prepare
Begin by preheating your oven to 350°F (175°C). While it warms, grease and flour two round cake pans to ensure your Russian Chocolate Cake releases easily after baking. A light dusting of flour on the greased pans will create a non-stick surface, keeping your cake layers intact and beautiful.
Step 2: Combine Dry Ingredients
In a large mixing bowl, sift together 1¾ cups of all-purpose flour, ¾ cup of unsweetened cocoa powder, 1½ teaspoons of baking powder, and ½ teaspoon of salt. Whisk these dry ingredients until they are thoroughly blended and free of lumps. This step is crucial for achieving a light and fluffy texture in your cake.
Step 3: Mix Wet Ingredients
In another bowl, crack 3 large eggs and beat them together with 1½ cups of granulated sugar, 1 cup of whole milk, ½ cup of vegetable oil, and 2 teaspoons of vanilla extract. Mix until the mixture is smooth and creamy, about 2-3 minutes. This will form the flavorful base for your Russian Chocolate Cake, enhancing its rich taste.
Step 4: Combine Wet and Dry Mixtures
Gradually add the dry mixture to the wet ingredients, stirring gently with a spatula until just combined. Be cautious not to overmix; a few lumps are perfectly fine. This is where the magic happens, as the ingredients meld into a rich, luscious batter that promises a delightful chocolate flavor.
Step 5: Bake the Cake Layers
Divide the batter evenly between the prepared pans and smooth the tops with a spatula. Place them in the oven and bake for 30 to 35 minutes. Keep an eye on them; they are done when a toothpick inserted into the center comes out clean or with a few moist crumbs attached.
Step 6: Cool and Remove from Pans
Once baked to perfection, allow the cake layers to cool in their pans for about 10 minutes. This will make them easier to handle. Carefully run a knife along the edges, then flip the pans upside down to release the cakes onto wire racks. Let them cool completely before frosting.
Step 7: Frost or Serve Plain
Once cooled, you can frost your Russian Chocolate Cake with your favorite chocolate frosting or serve it plain for a delightful treat. The rich flavor of the cake stands beautifully on its own, making each slice a comforting piece of indulgence.

Expert Tips for Russian Chocolate Cake
- Ingredient Quality: Use high-quality cocoa and pure vanilla extract for richer flavor; they make a noticeable difference.
- Room Temperature Eggs: Bring your eggs to room temperature before mixing to help create a smoother batter and improve cake texture.
- Don’t Overmix: When combining wet and dry ingredients, mix just until incorporated to avoid a dense cake; it's okay to leave some lumps.
- Cool Properly: Allow the cake to cool in the pans briefly before transferring; otherwise, they might crumble or break when removed.
- Frost with Care: If frosting, let the cake layers cool completely to prevent melting; consider chilling them in the fridge for sturdiness.
Make Ahead Options
These Russian Chocolate Cake layers are perfect for meal prep enthusiasts! You can mix the dry ingredients and store them in an airtight container for up to 3 days to save time during your baking day. Additionally, the baked cake layers can be wrapped in plastic wrap and refrigerated for up to 24 hours; this will keep them moist and flavorful until you're ready to frost. When you're set to serve, simply allow the cakes to come to room temperature before frosting them with your favorite chocolate icing, ensuring they retain their irresistible taste and texture. This way, you can enjoy homemade indulgence without the last-minute rush!
Russian Chocolate Cake Serving Suggestions
As the aroma of your freshly baked Russian Chocolate Cake fills your kitchen, let’s explore some delightful pairings that will elevate your dessert experience!
-
Fresh Berries: Serve with a medley of strawberries, raspberries, or blueberries for a burst of freshness that complements the rich chocolate. The tartness of the berries cuts through the sweetness beautifully.
-
Whipped Cream: A dollop of light, fluffy whipped cream adds a creamy texture that enhances each bite. Consider sweetening it with a hint of vanilla for an extra touch of flavor.
-
Ice Cream: A scoop of vanilla or chocolate ice cream will create a decadent treat; the melting ice cream against the warm cake is simply irresistible. The combination will bring a smile to anyone's face!
-
Espresso or Coffee: Pair a slice of cake with a strong cup of espresso or a rich coffee. The bitterness of the coffee beautifully contrasts the sweetness of the cake, making for a sophisticated combo.
-
Chocolate Ganache: Drizzle warm chocolate ganache over your cake slices for an even richer experience. This added layer of chocolate takes your cake to an entirely new level of indulgence.
-
Powdered Sugar Dusting: For simplicity, a light dusting of powdered sugar brings a touch of elegance. It not only looks lovely but adds a hint of sweetness that balances the flavors.
-
Toasted Nuts: Sprinkle toasted nuts, like hazelnuts or walnuts, on top for added crunch. This introduces an exciting texture that beautifully complements the soft cake.
Enjoy discovering which combination strikes a chord with you and your loved ones! Each serving suggestion is a chance to create a memory with your homemade dessert.
How to Store and Freeze Russian Chocolate Cake
Room Temperature: Store the cake covered at room temperature for up to 3 days; this keeps it moist and fresh without drying out.
Fridge: If you want to extend its life, place the cake in an airtight container in the fridge for up to a week, ensuring it maintains its rich flavor.
Freezer: For longer storage, wrap the cooled cake layers tightly in plastic wrap and foil, then freeze for up to 3 months. Thaw them in the fridge before serving.
Reheating: If you prefer warm cake, microwave individual servings for 10-15 seconds; just be careful not to overheat, as this can dry it out.
What to Serve with Russian Chocolate Cake?
Indulging in a slice of this chocolate delight invites a delightful experience that pairs beautifully with various accompaniments.
-
Fresh Berries: The tartness of strawberries or raspberries balances the cake's richness, adding bright flavors with every bite.
-
Vanilla Ice Cream: Creamy vanilla ice cream melts into the warm cake, creating a perfect harmony of textures and temperatures.
-
Whipped Cream: A light dollop of freshly whipped cream enhances the chocolate experience, making it feel extra luxurious.
-
Coffee or Espresso: The bold flavors of coffee enhance the chocolate, making for a comforting pairing that warms the soul.
-
Chocolate Ganache Drizzle: An extra layer of chocolate ganache over the cake intensifies the decadent experience, elevating your dessert to new heights.
-
Peanut Butter Sauce: For a unique twist, a drizzle of peanut butter sauce complements the chocolate, creating a sweet and salty combination.
-
Mint Tea: The refreshing notes of mint tea provide a soothing contrast to the cake, making each bite delightful and soothing.
Russian Chocolate Cake Recipe FAQs
What should I look for when selecting cocoa powder?
Absolutely! When choosing cocoa powder, look for a deep, rich color and a natural chocolate aroma. If possible, choose high-quality, unsweetened cocoa, as this will impact the cake's final flavor significantly. For an even more intense chocolate experience, consider using Dutch-processed cocoa, which has a smoother flavor.
How should I store leftover Russian Chocolate Cake?
Very! If you have any leftover cake, cover it at room temperature for up to 3 days to maintain its moisture and flavor. For a longer-lasting treat, transfer the cake to an airtight container and refrigerate it, where it can stay fresh for up to a week. Just make sure to let it come to room temperature before serving!
Can I freeze the Russian Chocolate Cake?
Absolutely! To freeze your cake, first let it cool completely. Then, wrap each cake layer tightly in plastic wrap followed by aluminum foil to prevent freezer burn. You can freeze them for up to 3 months. When you're ready to enjoy, thaw the layers in the refrigerator overnight or at room temperature for a few hours. Once thawed, feel free to frost and serve!
What should I do if my cake layers don't rise properly?
Oh no! If your cake layers don’t rise, it could be due to expired baking powder or not mixing the wet and dry ingredients properly. Always check the freshness of your baking powder before using it—if it’s been open for too long, it's best to replace it. Also, be gentle when mixing; overmixing can lead to a dense cake that won't rise as expected.
Is this Russian Chocolate Cake suitable for people with allergies?
Of course! This recipe contains common allergens such as eggs and dairy. If you're making it for someone with egg or dairy allergies, consider using egg substitutes (like unsweetened applesauce or flaxseed meal mixed with water) and a non-dairy milk alternative like almond or oat milk. Always check the packaging of ingredients for potential allergens, as they can vary between brands.
Indulgent Russian Chocolate Cake for Every Sweet Tooth
Ingredients
Equipment
Method
- Preheat your oven to 350°F (175°C) and grease/flour two round cake pans.
- In a large mixing bowl, sift together all-purpose flour, cocoa powder, baking powder, and salt.
- In another bowl, beat the eggs with granulated sugar, milk, vegetable oil, and vanilla extract until smooth.
- Gradually add the dry mixture to the wet ingredients, stirring gently until just combined.
- Divide the batter evenly between the prepared pans and bake for 30 to 35 minutes.
- Allow the cake layers to cool in their pans for about 10 minutes before transferring to wire racks.
- Once cooled, frost with your favorite frosting or serve plain.

Leave a Reply