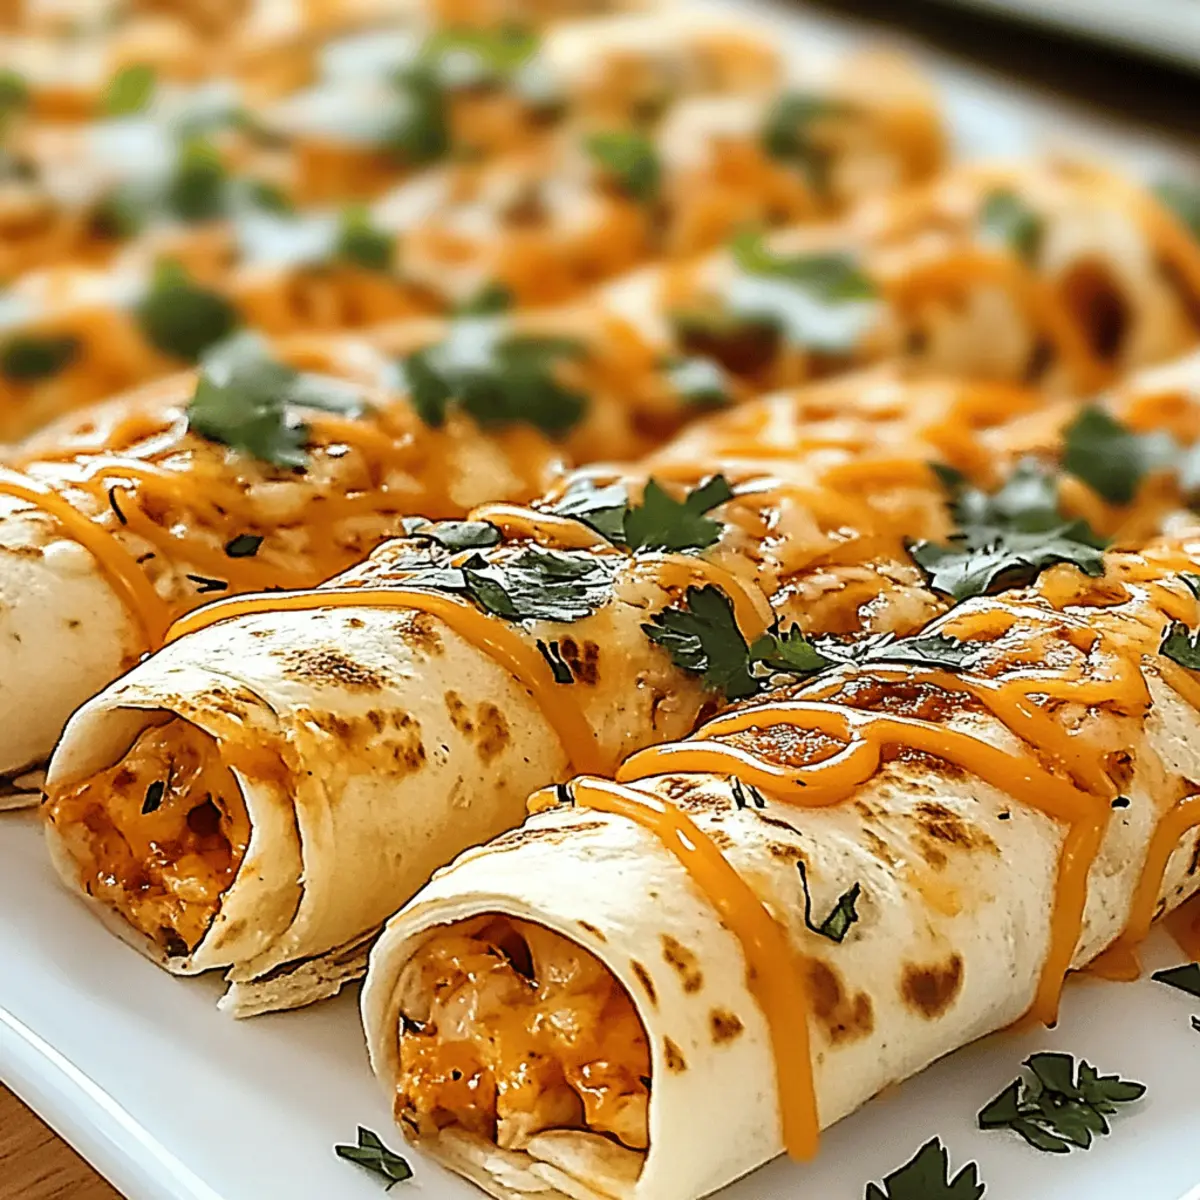
I can still recall the first time I made Chicken Enchilada Roll Ups for friends; the aroma wafting through the kitchen was simply irresistible. This delightful dish not only brings the comforting flavors of enchiladas to the table but also transforms them into a finger-friendly treat that everyone loves. With just 35 minutes of your time, you can whip up these roll-ups, making them a quick, satisfying option for busy weeknights. They’re perfect for those who crave homemade meals but are tired of fast food, all while being a crowd-pleaser that even the kids will enjoy. Are you ready to elevate your dinner game with this fun and delicious recipe?
Why are these Chicken Enchilada Roll Ups irresistible?
Quick and Easy: With just 35 minutes from prep to plate, these roll-ups fit perfectly into your busy schedule!
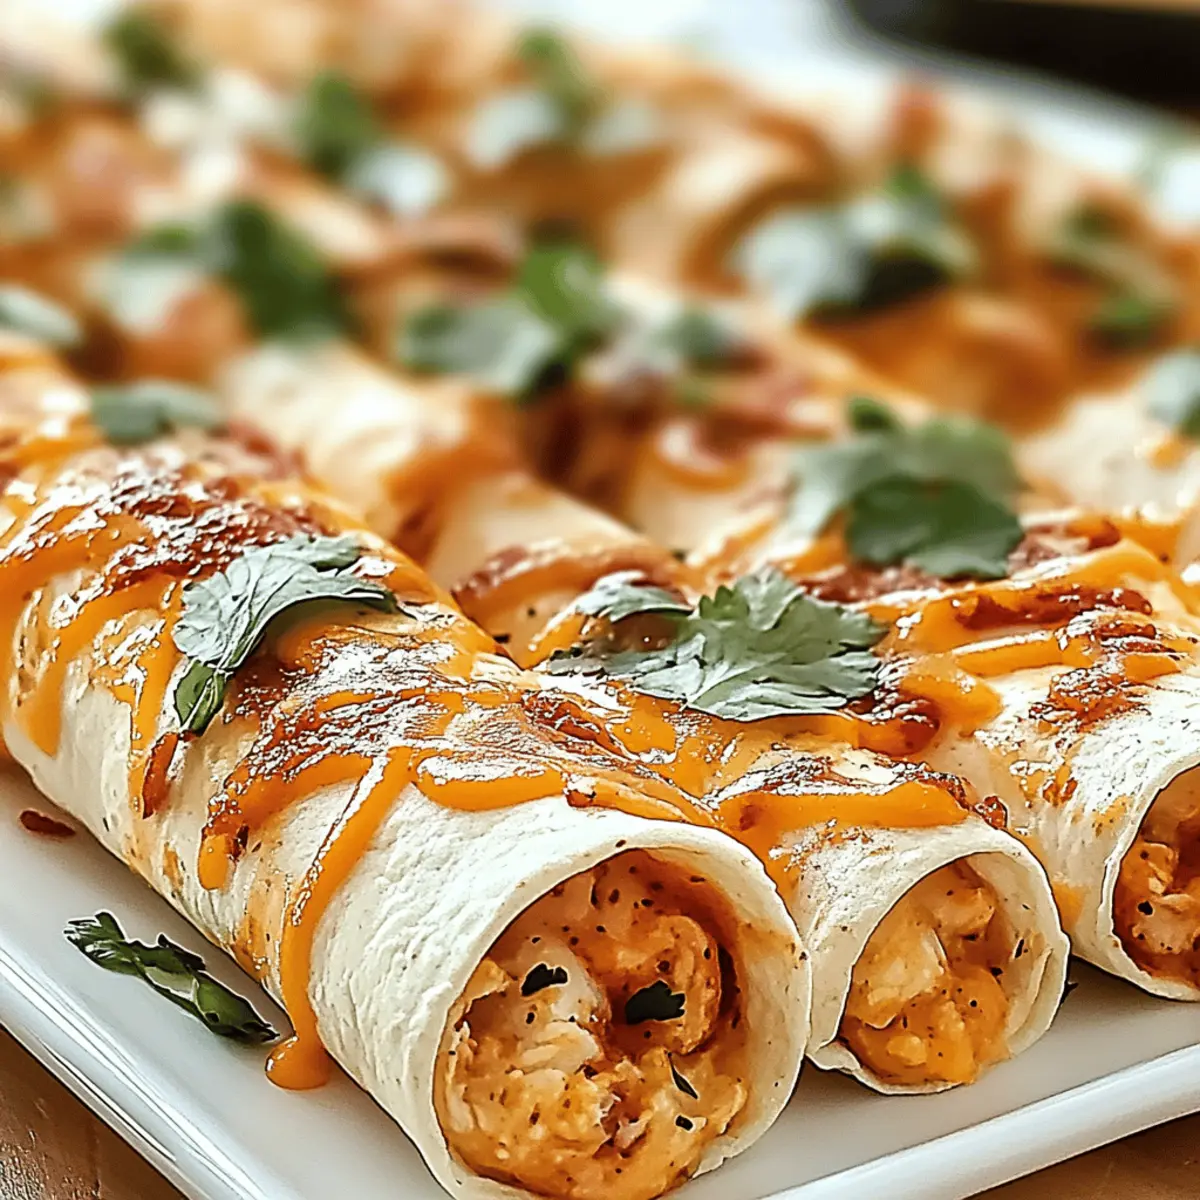
Flavor Explosion: A heavenly mix of savory chicken and melted cheese, paired with enchilada sauce creates an indulgent flavor profile you’ll crave.
Crowd-Pleaser: These roll-ups are perfect for family dinners or gatherings, offering deliciousness that appeals to both kids and adults alike.
Versatile Delight: Customize with vegetables or spices to suit your taste, ensuring everyone can enjoy their personal twist.
Finger Food Fun: Ideal for serving at parties or casual nights in, these roll-ups invite everyone to dig in and share the joy.
Transform your cooking experience with these Chicken Enchilada Roll Ups—your new go-to dish for cozy evenings!
Chicken Enchilada Roll Ups Ingredients
Elevate your dinner with these delicious roll-ups!
For the Chicken
• Boneless, skinless chicken breasts – about 1.5 lbs will give you a juicy filling for your Chicken Enchilada Roll Ups.
For the Tortillas
• Large flour tortillas – these provide a soft and pliable wrap for your flavorful ingredients.
For the Cheese Filling
• Shredded cheese – 2 cups total; combine 1 cup of cheddar and 1 cup of Monterey Jack for a delightful cheesy experience.
For the Sauce
• Enchilada sauce – 1 cup, either store-bought or homemade, amplifies the rich flavors in your roll-ups.
For Serving
• Sour cream – ½ cup to drizzle on top or serve on the side for a creamy counterpoint to the spiciness.
• Sliced jalapeños (optional) – ½ cup if you want to add a zesty kick to your dish.
Step‑by‑Step Instructions for Chicken Enchilada Roll Ups
Step 1: Prepare the Oven and Baking Dish
Preheat your oven to 350°F (175°C). While the oven warms up, grab a medium-sized baking dish and spray it generously with nonstick cooking spray. This ensures that your Chicken Enchilada Roll Ups won’t stick after baking, allowing for easy serving and cleanup later.
Step 2: Cook the Chicken
Season the boneless, skinless chicken breasts with salt, pepper, and garlic powder for an extra flavor boost. Heat a skillet over medium heat, then cook the chicken for 6-7 minutes on each side until it's golden brown and cooked through. The chicken should reach an internal temperature of 165°F before removing it from the skillet.
Step 3: Shred the Chicken
After cooking, let the chicken rest for about 5 minutes to retain its juices. Once rested, shred the chicken into bite-sized pieces using two forks or by hand. This shredded chicken will be the heart of your Chicken Enchilada Roll Ups, making them deliciously comforting and easy to roll up.
Step 4: Prepare the Tortillas
Spread a thin layer of enchilada sauce across each large flour tortilla. This adds moisture and flavor to the roll-ups. Then, evenly distribute a portion of the shredded chicken and a generous handful of shredded cheese onto each tortilla, ensuring every bite will be cheesy and satisfying.
Step 5: Roll and Arrange the Tortillas
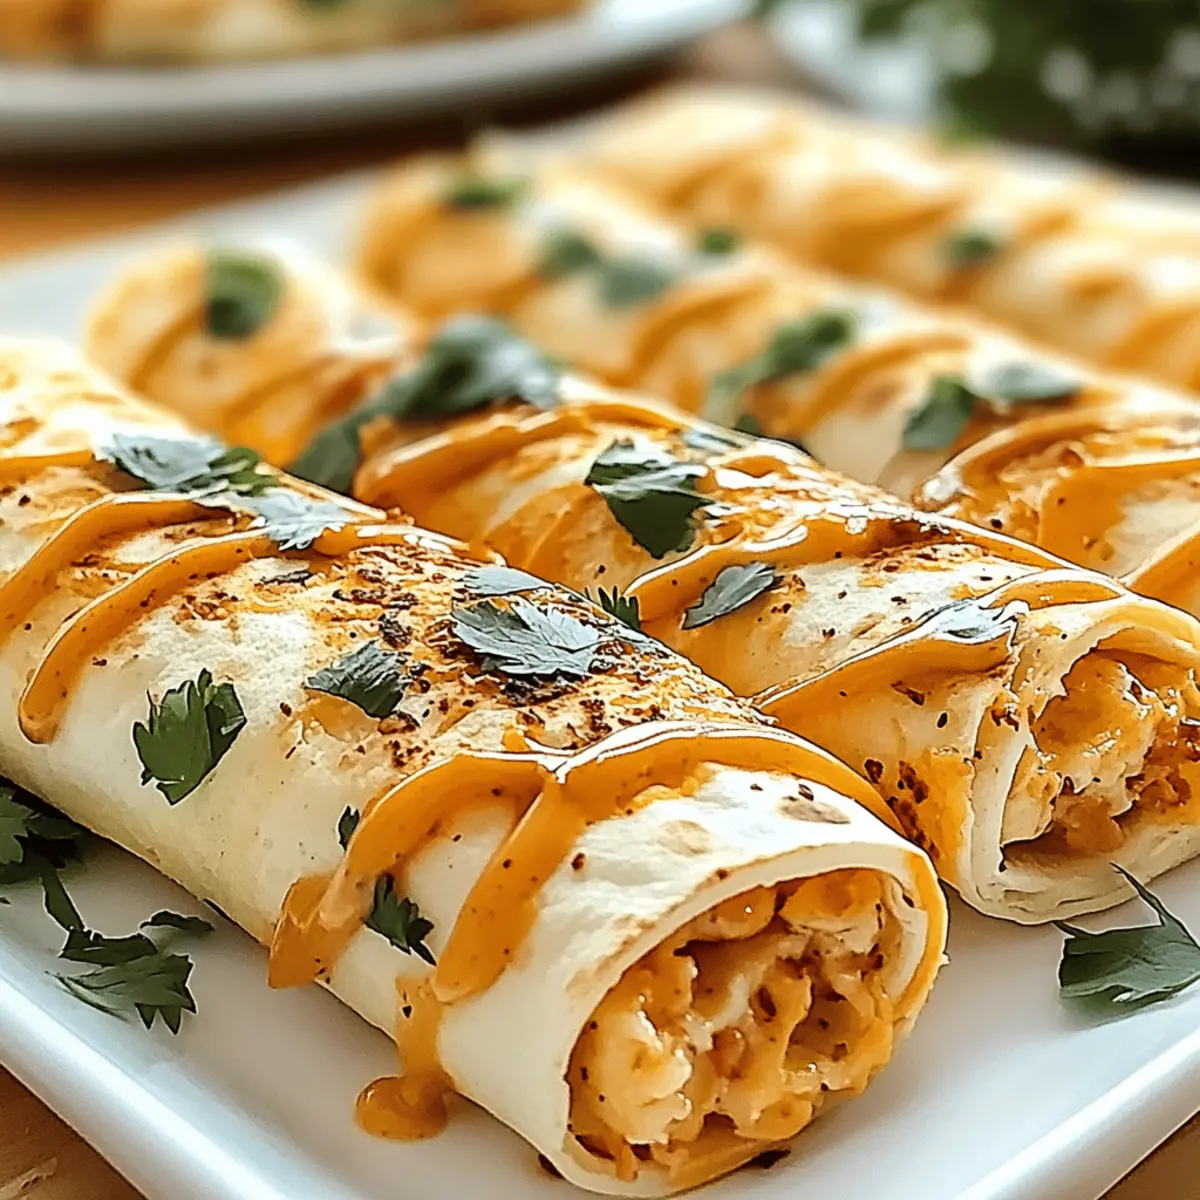
Starting from one end, carefully roll each tortilla tightly around the filling, tucking in the sides as you go. Place each rolled tortilla seam-side down in the prepared baking dish. This will keep them secure and prevent unrolling during baking, which is essential for your Chicken Enchilada Roll Ups.
Step 6: Bake for Perfection
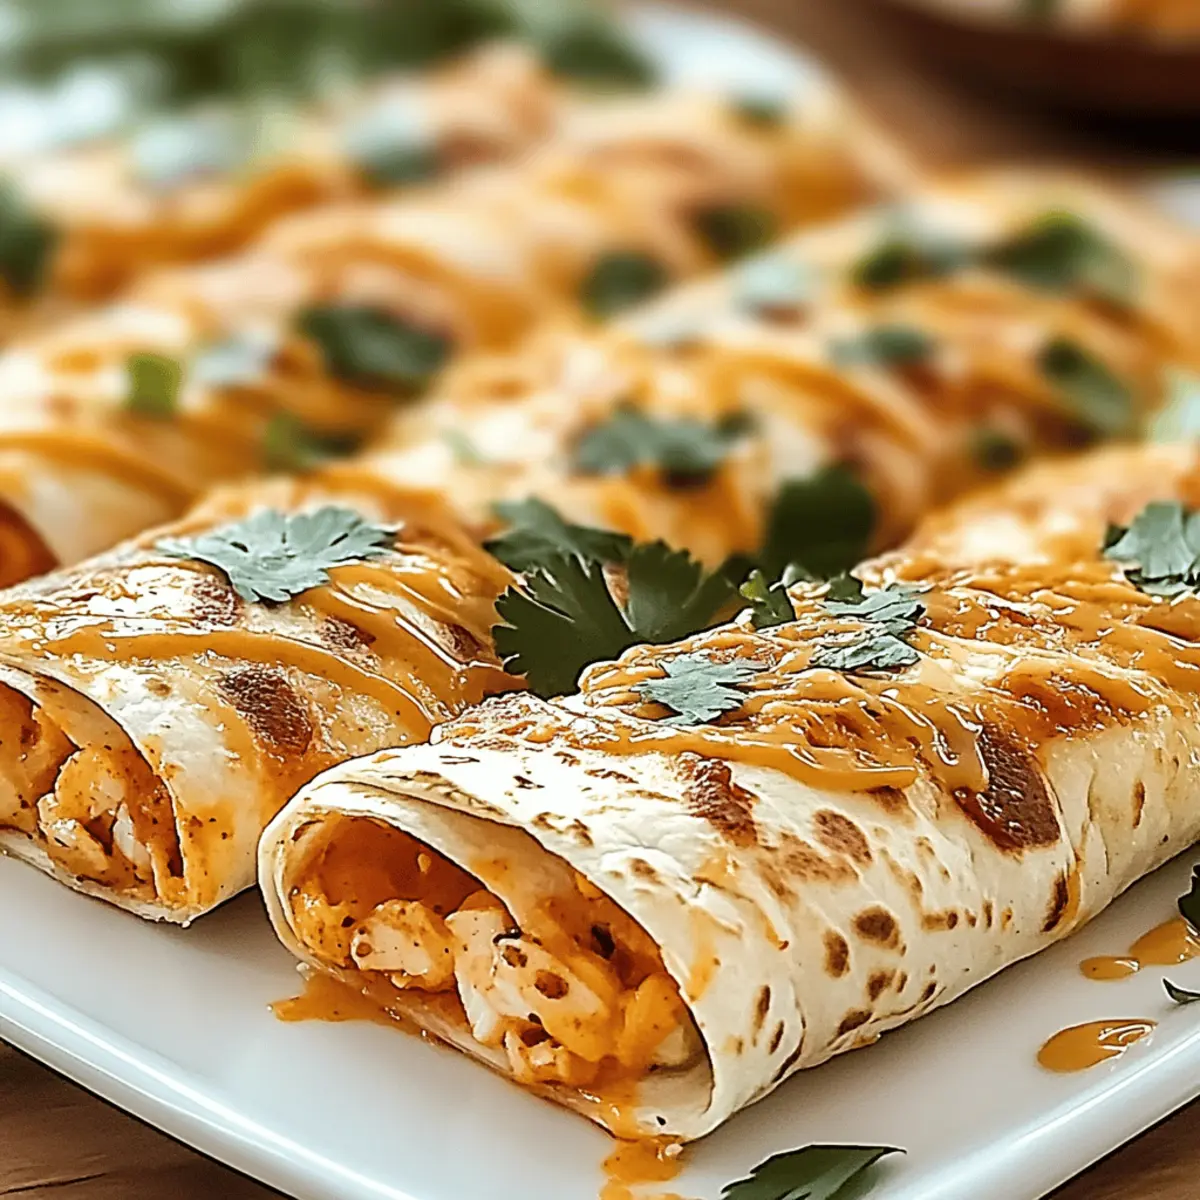
Once all the roll-ups are in the dish, cover them with the remaining enchilada sauce and sprinkle any leftover shredded cheese on top. Bake in the preheated oven for about 20 minutes, or until the cheese is bubbly and slightly golden. This final step enhances the flavor and texture, making your roll-ups irresistible.
Step 7: Serve and Enjoy
After baking, remove the Chicken Enchilada Roll Ups from the oven and let them cool for a few minutes. Serve hot, drizzled with sour cream and topped with sliced jalapeños if desired. This adds a creamy counterpoint to the spices and enriches the overall dining experience, making it a perfect cozy dinner option.
How to Store and Freeze Chicken Enchilada Roll Ups
Fridge: Store leftovers in an airtight container for up to 3 days. Reheat in the microwave or oven until warmed through.
Freezer: To freeze, wrap individual roll-ups tightly in plastic wrap and place in a freezer-safe bag. Enjoy them for up to 3 months!
Reheating: For best results, reheat from frozen in a preheated oven at 350°F (175°C) for about 25-30 minutes, covered with foil to retain moisture.
Serving Suggestion: Serve your Chicken Enchilada Roll Ups with a fresh dollop of sour cream and sliced jalapeños to bring them back to life!
Make Ahead Options
These Chicken Enchilada Roll Ups are perfect for meal prep enthusiasts looking to save time during busy weeknights! You can prepare the roll-ups up to 24 hours in advance by assembling them completely and then covering the baking dish tightly with plastic wrap. Store in the refrigerator to maintain freshness. If you need even more time, they can be prepped and frozen for up to 3 months. Just be sure to let them cool completely before freezing. When you're ready to enjoy, simply bake from frozen (adding an extra 10-15 minutes to the cook time) or refrigerate overnight to thaw, ensuring they're just as delicious when served!
Chicken Enchilada Roll Ups Variations
Feel free to mix and match these tasty variations to create the perfect Chicken Enchilada Roll Ups that suit your cravings!
-
Whole Wheat Tortillas: Swap traditional flour tortillas for whole wheat ones for a healthier twist without sacrificing flavor.
-
Spicy Kick: Add extra heat by including chopped serrano peppers or a dash of hot sauce in the filling for those who love a spicy challenge!
-
Vegetarian Delight: Substitute shredded taco-seasoned mushrooms or black beans for chicken, and heap on the cheese and veggies for an equally delicious option.
-
Cheese Lovers' Extra: Use a blend of pepper jack cheese in place of or alongside Monterey Jack for an added layer of creaminess and flavor complexity.
-
Creamy Avocado: Spread a layer of mashed avocado on the tortillas before adding the filling for a creamy, rich taste that compliments the spice of the enchilada sauce.
-
Smoky Flavor: Incorporate smoked paprika into the chicken seasoning for a wonderfully smoky depth that elevates your roll-ups to a new level of deliciousness.
-
Fruit Twist: For a refreshing contrast, try adding diced mango or pineapple to the filling. The sweet fruit creates a surprising but delightful pop of flavor.
-
Lighter Version: Substitute the sour cream with Greek yogurt for a tangy yet lighter companion that keeps the indulgence without all the fat.
Experiment with these ideas to transform your Chicken Enchilada Roll Ups, making each meal an exciting culinary adventure!
Expert Tips for Chicken Enchilada Roll Ups
-
Chicken Cooking: Use a meat thermometer: Ensure chicken reaches an internal temperature of 165°F for perfectly cooked Chicken Enchilada Roll Ups, avoiding dryness.
-
Tortilla Types: Choose wisely: Opt for large flour tortillas; other types may break, making it tricky to roll and serve your delicious dish.
-
Chili Balance: Adjust the spice: If you're not a fan of heat, reduce or omit jalapeños. This will keep your roll-ups flavorful without overwhelming your palate.
-
Cheese Layering: Don’t skimp: Be generous with cheese both in the filling and on top; it enhances creaminess and creates that irresistible, bubbly topping.
-
Sauce Coverage: Spread evenly: Ensure enchilada sauce is distributed well over the tortillas before rolling to prevent dryness and keep each bite moist and flavorful.
What to Serve with Chicken Enchilada Roll Ups
Pairing the delightful Chicken Enchilada Roll Ups with the perfect sides can elevate your dining experience even further.
-
Creamy Guacamole: This classic dip adds a rich, buttery texture that beautifully contrasts the spiced roll-ups, enhancing the overall flavor.
-
Mexican Street Corn: Roasted corn mixed with mayo, cheese, and spices offers a sweet and savory complement, brightening up each bite.
-
Refreshing Coleslaw: A crunchy slaw with a tangy dressing provides a perfect contrast, balancing the richness of the cheesy roll-ups while adding a refreshing crunch.
-
Cilantro Lime Rice: Fragrant rice infused with zesty lime and fresh cilantro brings bright, herbaceous notes that complement the savory chicken, making for a delightful plate.
-
Pico de Gallo: This fresh salsa adds a burst of vibrant flavor and acidity, enhancing the dish and giving your meal an extra layer of freshness.
-
Chilled Horchata: This creamy, cinnamon-infused beverage cools the palate and rounds out the meal with its sweet, comforting flavors, making it a delightful pairing.
These pairings will not only enhance your Chicken Enchilada Roll Ups but also create a feast that leaves everyone asking for seconds!
Chicken Enchilada Roll Ups Recipe FAQs
What is the best way to select ripe chicken for this recipe?
Absolutely! Look for chicken breasts that are pink in color, without any dark spots or an off smell. Fresh chicken should feel firm to the touch, while any sliminess is a red flag. It's always best to buy organic or free-range chicken if possible for the best flavor!
How should I store leftover Chicken Enchilada Roll Ups?
To keep your roll-ups fresh, store them in an airtight container in the refrigerator. They’ll stay good for up to 3 days. Just make sure to let them cool down before sealing to avoid condensation, which can make them soggy.
Can I freeze Chicken Enchilada Roll Ups?
Very much so! To freeze, wrap each roll-up tightly in plastic wrap, then place them in a freezer-safe bag. They can be stored in the freezer for up to 3 months. When you're ready to enjoy, simply reheat from frozen in a preheated oven at 350°F (175°C) for about 25-30 minutes, covered with foil to retain moisture.
What can I do if my tortillas break while rolling?
If your tortillas are cracking, they might be too cold or not pliable enough. Always warm them slightly in the microwave for 15-20 seconds before filling. This will help soften them, preventing tears while rolling!
Are there any dietary considerations I should keep in mind?
Yes! If you or your guests have food allergies, be sure to check the ingredients of the enchilada sauce, tortillas, and cheese. For a gluten-free option, you can use gluten-free tortillas. If you're worried about spicy foods, simply omit jalapeños or choose milder cheese to keep things kid-friendly!
Indulge in Easy Chicken Enchilada Roll Ups for a Cozy Dinner
Ingredients
Equipment
Method
- Preheat your oven to 350°F (175°C) and prepare a medium-sized baking dish with nonstick cooking spray.
- Season the chicken breasts with salt, pepper, and garlic powder. Cook in a skillet over medium heat for 6-7 minutes on each side until golden brown and cooked through.
- Let the chicken rest for 5 minutes, then shred into bite-sized pieces.
- Spread a thin layer of enchilada sauce on each tortilla, then add shredded chicken and cheese.
- Roll each tortilla tightly, tuck in the sides, and place seam-side down in the baking dish.
- Cover the roll-ups with remaining enchilada sauce and cheese, then bake for about 20 minutes until bubbly and golden.
- Allow to cool for a few minutes, then serve drizzled with sour cream and topped with jalapeños.

Leave a Reply