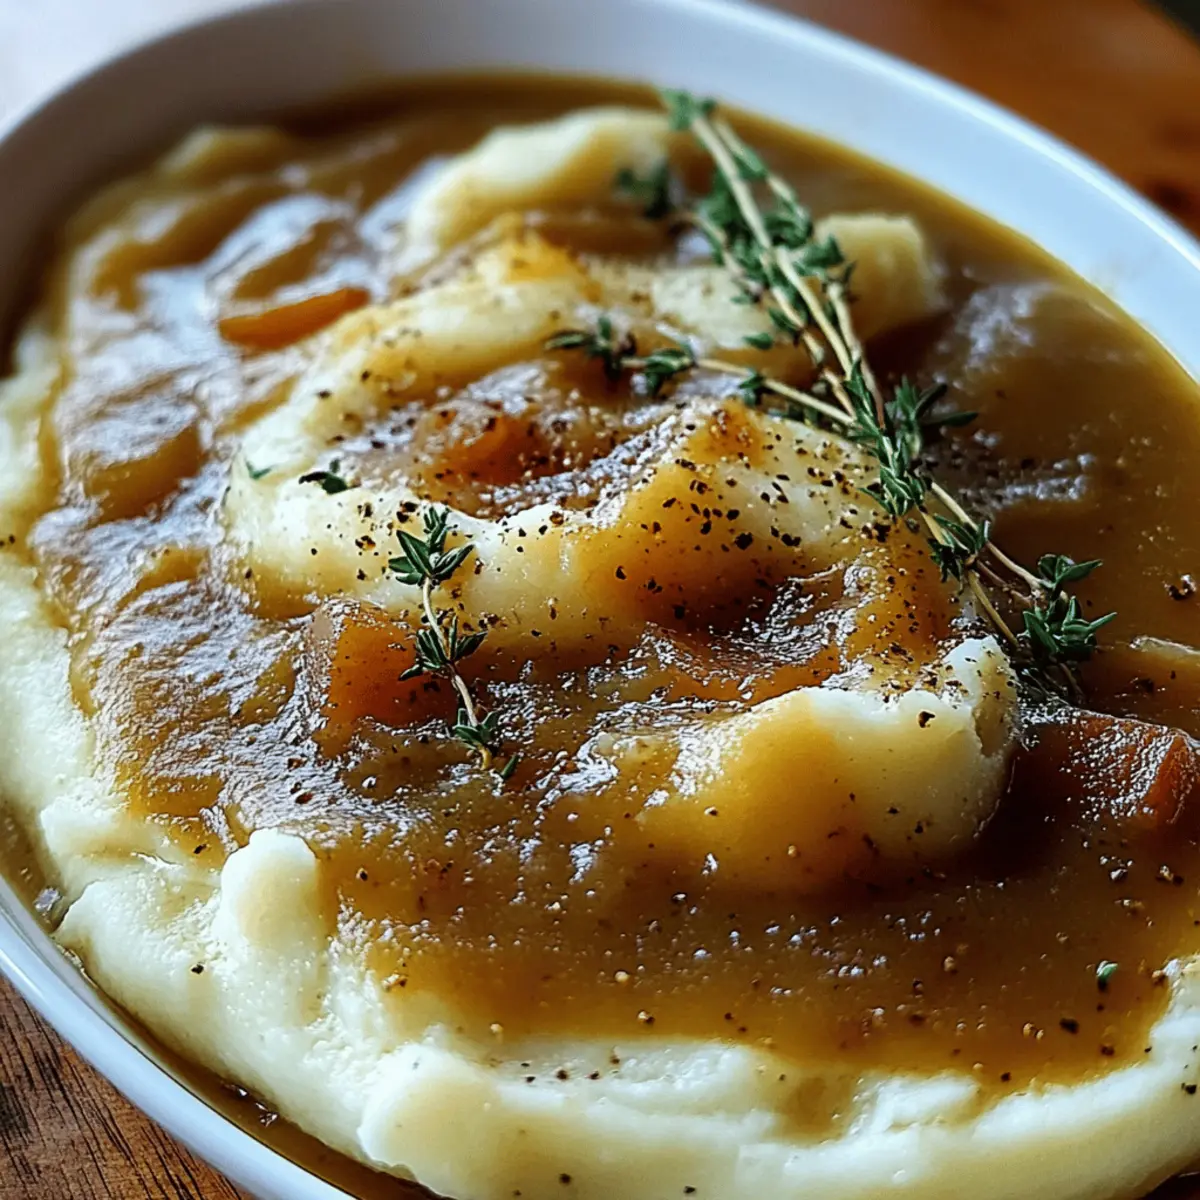
The aroma of sizzling onions wafting through the kitchen is like a warm hug from a favorite memory. Today, I’m excited to share my go-to recipe for Onion Gravy, a culinary delight that transforms simple meals into extraordinary feasts. Not only is this recipe quick to prepare, taking just 30 minutes from start to finish, but it’s also a versatile companion to countless dishes, elevating everything from mashed potatoes to roasted chicken. With just a handful of ingredients, you'll create a rich and velvety sauce that comforts and satisfies. Ready to take your homemade meals from ordinary to unforgettable? Let’s dive into the delicious world of Onion Gravy and make your taste buds dance with joy!
Why is Onion Gravy a Must-Try?
Irresistible Flavor: This onion gravy is rich and savory, thanks to caramelized onions and a perfect blend of seasonings.
Quick & Easy: With just 30 minutes of your time, you can whip up this delicious sauce, making it ideal for busy weeknights.
Versatility at Its Best: This gravy pairs beautifully with a variety of dishes, from meatloaf to mashed potatoes, enhancing every bite.
Kitchen Comfort: The warm aroma will fill your home, creating a cozy atmosphere that delights family and friends.
Satisfying & Heartwarming: It’s the perfect addition to elevate ordinary meals into comforting classics that everyone will love!
Onion Gravy Ingredients
For the Base
• Yellow onions – The star of your onion gravy; their sweetness will develop through caramelization.
• Unsalted butter – Adds a rich, creamy flavor and helps achieve that golden-brown sheen.
• All-purpose flour – Acts as a thickening agent, giving the gravy its velvety texture.
For the Broth
• Beef broth (or vegetable broth for vegetarian) – Provides a deep, savory foundation; choose according to your diet.
• Worcestershire sauce – A dash adds umami depth and complexity to the pool of flavors.
Seasoning It Right
• Garlic powder – Enhances the natural sweetness of the onions with a hint of earthiness.
• Salt – Essential for bringing out the flavors; season to taste.
• Black pepper – A sprinkle adds a welcome kick of warmth.
• Fresh thyme leaves (optional) – For a touch of herbal freshness that pairs beautifully with the richness of the gravy.
Step‑by‑Step Instructions for Onion Gravy
Step 1: Melt the Butter
Begin by heating a large skillet over medium heat, and add 4 tablespoons of unsalted butter. Allow the butter to melt completely, which will take about 2 minutes. Watch for it to foam and become slightly bubbly, creating a perfect foundation for the rich flavors to develop in your onion gravy.
Step 2: Sauté the Onions
Once the butter has melted, add 3 large, thinly sliced yellow onions to the skillet. Cook the onions, stirring frequently, for 15–20 minutes until they turn deeply golden brown and caramelized. Keep an eye on them; they should soften and become sweetly aromatic, enhancing the base of your flavorful onion gravy.
Step 3: Add Flour
After caramelizing the onions, sprinkle in 3 tablespoons of all-purpose flour. Stir continuously for about 2–3 minutes, allowing the flour to absorb the butter and onion juices. This step is crucial for removing any raw flour taste while creating a smooth, thick texture for your onion gravy.
Step 4: Incorporate the Broth
Gradually whisk in 2 cups of warm beef or vegetable broth into the onion-flour mixture. Stir constantly to prevent lumps from forming as the gravy begins to take shape. In just a few minutes, you'll notice the mixture becoming rich and creamy, which is essential for a delicious onion gravy.
Step 5: Season the Mixture
Add 1 tablespoon of Worcestershire sauce, ½ teaspoon of garlic powder, and salt and black pepper to taste. Stir these seasonings into the gravy and let the flavors meld together. This will bring depth and a savory kick to your onion gravy, making it even more irresistible.
Step 6: Simmer and Thicken
Allow the gravy to simmer over low heat for 5–7 minutes, stirring occasionally. You’ll notice it thickening to your desired consistency during this time. If it's too thick, feel free to add a splash more broth; a perfect onion gravy should be velvety and smooth, coating the back of a spoon.
Step 7: Add Fresh Thyme (Optional)
For a hint of herbal freshness, stir in 1 teaspoon of fresh thyme leaves, if using. Allow the thyme to infuse its flavor into the gravy for another minute or so. This optional step adds an extra layer of complexity to your onion gravy, enhancing its profile and aroma.
Step 8: Final Taste and Serve
Before serving your delicious onion gravy, taste and adjust the seasoning as needed. Serve warm alongside your favorite comfort foods, such as meatloaf or mashed potatoes, to elevate your meal with the rich, homemade flavor that everyone will love.

Expert Tips for Onion Gravy
Caramelization Matters: Ensure the onions cook long enough to achieve that beautiful golden-brown color. This step is essential for the rich flavor of your onion gravy.
Watch the Heat: Cooking on medium heat is key. Too high, and the onions might burn; too low, and they’ll take too long to caramelize.
Prevent Lumps: When whisking in the broth, do it gradually while stirring constantly. This avoids lumps and ensures a silky smooth onion gravy.
Adjust Consistency: If your gravy thickens too much, don’t hesitate to add a little more broth until it reaches your preferred texture.
Taste Test: Always taste your onion gravy before serving to adjust seasoning with salt and pepper as needed for optimal flavor.
Versatile Pairing: This onion gravy doesn’t just complement meatloaf; try it with roasted chicken or even as a delicious topping for veggies!
What to Serve with Onion Gravy
Elevate your meals with hearty side dishes that embrace the comforting richness of this versatile sauce.
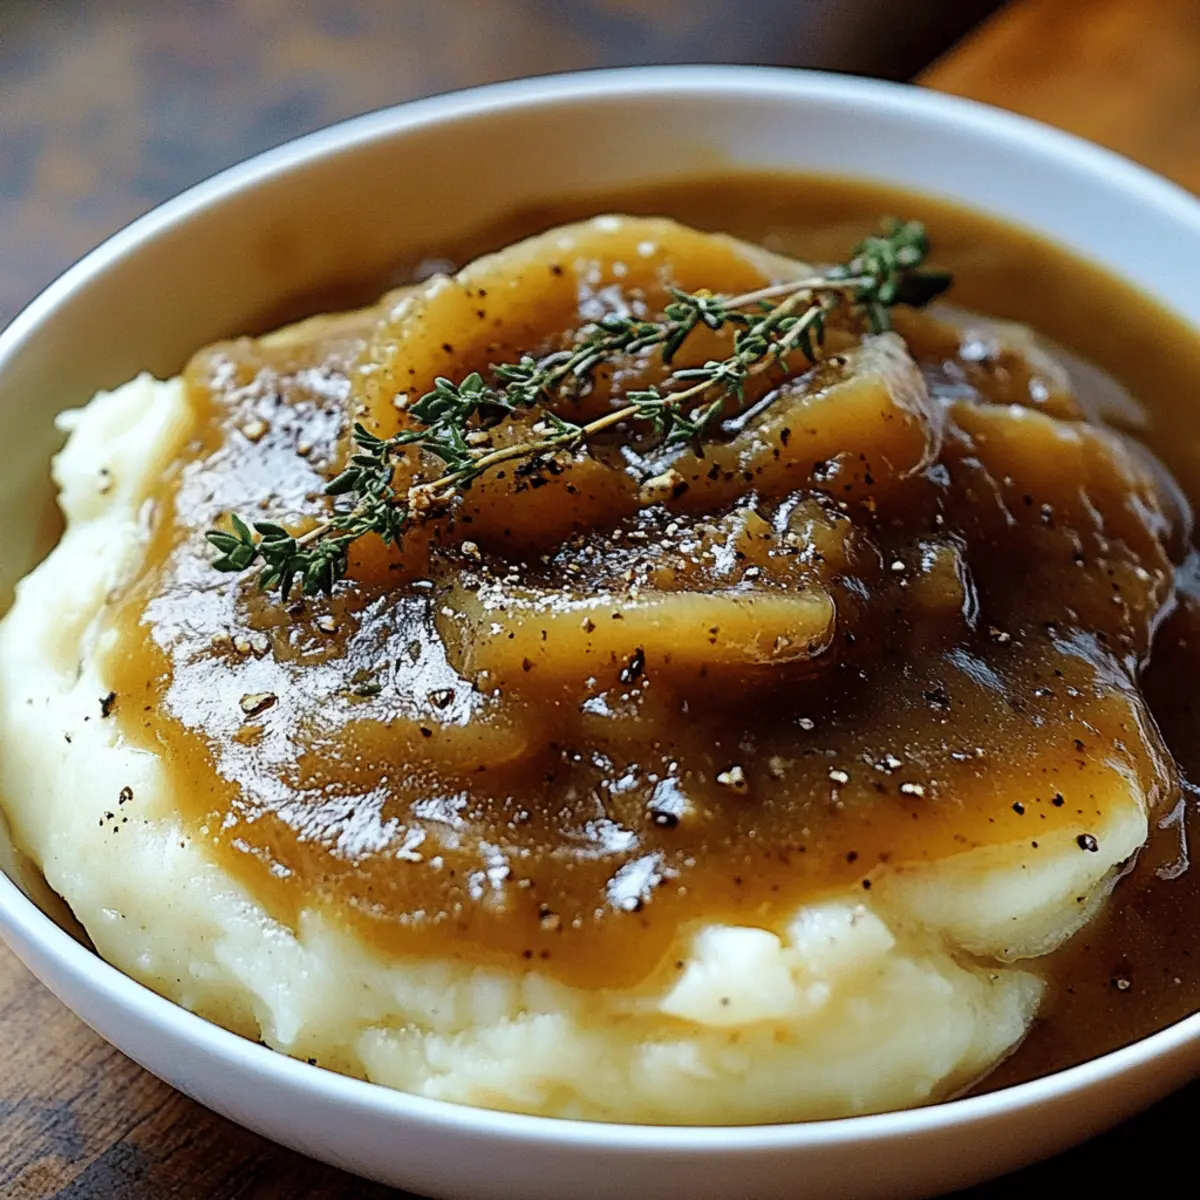
- Creamy Mashed Potatoes: Silky and smooth, they absorb the delicious onion gravy, creating a mouthwatering combination that's perfect for any meal.
- Savory Meatloaf: A classic pairing, the juicy meatloaf drenched in onion gravy brings warmth and satisfaction to family dinners.
- Roasted Chicken: The rich flavors of the gravy enhance the juicy, tender chicken, making every bite a delightfully comforting experience.
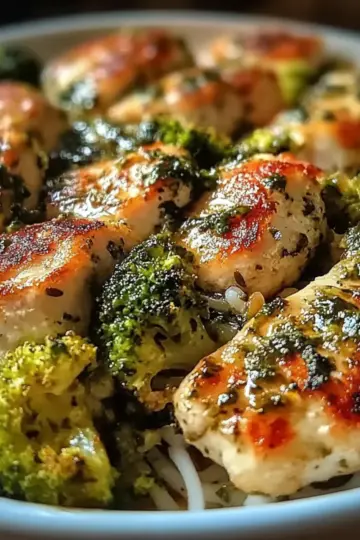
- Steamed Vegetables: Crisp-tender veggies like broccoli or green beans contrast the creamy gravy, adding freshness and a pop of color to your plate.
- Crusty Bread: Sopping up the luscious onion gravy with a warm, crusty loaf offers a rustic touch that’s hard to resist.
- Baked Potatoes: Fluffy baked potatoes topped with melty butter and onion gravy create an indulgent yet simple comfort dish.
- Homemade Biscuits: Flaky biscuits slathered with onion gravy provide the ultimate southern comfort, perfect for brunch or dinner.
- Sautéed Mushrooms: Earthy mushrooms cooked in butter complement the sweetness of the onions, turning up the umami level of your meal.
- Glass of Red Wine: A smooth red wine can beautifully balance the flavors of the onion gravy, enhancing the overall dining experience.
- Chocolate Cake: An unexpected pairing, the sweetness of rich chocolate cake contrasts with the savory notes of onion gravy for a playful finish.
Make Ahead Options
These onion gravy preparations are perfect for busy home cooks looking to save time during their weeknight meals! You can caramelize the onions and prepare the flour mixture up to 24 hours in advance, storing them in an airtight container in the fridge. The gravy itself can also be made entirely and refrigerated for up to 4 days. To maintain quality, let the gravy cool completely before transferring it, and reheat gently on the stove while adding a splash of broth if needed. When ready to serve, simply whisk in Worcestershire sauce and seasonings before simmering for a few minutes, ensuring your made-ahead onion gravy is just as delicious as freshly made!
Onion Gravy Variations & Substitutions
Embrace your culinary creativity with these delightful twists on your onion gravy that will inspire your taste buds!
- Vegan Option: Substitute butter with olive oil and beef broth with vegetable broth for a plant-based gravy.
- Herb Infusion: Mix in fresh herbs like rosemary or sage for a fragrant, herbal flavor that complements the onions beautifully.
- Mushroom Medley: Add sautéed mushrooms before whisking in the broth for an earthy, umami boost. Their texture creates a lovely contrast.
- Spicy Kick: Stir in a dash of cayenne pepper or crushed red pepper flakes for a delightful heat that elevates your gravy's flavor profile.
- Onion Variety: Experiment with different types of onions, such as red or sweet onions, for a unique twist and varying sweetness levels.
- Creamy Dream: Incorporate a splash of heavy cream or half-and-half at the end for an extra luxurious and creamy texture. You'll love the smoothness!
- Smoky Flavor: Add a teaspoon of smoked paprika or a dash of liquid smoke for a warm, smoky depth. It will take your gravy to the next level!
- Nutty Touch: Stir in a tablespoon of finely chopped toasted walnuts or pecans for a crunchy element and a nutty flavor to balance the sweetness.
Feel free to mix and match these ideas to create your perfect version of onion gravy!
How to Store and Freeze Onion Gravy
Fridge: Allow the onion gravy to cool completely before transferring it to an airtight container. It will keep well in the refrigerator for up to 4 days, ready to elevate your meals.
Freezer: For longer storage, freeze the onion gravy in a freezer-safe container or bag, removing as much air as possible. It can be stored for up to 2 months, ensuring you always have a savory option available.
Reheating: When you're ready to enjoy, reheat the frozen gravy in a saucepan over low heat, stirring occasionally. Add a splash of broth if necessary to regain its creamy consistency.
Thawing: For best results, thaw your onion gravy overnight in the refrigerator before reheating, so it’s ready to help you whip up a comforting dish in no time.

Onion Gravy Recipe FAQs
How do I choose the right onions for my onion gravy?
Absolutely! When selecting yellow onions, look for ones that are firm and without dark spots or blemishes. They should have a smooth skin and feel heavy for their size. Avoid any onions that have sprouted or feel soft to the touch, as these may affect the flavor of your onion gravy.
How should I store leftover onion gravy?
Let your onion gravy cool completely before transferring it to an airtight container. It will keep well in the refrigerator for up to 4 days. Be sure to label it with the date so you can enjoy it at its best!
Can I freeze onion gravy for later use?
Very! To freeze your onion gravy, ladle it into a freezer-safe container or a resealable bag, ensuring to remove as much air as possible. It can be stored for up to 2 months. When you’re ready to use it, thaw overnight in the refrigerator, and reheat slowly on the stovetop, adding a splash of broth if needed for the right consistency.
What should I do if my onion gravy is too thin?
If your onion gravy turns out thinner than desired, don’t worry! Simply mix 1 tablespoon of cornstarch with a little cold water to create a slurry. Gradually add this to your gravy over low heat while stirring continuously until it thickens. Alternatively, you can let it simmer uncovered on low heat to help reduce and thicken naturally.
Are there any dietary considerations I should keep in mind?
Enjoying a comforting onion gravy can still be adaptable! For a vegetarian option, opt for vegetable broth instead of beef broth. Additionally, if allergies or sensitivities are a concern, make sure to double-check the ingredients in Worcestershire sauce, as some brands may contain fish derivatives.
Irresistibly Good Onion Gravy in Just 30 Minutes!
Ingredients
Equipment
Method
- Melt the butter in a large skillet over medium heat for about 2 minutes until foamy.
- Sauté the sliced onions, stirring frequently, for 15–20 minutes until caramelized.
- Add the flour and stir for 2-3 minutes to remove raw flour taste.
- Whisk in the broth gradually, stirring constantly to avoid lumps.
- Season the mixture with Worcestershire sauce, garlic powder, salt, and pepper.
- Simmer for 5-7 minutes, stirring occasionally until thickened to desired consistency.
- Stir in thyme if using, and let it infuse for another minute.
- Taste and adjust seasoning before serving warm.


Leave a Reply