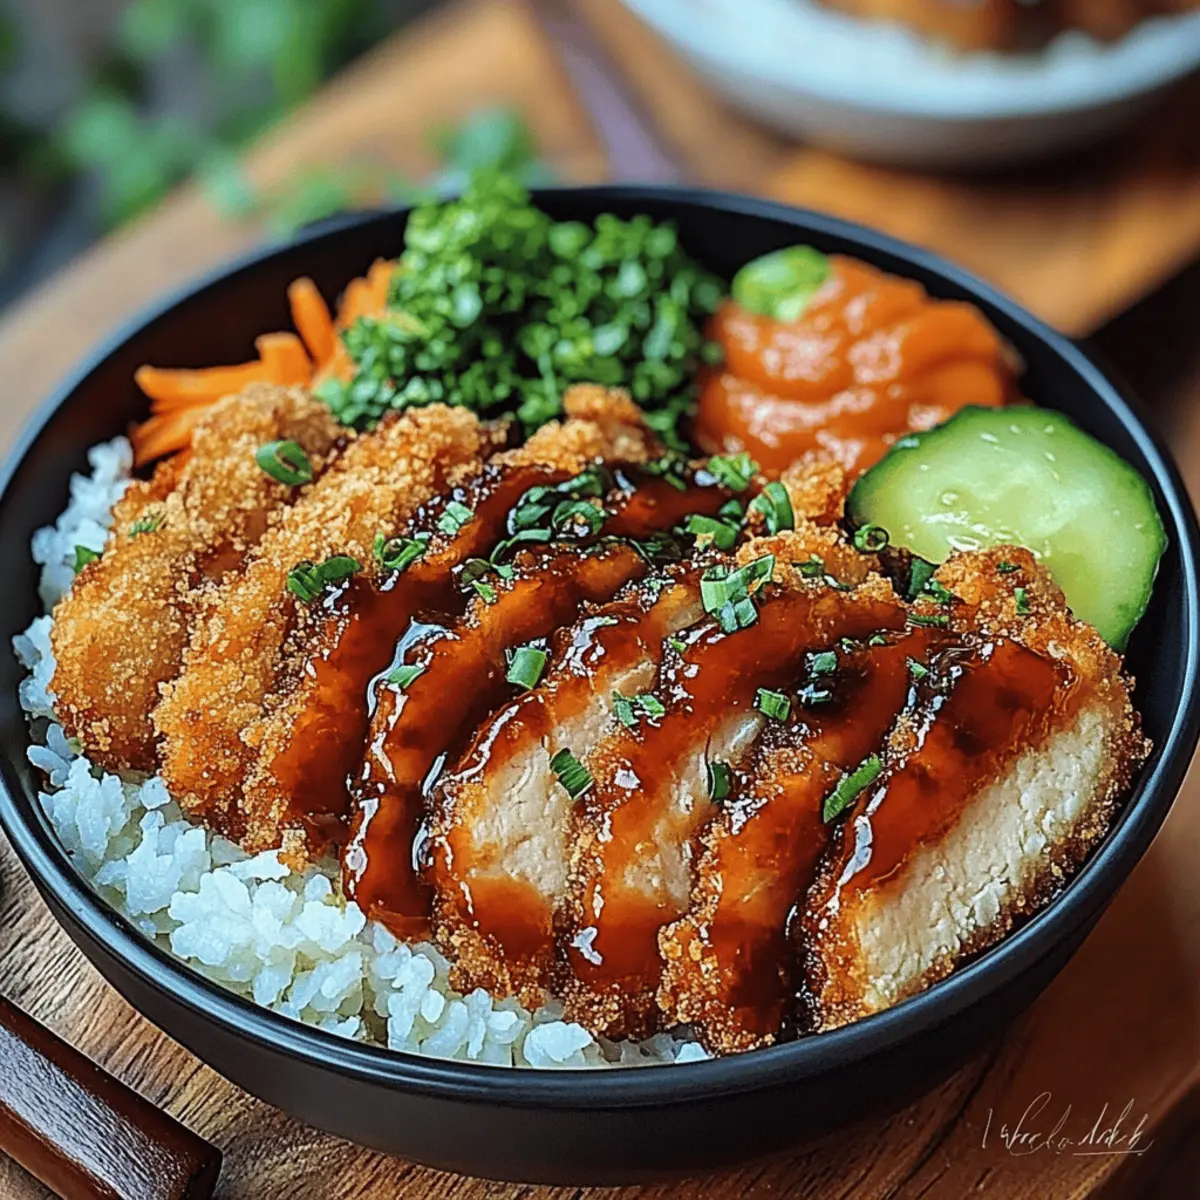
The tantalizing aroma of sizzling cutlets fills the kitchen as I eagerly prepare to make Japanese Katsu Bowls with Tonkatsu Sauce. Nothing beats the satisfaction of crispy, golden pork cutlets served over fluffy rice, all drizzled with that irresistible sweet-savory sauce. This comforting dish is perfect for busy weeknights or meal prep, allowing you to enjoy incredible Japanese flavors in your own home. Plus, with options for chicken katsu and hearty vegetarian versions using tofu or eggplant, there's a variation for everyone at the table. So, are you ready to dig into a delightful culinary adventure? Let’s get cooking!
Why Are Katsu Bowls So Irresistible?
Crispy, satisfying texture: The delightful crunch of perfectly fried cutlets lays the foundation for an enjoyable eating experience.
Customizable options: Make it your own! Choose between pork, chicken, or even tofu, ensuring everyone finds their perfect fit.
Nutritious comfort: Fluffy rice paired with hearty toppings creates a comforting and filling meal that doesn’t skimp on nutrition.
Quick and easy: This dish is efficient—ideal for busy weeknights or meal prep to savor fantastic flavors any day of the week.
Deliciously umami: The tonkatsu sauce adds a rich, sweet-savory taste, elevating the dish in a way that’s always satisfying and crowd-pleasing.
Dive into this recipe for Japanese Katsu Bowls with Tonkatsu Sauce and explore the magic of homemade cooking; you won’t be disappointed!
Japanese Katsu Bowls Ingredients
• Get ready for a flavorful feast!
For the Katsu
- Pork Loin Chops – The main protein providing rich flavor, but feel free to swap for chicken for chicken katsu or tofu for a vegetarian alternative.
- All-Purpose Flour – Creates a dry coating that helps achieve crispiness; use gluten-free flour for a gluten-free option.
- Egg – Binds the breadcrumbs, ensuring a thick, crunchy coating; a flax egg works great for a vegan substitute.
- Panko Breadcrumbs – Essential for that signature crunch; regular breadcrumbs can be used, but will yield a different texture.
- Salt and Pepper – Enhances the pork's natural flavors, so don’t skip this step!
For the Rice
- Japanese Short-Grain Rice – Provides the fluffy base for the dish; sushi rice or Calrose works best, while long-grain rice should be avoided.
- Rice Vinegar (optional) – Adds a subtle acidity to season the rice, elevating its flavor profile.
For the Tonkatsu Sauce
- Ketchup – Adds sweetness to balance the sauce's flavors.
- Worcestershire Sauce – Contributes depth and complexity to the sauce.
- Oyster Sauce – Enhances umami richness; feel free to skip for a vegetarian version.
- Soy Sauce – Adds savory depth; use tamari for a gluten-free option.
- Sugar – Adjust sweetness to your taste, making the sauce perfectly balanced.
Optional Toppings
- Japanese Mayo – Adds creaminess for a delightful finish.
- Green Onion – Brightens the dish with fresh flavor.
- Sesame Seeds – Provides a lovely crunch for added texture.
- Pickled Ginger – A refreshing element that cuts through rich flavors.
- Shredded Cabbage – Adds crunch and a refreshing contrast to the katsu.
Gather these ingredients, and you're well on your way to creating delicious Japanese Katsu Bowls with Tonkatsu Sauce that everyone will love!
Step‑by‑Step Instructions for Japanese Katsu Bowls with Tonkatsu Sauce
Step 1: Prepare the Pork
Start by drying the pork loin chops with a paper towel, then pound them to a uniform ¼-inch thickness using a meat mallet. This ensures even cooking and a tender texture. Season both sides generously with salt and pepper, enhancing the natural flavor of the pork, which will shine in your Japanese Katsu Bowls with Tonkatsu Sauce.
Step 2: Set Up the Breading Station
Create a breading station by setting up three shallow bowls: one for all-purpose flour, another for a beaten egg, and the last for panko breadcrumbs. This organized setup will aid in smoothly coating each pork chop. Gather your equipment so you can transition easily from one step to the next when breading the cutlets.
Step 3: Bread the Cutlets
Dredge each seasoned pork chop in flour, ensuring a light coating that sticks. Next, dip it into the beaten egg, letting any excess drip off. Finally, coat it generously with panko breadcrumbs for that signature crunch. Make sure each cutlet is fully covered to achieve a beautifully crispy finish once fried.
Step 4: Heat the Oil
In a large skillet, pour in enough vegetable oil to reach about ½ inch in depth, then heat it over medium-high heat until it reaches 340–350°F (170–175°C). You can test the temperature by adding a few panko crumbs; they should sizzle upon contact. This is crucial for getting that perfect golden-brown crust on your katsu.
Step 5: Fry the Cutlets
Carefully place the breaded cutlets into the hot oil, ensuring not to overcrowd the pan—fry them in batches if needed. Cook for about 2–3 minutes on each side, or until they are golden and crispy. Use tongs to flip them, then remove the cutlets and drain them on a wire rack to maintain their crunch and avoid sogginess.
Step 6: Cook the Rice
While the katsu is frying, rinse the Japanese short-grain rice under cold water until the water runs clear. Cook the rice according to package instructions, ensuring it's fluffy and slightly sticky. If desired, mix in a splash of rice vinegar and a pinch of salt after cooking to enhance the flavor, setting a lovely backdrop for your katsu.
Step 7: Make the Tonkatsu Sauce
In a small saucepan, combine ketchup, Worcestershire sauce, oyster sauce, soy sauce, and sugar. Heat over low to medium heat, stirring gently until the sugar is completely dissolved and the mixture is well blended. This homemade tonkatsu sauce will bring a deliciously sweet-savory flavor to your Japanese Katsu Bowls, so don’t rush this step!
Step 8: Assemble the Bowls
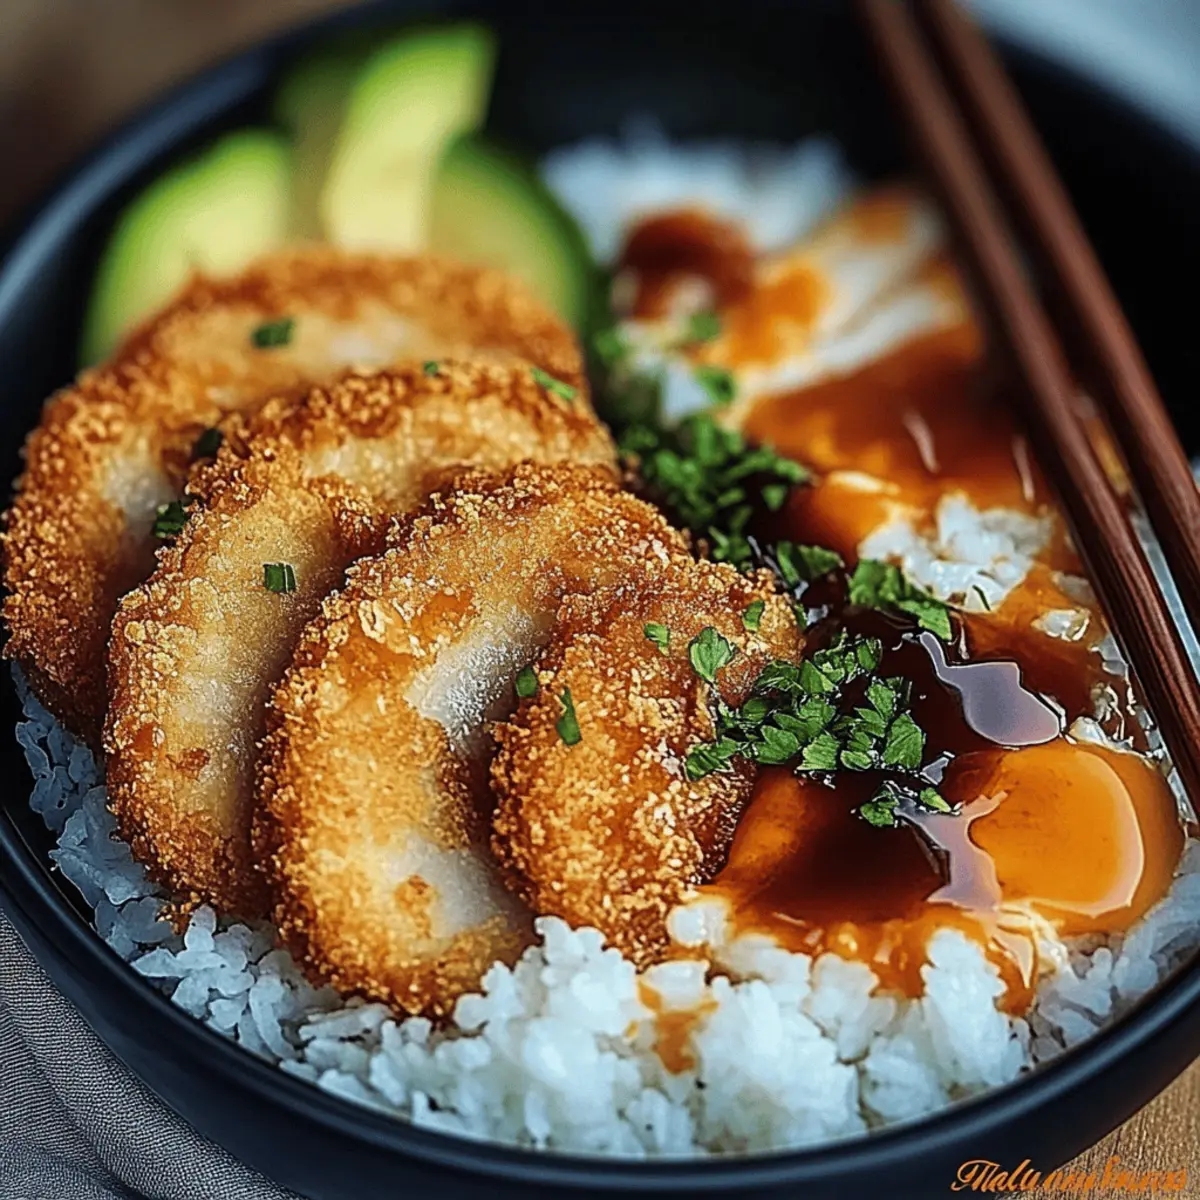
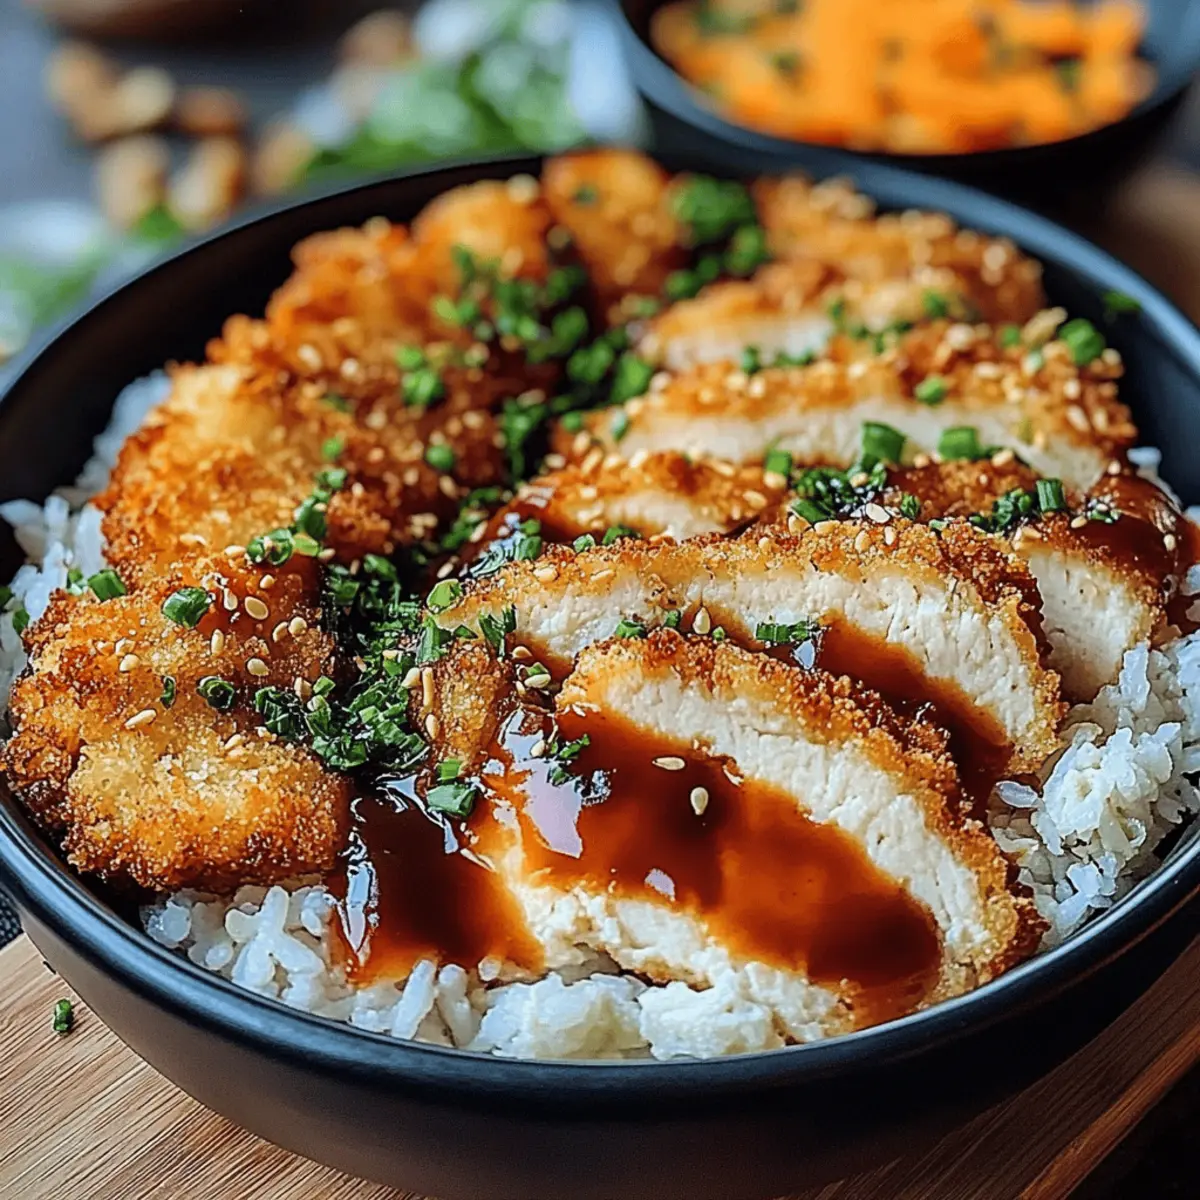
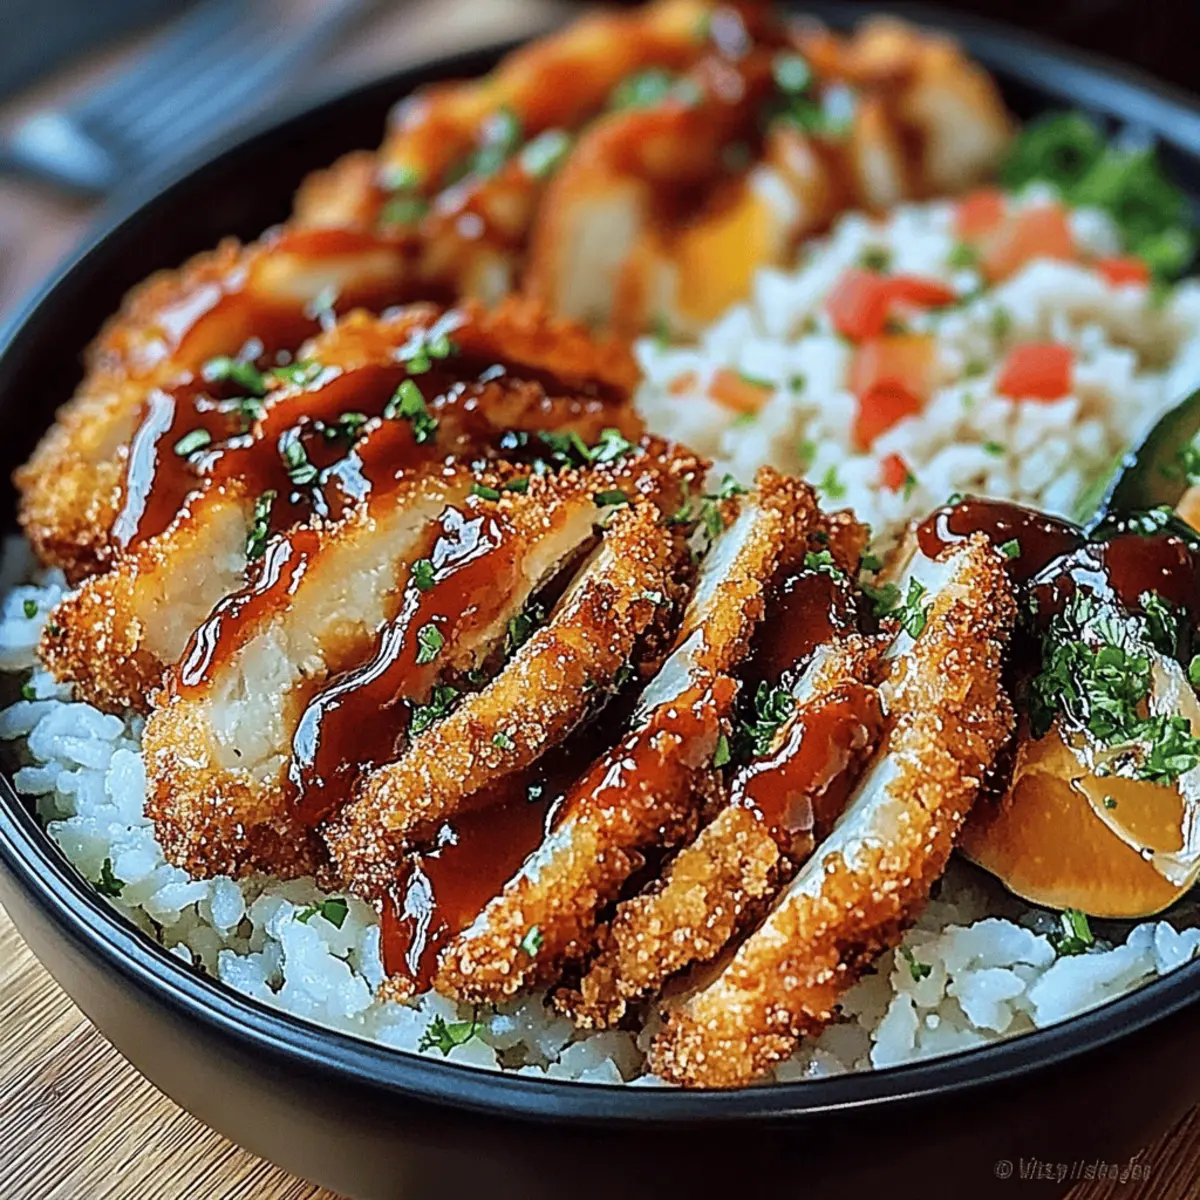
Scoop generous portions of the cooked rice into bowls, then place the crispy katsu cutlets on top. Drizzle the homemade tonkatsu sauce over the cutlet, allowing it to soak in slightly. Feel free to add optional toppings like Japanese mayo, thinly sliced green onion, sesame seeds, pickled ginger, or shredded cabbage for extra flavor and texture, completing your delightful Japanese Katsu Bowls with Tonkatsu Sauce.
Storage Tips for Japanese Katsu Bowls
Fridge: Store leftover katsu in an airtight container in the fridge for up to 3 days, keeping the rice and sauce separate to maintain quality.
Freezer: If you need to freeze katsu, wrap each cutlet in foil or freezer-safe bags, and it can last up to 2 months. Allow to cool before freezing.
Reheating: To restore the crispy texture, reheat the katsu in an air fryer or toaster oven until heated through. Avoid using a microwave, as it can make the coating soggy.
Sauce Storage: The tonkatsu sauce can be refrigerated for up to one week. Store it in a sealed jar for easy access when you enjoy your Japanese Katsu Bowls again!
Japanese Katsu Bowls Variations & Substitutions
Feel free to unleash your creativity and tailor these katsu bowls to your liking—let your kitchen be your canvas!
-
Chicken Katsu: Substitute pork with boneless chicken thighs or breasts for a lighter option. The flavor will still shine through!
-
Vegetarian Delight: Swap out pork for firm tofu or thick slices of eggplant, following the same breading process for a delightful meatless meal. Each bite will be fantastic!
-
Gluten-Free: Use gluten-free flour and panko breadcrumbs to enjoy this dish without worry. You won’t miss a thing in taste!
-
Air Fried Cutlets: Consider baking or air frying the cutlets for a healthier twist without sacrificing crispiness. It’s a great way to enjoy katsu with less oil!
-
Spicy Kick: Add a touch of chili powder or cayenne pepper to the flour mix to infuse some heat into your katsu. Just a little spice can elevate the flavor profile wonderfully.
-
Sushi Rice: Instead of short-grain rice, try sushi rice for a stickier consistency that pairs perfectly with katsu. It's delightful and complements the dish beautifully.
-
Extra Crunch: Top your finished bowls with crispy fried onions or crushed peanuts for an added layer of texture and flavor that takes it over the top!
-
Sweet Sauce Variation: Mix in a splash of honey or maple syrup with the tonkatsu sauce for an adventurous sweet-savory blend that tantalizes the taste buds. It's a twist everyone should try!
With these variations, you’re all set to create the most personalized and delicious Japanese Katsu Bowls with Tonkatsu Sauce ever! Enjoy experimenting and putting your own spin on this classic dish!
Expert Tips for Japanese Katsu Bowls
- Oil Temperature: Ensure the oil is at 340–350°F (170–175°C) to achieve crispy cutlets; testing with panko crumbs can help prevent sogginess.
- Resting Katsu: Place fried cutlets on a wire rack instead of paper towels to maintain their crunch and avoid steaming.
- Prepping Sauce: Homemade tonkatsu sauce can be made ahead and stored in the refrigerator for up to one week; it enhances flavors for Japanese Katsu Bowls.
- Rice Texture: Rinse the rice until the water runs clear for the best sticky texture; it should pair perfectly with the crunchy katsu.
- Baking Alternative: For a lighter version, consider baking or air frying your cutlets instead of deep-frying; just adjust cooking times appropriately.
What to Serve with Japanese Katsu Bowls with Tonkatsu Sauce
Looking to create a complete meal that showcases all the delightful flavors of your katsu bowls?
- Crispy Tempura Vegetables: Delightful and light, tempura brings a satisfying crunch to balance the hearty katsu. Choose seasonal veggies for extra freshness.
- Miso Soup: Warm and comforting, this traditional Japanese soup adds umami flavor and complements the katsu nicely. A perfect start to your meal!
- Pickled Vegetables: Enjoy a tangy crunch with crunchy pickles, providing a refreshing contrast that enhances the rich flavors of the tonkatsu sauce.
- Simple Cucumber Salad: Refreshing and light, thinly sliced cucumbers drizzled with rice vinegar bring brightness and balance to the meal.
- Steamed Edamame: Tender and slightly salted edamame dishes are packed with protein, offering a satisfying bite alongside your katsu bowls.
- Japanese Beer or Sake: Enjoy a chilled glass of crisp Japanese beer or a smooth sake to elevate your dining experience. The subtle flavors pair wonderfully with the dish.
Create a delightful dining experience with these complementary choices for your Japanese Katsu Bowls with Tonkatsu Sauce!
Make Ahead Options
These Japanese Katsu Bowls with Tonkatsu Sauce are perfect for busy weeknights and meal prep! You can prepare the katsu cutlets by breading them up to 24 hours in advance; simply keep them in a single layer on a baking sheet, covered with plastic wrap, in the refrigerator to maintain their crispiness. Additionally, the tonkatsu sauce can be made ahead and stored in an airtight container for up to one week in the fridge, ensuring it’s always ready when you need it. When you’re ready to serve, just fry the cutlets and cook your rice while reheating the sauce, and you'll enjoy homemade goodness with just minutes of active time!
Japanese Katsu Bowls with Tonkatsu Sauce Recipe FAQs
How do I choose the best pork for katsu?
For the best flavor and texture, select boneless pork loin chops that are around 1-inch thick. Look for cuts with a bit of marbling, as this fat contributes to the juiciness of the final dish. If you can't find pork, boneless chicken thighs or firm tofu are excellent substitutes.
What’s the best way to store leftover katsu?
After cooling, store leftover katsu in an airtight container in the fridge for up to 3 days. It's best to keep the fried katsu separate from the rice and tonkatsu sauce to preserve their individual textures and flavors.
Can I freeze katsu cutlets?
Absolutely! To freeze, allow the cooked katsu to cool completely, then wrap each piece tightly in foil or place them in a freezer-safe bag. They can stay in the freezer for up to 2 months. When you're ready to enjoy them, thaw overnight in the fridge and reheat in an air fryer or toaster oven for optimal crispiness!
Why is my katsu not crispy?
This might be due to the oil temperature being too low. Make sure it reaches 340–350°F (170–175°C) before frying. Additionally, avoid overcrowding the pan, as this can lower the oil temperature, leading to soggy cutlets. If you achieve that golden crust and still face issues, ensure each cutlet is adequately coated with flour, egg, and panko breadcrumbs.
Is the tonkatsu sauce suitable for gluten-free diets?
Yes! To make the tonkatsu sauce gluten-free, substitute regular soy sauce with tamari or a gluten-free soy sauce alternative. The other ingredients are naturally gluten-free, but always check your labels to be safe. Just adjust the sweetness to match your taste preferences!
Can I reheat katsu cutlets in the microwave?
I wouldn't recommend microwaving them, as it can make the coating soggy. Instead, revive that delightful crunch by using an air fryer or toaster oven until heated through – this way, you'll revive the freshness of your Japanese Katsu Bowls with Tonkatsu Sauce!
Delicious Japanese Katsu Bowls with Tonkatsu Sauce Made Easy
Ingredients
Equipment
Method
- Start by drying the pork loin chops with a paper towel, then pound them to a uniform ¼-inch thickness using a meat mallet.
- Create a breading station with three shallow bowls: one for flour, another for beaten egg, and the last for panko breadcrumbs.
- Dredge each seasoned pork chop in flour, then dip into the beaten egg, and coat with panko breadcrumbs.
- In a large skillet, heat enough oil to reach about ½ inch in depth over medium-high heat.
- Carefully place the breaded cutlets into the hot oil and fry for 2–3 minutes on each side until golden and crispy.
- While the katsu is frying, rinse the rice under cold water and cook according to package instructions.
- In a small saucepan, combine ketchup, Worcestershire sauce, oyster sauce, soy sauce, and sugar, then heat until sugar is dissolved.
- Scoop cooked rice into bowls, place crispy katsu on top, and drizzle with tonkatsu sauce.

Leave a Reply