The sizzling sound of vegetables hitting a hot skillet transports me straight to my favorite hibachi restaurant, where the aroma dances in the air, teasing my taste buds. Today, I’m bringing that joy home with my Hibachi Fried Rice recipe, a delightful twist that’s faster than takeout and packed with fresh flavors. In just 25 minutes, you can whip up a nourishing meal that not only satisfies your cravings but also offers a great way to use up leftover rice! Plus, this dish is incredibly versatile—feel free to customize it with your favorite proteins or extra veggies. Ready to turn your kitchen into a hibachi grill? Let’s dive into this easy, satisfying recipe!
Why is Hibachi Fried Rice a Must-Try?
Quick and Easy: This recipe whips up in just 25 minutes, making it a perfect weeknight dinner solution.
Flavor-Packed: The bold combination of soy sauce and garlic will elevate your taste buds to hibachi heaven.
Customizable Goodness: Whether you love shrimp, chicken, or extra veggies, you can easily tailor it to your preferences!
One-Pan Wonder: Less mess to clean up means you can enjoy your meal without the fuss.
Crowd-Pleaser: Perfect for serving friends and family, this dish brings everyone together with its inviting aroma and delicious taste!
So why order takeout when you can recreate that restaurant experience right at home? Enjoy your Hibachi Fried Rice tonight!
Hibachi Fried Rice Ingredients
• Get ready for a flavor explosion!
For the Rice
• Cooked rice – Use day-old rice for the best results; it’s less sticky and frying becomes effortless.
For the Veggies
• Vegetable oil – This provides a high smoke point for that irresistible stir-fry.
• Mixed fresh vegetables – Feel free to use any of your favorites; frozen veggies work too in a pinch!
For the Eggs
• Large eggs – Scrambling them first adds a fluffy texture and delicious protein.
For the Sauce
• Low-sodium soy sauce – This keeps the flavor intense without overwhelming saltiness.
• Garlic powder – A quick shortcut to add depth and zest to your Hibachi Fried Rice.
For Seasoning
• Salt – Adjust to your taste; keep it minimal if you prefer the dish less salty.
• Pepper – Freshly ground pepper adds a nice kick to this flavorful dish.
Now that you have all the ingredients for your Hibachi Fried Rice, let’s get cooking!
Step‑by‑Step Instructions for Hibachi Fried Rice
Step 1: Heat the Skillet
Begin by heating a large skillet or wok over medium-high heat for about 2 minutes until hot. Add 2 tablespoons of vegetable oil, swirling it around to coat the bottom. You’ll know it’s ready when the oil shimmers and is just about to smoke, perfect for stir-frying.
Step 2: Scramble the Eggs
Crack 2 large eggs into the hot oil and scramble them vigorously for 2-3 minutes until fully cooked and fluffy. Use a spatula to break them into small pieces as they cook. Once done, transfer the scrambled eggs to a plate and set aside; they’ll add a wonderful texture to your Hibachi Fried Rice later.
Step 3: Stir-Fry the Vegetables
In the same skillet, add 1 cup of mixed fresh vegetables, such as carrots, peas, and green onions. Stir-fry for about 3 minutes, stirring frequently, until the vegetables are tender but still vibrant in color. This step fills the air with a delightful aroma, setting the stage for your flavor-packed fried rice.
Step 4: Add the Cooked Rice
Now, add 4 cups of cooked rice to the pan, using a spatula to break up any clumps. Stir the rice into the vegetables for another 3-4 minutes until heated through. Keep things lively by tossing the mixture occasionally, ensuring even cooking and that every grain of rice is coated with those delicious flavors.
Step 5: Season the Rice
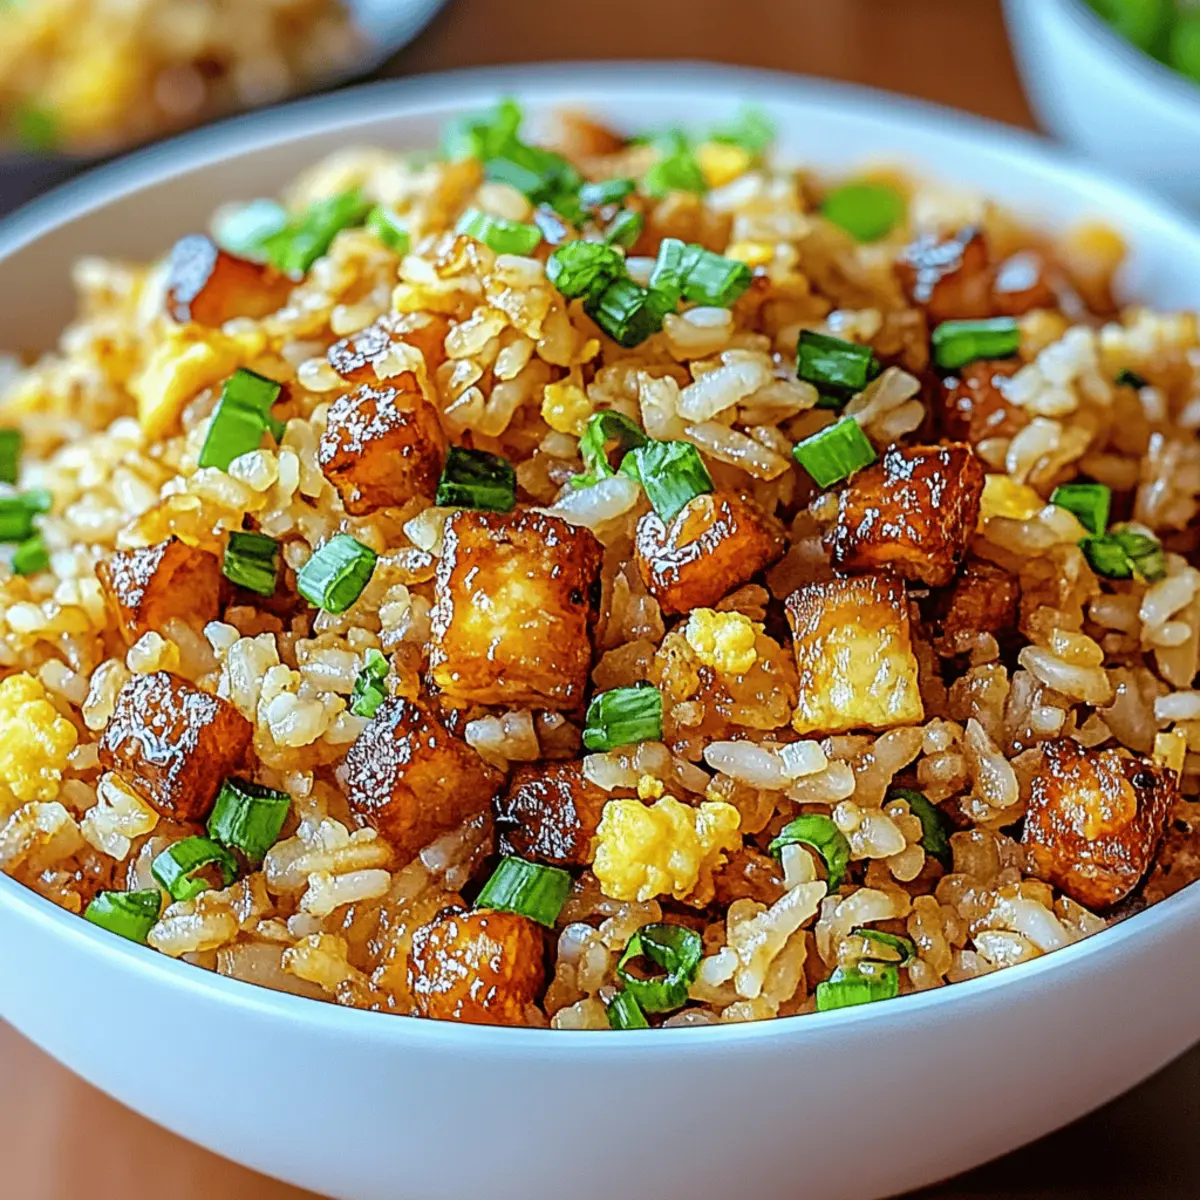
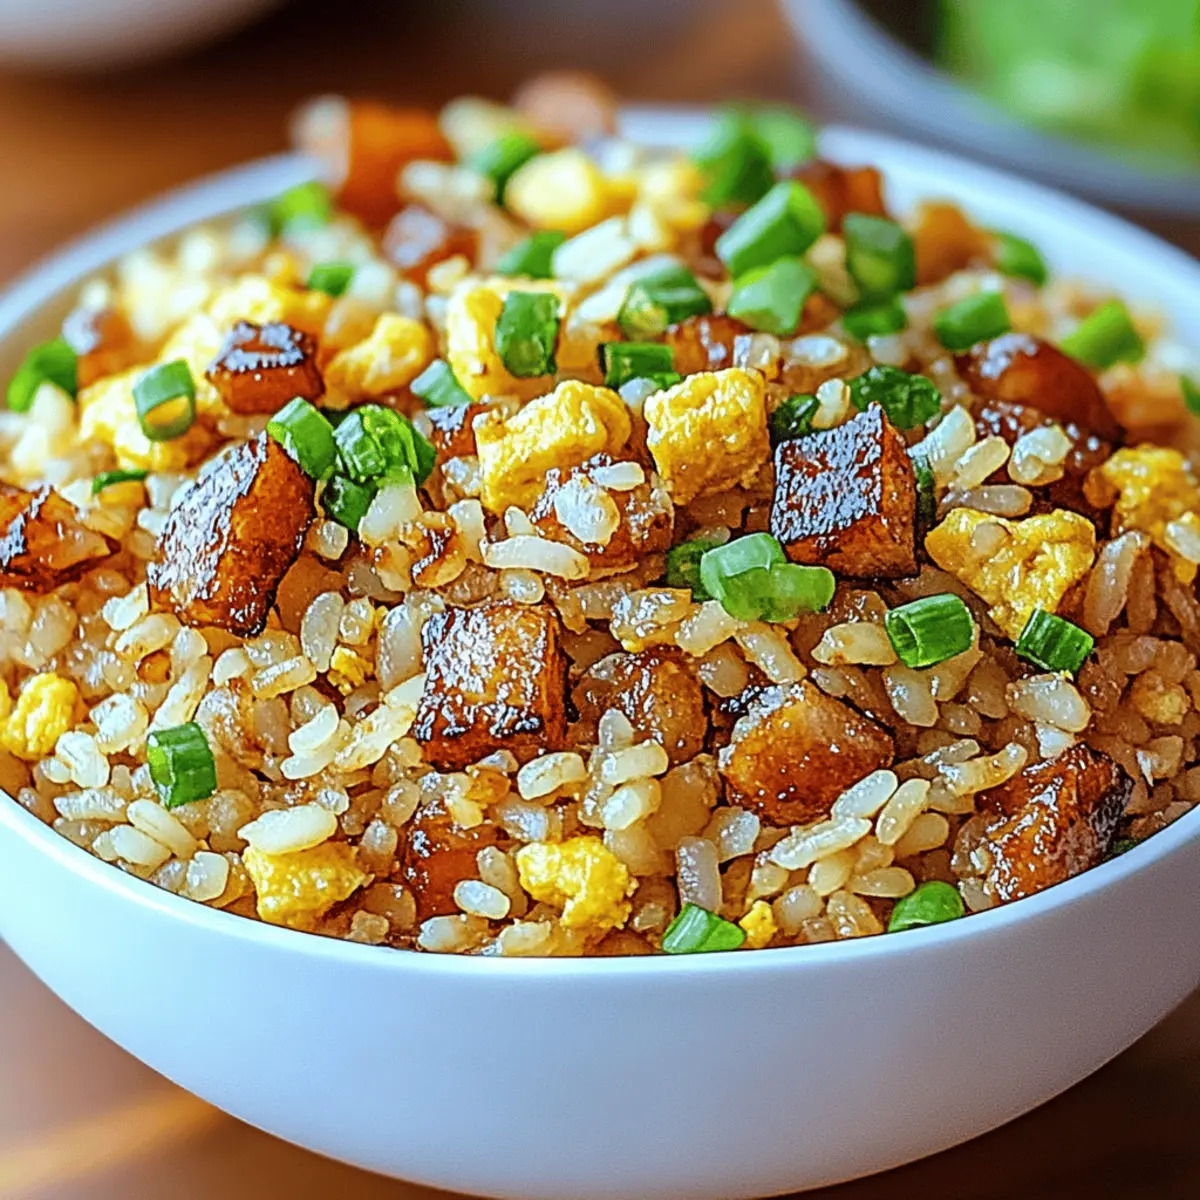
Drizzle 3 tablespoons of low-sodium soy sauce over the rice, along with 1 teaspoon of garlic powder, salt, and pepper to taste. Mix thoroughly for about 2 minutes until everything is well combined and heated. The soy sauce will darken the rice slightly, giving it a beautiful, inviting color that shouts "Hibachi Fried Rice."
Step 6: Combine and Serve
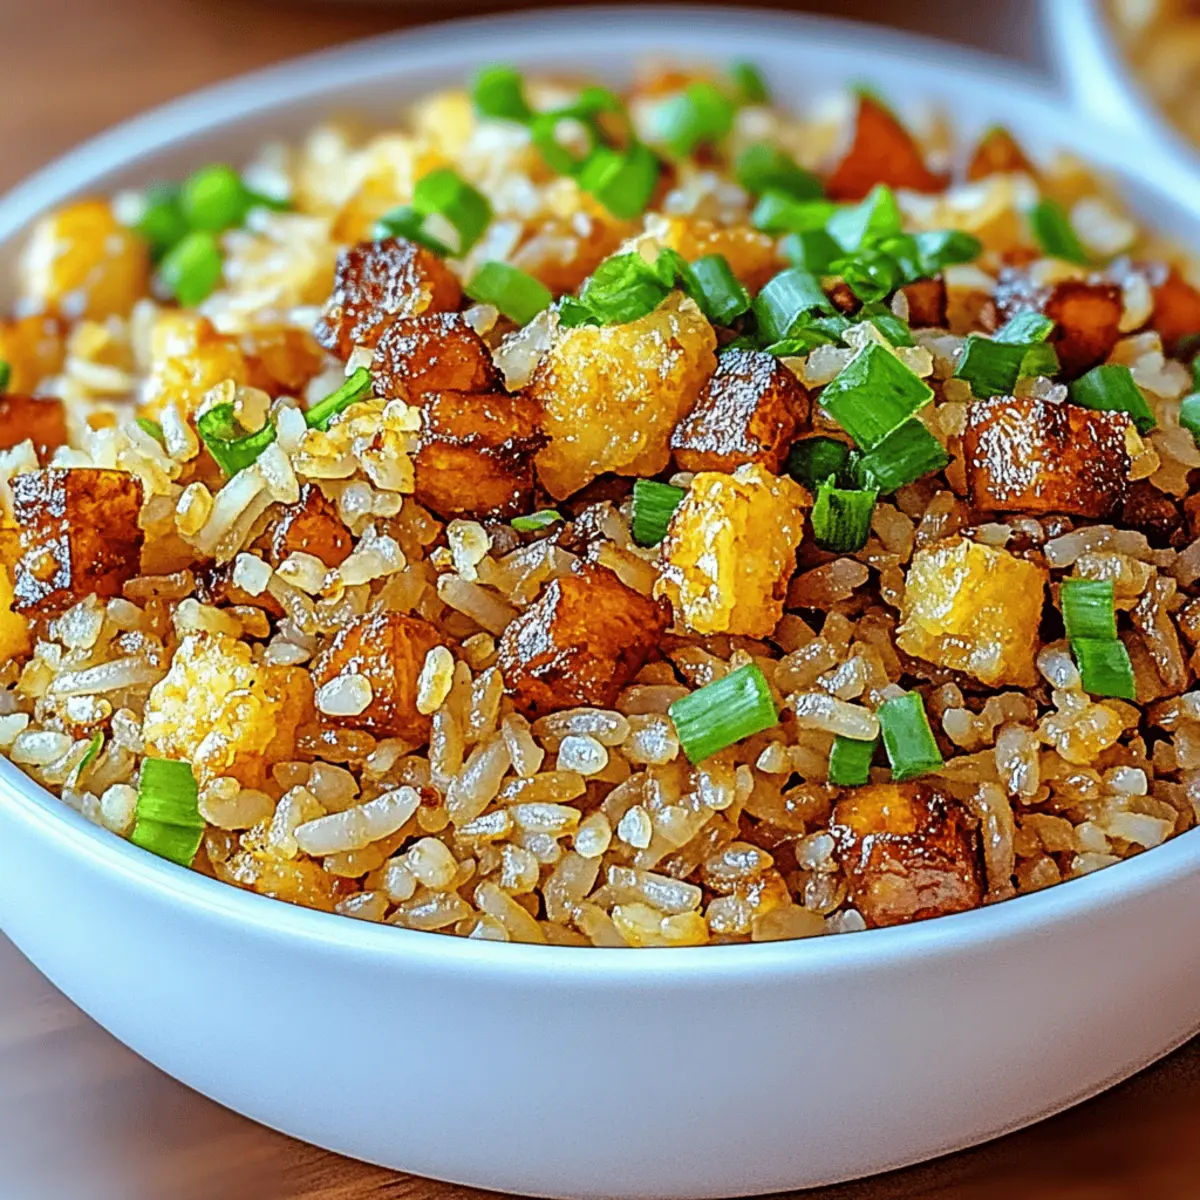
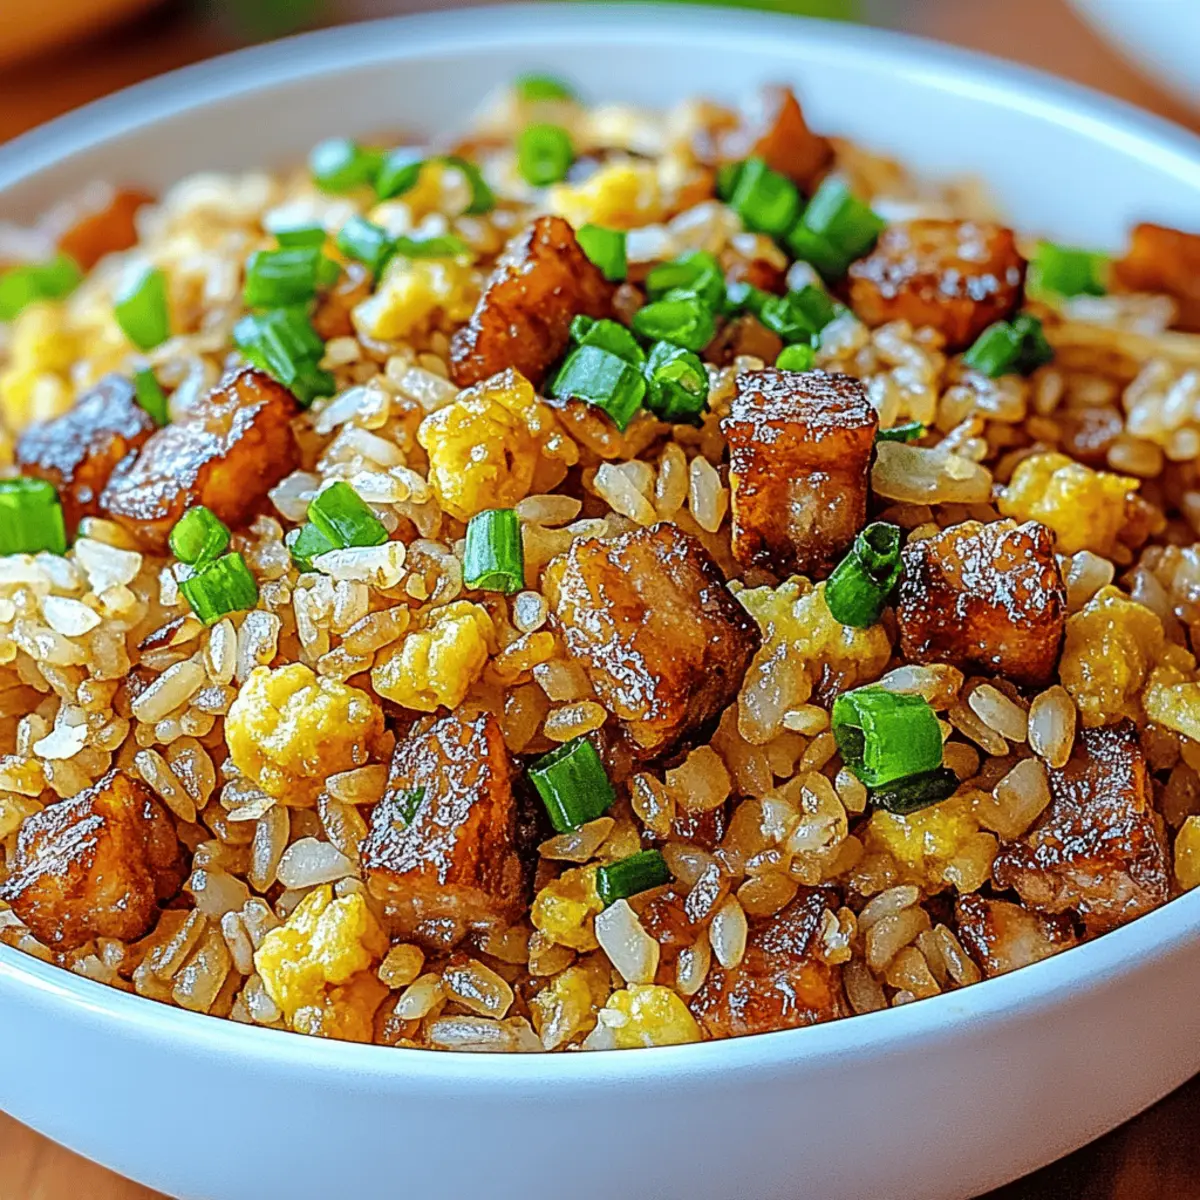
Finally, fold the scrambled eggs back into the rice mixture, stirring gently to incorporate them evenly. Cook for an additional minute, allowing the eggs to warm up again. Once everything is thoroughly mixed, serve hot, garnishing with extra green onions if desired to enhance both flavor and presentation.
Make Ahead Options
Hibachi Fried Rice is a fantastic recipe to prep in advance, saving you precious time on busy weeknights! You can prepare the mixed vegetables and scrambled eggs up to 24 hours ahead. Simply chop your vegetables and store them in an airtight container in the fridge. Additionally, scramble the eggs and keep them refrigerated until you’re ready to cook. When it’s time to serve, just heat a skillet, add the oil, and stir-fry the vegetables, followed by the rice and your prepped components. This way, you’ll enjoy restaurant-quality Hibachi Fried Rice that’s just as delicious and flavorful, all with minimal effort!
Expert Tips for Hibachi Fried Rice
-
Use Day-Old Rice: Freshly cooked rice can be too sticky. Day-old rice is drier and perfect for achieving that desired hibachi texture.
-
High Heat is Key: Cooking on medium-high heat allows for quick stir-frying, preventing the veggies from becoming mushy and ensuring the rice gets that nice char without sticking.
-
Don’t Overcrowd the Pan: Cook in batches if you need to. Overcrowding can lead to steaming instead of frying, which will dampen the flavors of your Hibachi Fried Rice.
-
Adjust Seasoning Wisely: Taste as you go! Start with less salt, especially if using soy sauce, to avoid an overly salty dish. You can always add more later.
-
Add a Protein: For a heartier meal, consider adding cooked shrimp, chicken, or tofu. This adds flavor and makes your Hibachi Fried Rice even more satisfying!
How to Store and Freeze Hibachi Fried Rice
-
Fridge: Keep your Hibachi Fried Rice in an airtight container for up to 3 days. This helps maintain its flavors and texture.
-
Freezer: For longer storage, freeze the fried rice in a freezer-safe container for up to 3 months. Make sure to label the container with the date!
-
Reheating: When ready to enjoy, reheat in the microwave or on the stovetop with a splash of water to keep it moist, ensuring the flavors pop just like when it was freshly made.
-
Airtight Storage: Always use airtight containers or heavy-duty freezer bags to prevent freezer burn and keep your dish tasting its best!
Hibachi Fried Rice Variations
Customize your Hibachi Fried Rice with these delicious twists that will tickle your taste buds and warm your heart!
-
Veggie-Loaded: Add more colorful vegetables like bell peppers, zucchini, or mushrooms for extra nutrition and crunch. Mix them in with the other veggies for a delightful medley.
-
Protein Boost: Toss in cooked chicken, shrimp, or tofu while stir-frying for a hearty meal. This will transform your fried rice into a satisfying main dish full of protein goodness.
-
Spicy Kick: Add a dash of sriracha or chili flakes to elevate the heat level and tantalize your taste buds. A little spice can turn your Hibachi Fried Rice from tasty to exhilarating!
-
Coconut Aminos: For a soy-free option, swap low-sodium soy sauce with coconut aminos. This adds a slightly sweet and savory flavor that is simply irresistible.
-
Herb Infusion: Fresh herbs like cilantro or basil can provide an aromatic twist. Stir them in just before serving for a fresh, vibrant flavor that shines.
-
Fried Rice with Egg Substitute: For a vegan alternative, replace eggs with scrambled tofu or chickpea flour for a fluffy texture and protein boost. It’s a wonderful way to keep it plant-based!
-
Cheesy Flavor: Sprinkle in some grated cheese, like cheddar or parmesan, right before serving to add a creamy, indulgent richness. It’ll make your Hibachi Fried Rice even more comforting!
-
Citrus Zest: A squeeze of fresh lime or lemon juice before serving brightens up the dish. This little twist balances the flavors beautifully, leaving you refreshed with every bite!
What to Serve with Hibachi Fried Rice
Imagine a vibrant dinner table filled with a symphony of flavors alongside your sizzling Hibachi Fried Rice, gathering your loved ones for a delightful meal.
-
Teriyaki Chicken: This savory dish adds a sweet and tangy contrast, creating a duo that delivers a burst of flavor with every bite. Pair the juicy chicken with your fried rice for a complete hibachi experience!
-
Grilled Shrimp Skewers: Lightly seasoned and grilled to perfection, shrimp skewers introduce a touch of the sea that complements the hearty rice beautifully. The smoky flavor from the grill elevates the entire meal.
-
Asian Cucumber Salad: A fresh, crunchy salad with a tangy dressing offers a refreshing balance to your warm fried rice. These cool bites cleanse the palate, making each flavorful spoonful even more enjoyable.
-
Miso Soup: The warm, savory broth is comforting and lovely to sip alongside your rice. Its umami richness enhances the overall flavor of your meal, bridging the dishes harmoniously.
-
Vegetable Spring Rolls: Crispy and filled with crunchy veggies, these spring rolls provide a delightful texture contrast to the soft fried rice. Dip them into a sweet chili sauce for an extra zing!
-
Sake or Green Tea: A chilled glass of sake or a warm cup of green tea pairs beautifully, enhancing the meal's Asian-inspired theme. They refresh and cleanse your palate, making every mouthful even better.
Indulge in these pairings for a truly memorable dining experience that turns your Hibachi Fried Rice into the star of the evening!
Hibachi Fried Rice Recipe FAQs
What type of rice is best for Hibachi Fried Rice?
Absolutely! Day-old rice is the golden ticket for Hibachi Fried Rice. It’s less sticky, ensuring each grain can fry up beautifully without clumping together. If you don’t have day-old, spread fresh rice on a baking sheet and let it cool for about 20-30 minutes before using it in your stir-fry.
How should I store leftover Hibachi Fried Rice?
You can store your Hibachi Fried Rice in an airtight container in the fridge for up to 3 days. To keep it moist upon reheating, splash a little water into the container before microwaving. This prevents it from drying out and keeps the flavors intact!
Can I freeze Hibachi Fried Rice?
Yes! Freeze your Hibachi Fried Rice in a freezer-safe container for up to 3 months. Make sure to label the container with the date so you can keep track. When you’re ready to enjoy it again, simply reheat straight from the freezer or let it thaw in the fridge overnight for more even heating.
What should I do if my fried rice is too salty?
If your Hibachi Fried Rice turns out too salty, don’t worry! You can balance the flavors by adding more cooked rice to the pan, which will absorb some of the saltiness. Alternatively, adding a bit of sugar or vinegar can help cut through the salt. Mix well to ensure even distribution, and taste as you go!
Can I add other vegetables or proteins?
Very! Hibachi Fried Rice is highly customizable. You can add a variety of vegetables like bell peppers, broccoli, or edamame. For proteins, consider cooked shrimp, chicken, or even tofu for a vegetarian version. Just make sure to adjust cooking times so everything is heated through and combined perfectly.
Is Hibachi Fried Rice safe for pets?
Unfortunately, it's not recommended to share Hibachi Fried Rice with pets. Ingredients like soy sauce can be high in sodium and aren’t good for them. Always check with your vet regarding specific dietary needs for your furry friends!
Irresistible Hibachi Fried Rice You’ll Want Tonight
Ingredients
Equipment
Method
- Heat a large skillet or wok over medium-high heat for about 2 minutes until hot. Add 2 tablespoons of vegetable oil, swirling it around to coat the bottom.
- Crack 2 large eggs into the hot oil and scramble for 2-3 minutes until fully cooked and fluffy. Transfer eggs to a plate and set aside.
- In the same skillet, add 1 cup of mixed fresh vegetables and stir-fry for about 3 minutes until tender.
- Add 4 cups of cooked rice, breaking up clumps and stir for another 3-4 minutes until heated through.
- Drizzle 3 tablespoons of low-sodium soy sauce and 1 teaspoon of garlic powder over the rice, mix well for 2 minutes until combined.
- Fold the scrambled eggs back into the rice mixture, stirring gently. Cook for an additional minute and serve hot.


Leave a Reply