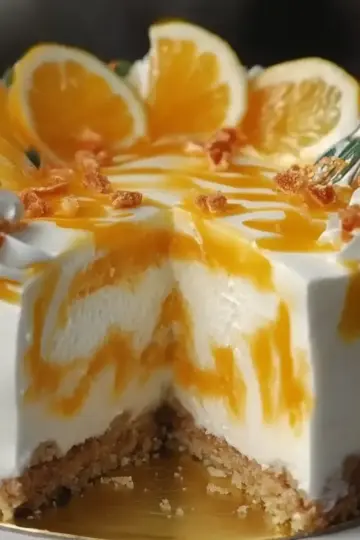
The first time I served this Reese’s Ice Cream Cake at a family gathering, I was met with wide eyes and eager smiles—not a single person could resist reaching for a slice! If you’re looking for a show-stopping dessert that combines the rich, creamy goodness of chocolate and peanut butter, this is the recipe for you. Not only is this indulgent treat a crowd-pleaser, but it also offers the ease of a no-bake preparation, making it perfect for those warmer days when you don't want to turn on the oven. With layers of luscious ice cream and a simple crumb crust, it’s the kind of dessert that turns any occasion into a celebration. Ready to learn how to make this delightful creation? Let's dive in!
Why is This Ice Cream Cake Unforgettable?
Decadent layers of chocolate and peanut butter create a flavor sensation that’ll leave your taste buds dancing. Easy to make, this no-bake dessert saves you from heating up the kitchen while keeping cleanup minimal. Impressive enough for gatherings, it’s a guaranteed showstopper that brightens any occasion. Customizable with toppings like whipped cream or caramel, you can make it your own! Enjoy every creamy bite of this delightful Reese’s Ice Cream Cake that blends simplicity with pure indulgence.
Reese’s Ice Cream Cake Ingredients
Create a dessert to remember!
For the Crust
- Peanut butter crumb crust – A crunchy base that adds a delightful contrast to the creamy ice cream layers.
For the Ice Cream Layers
- Chocolate ice cream – Rich and smooth, it creates a perfect foundation for all the flavors.
- Peanut butter ice cream – This layer brings that beloved Reese's flavor to life, enhancing the sweet experience.
For the Toppings
- Whipped cream – Light and airy, it adds a nice touch and balances the richness.
- Caramel drizzle – A sweet finishing touch that makes each slice even more tempting.
With these delicious ingredients, your Reese’s Ice Cream Cake will come together beautifully for an unforgettable treat!
Step‑by‑Step Instructions for Reese’s Ice Cream Cake
Step 1: Prepare the Peanut Butter Crust
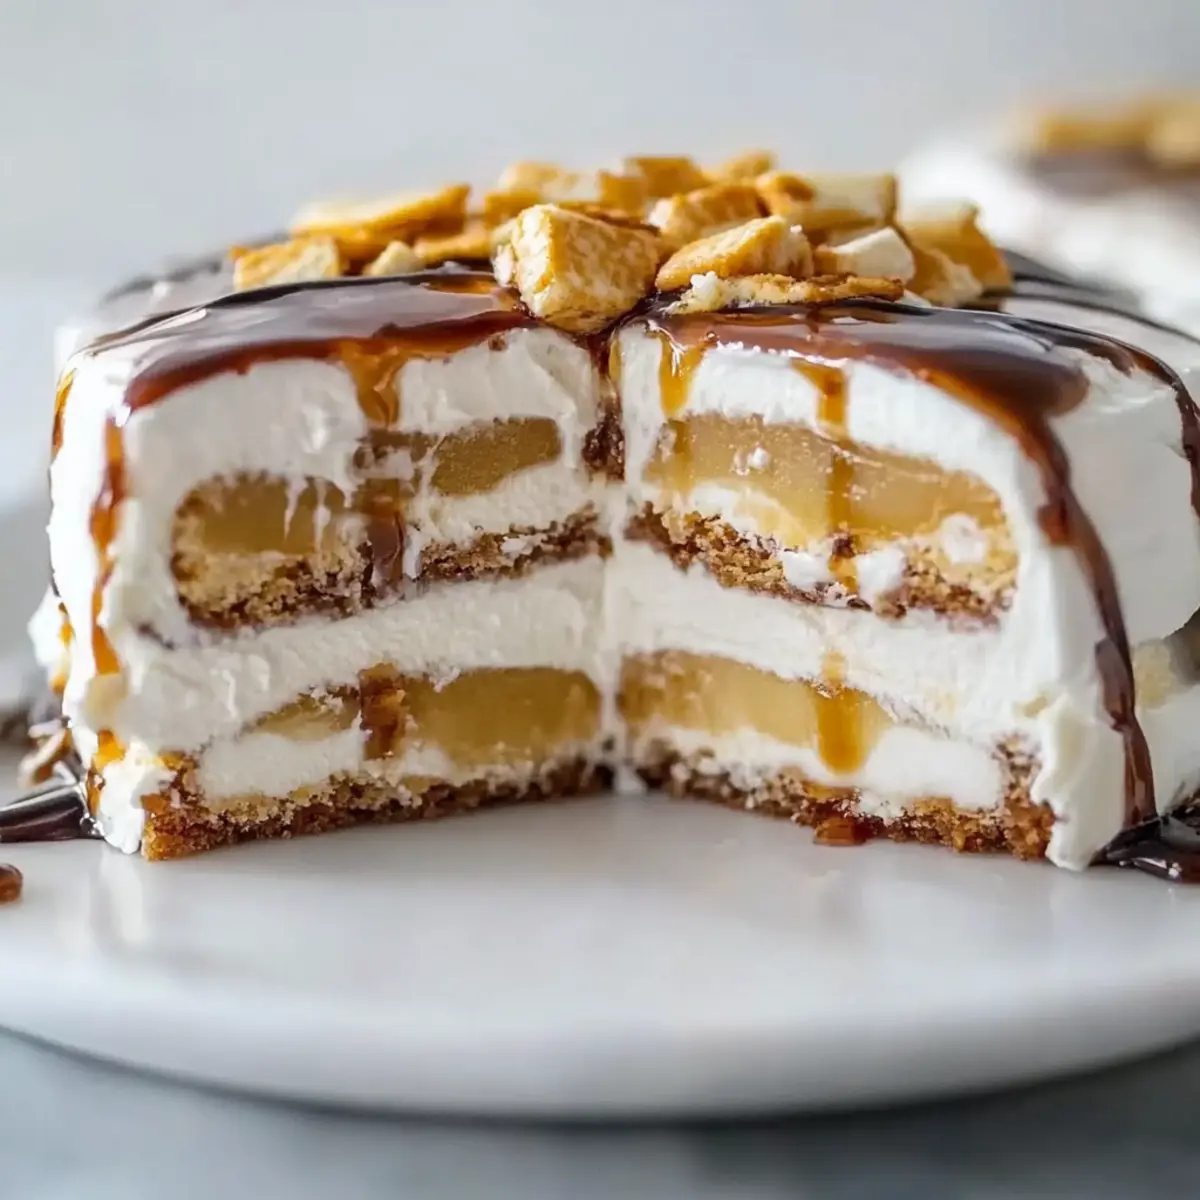
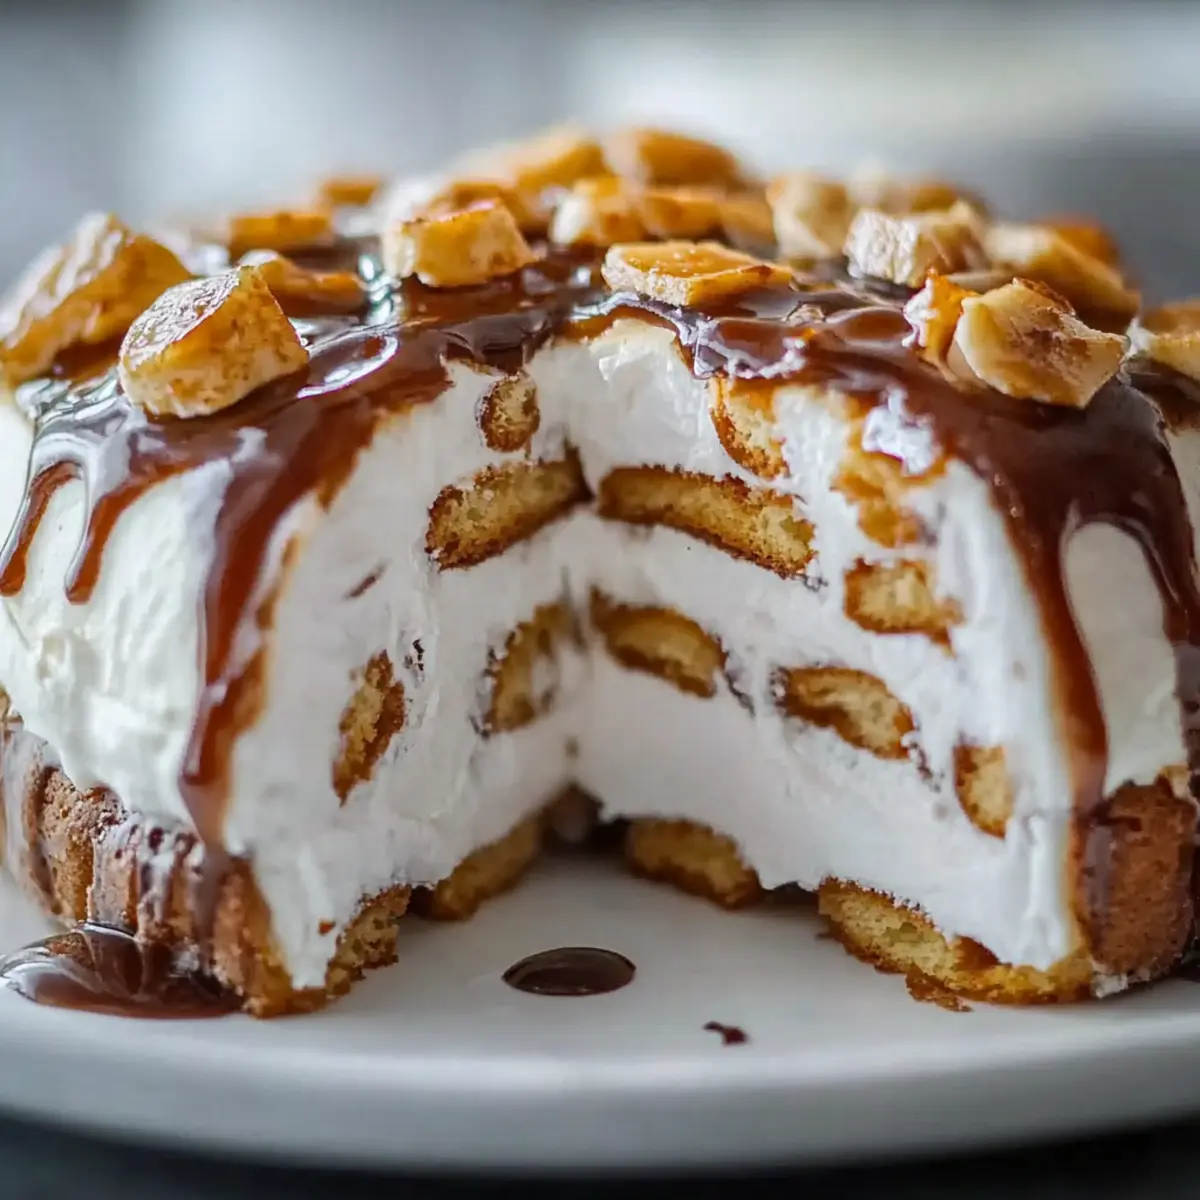
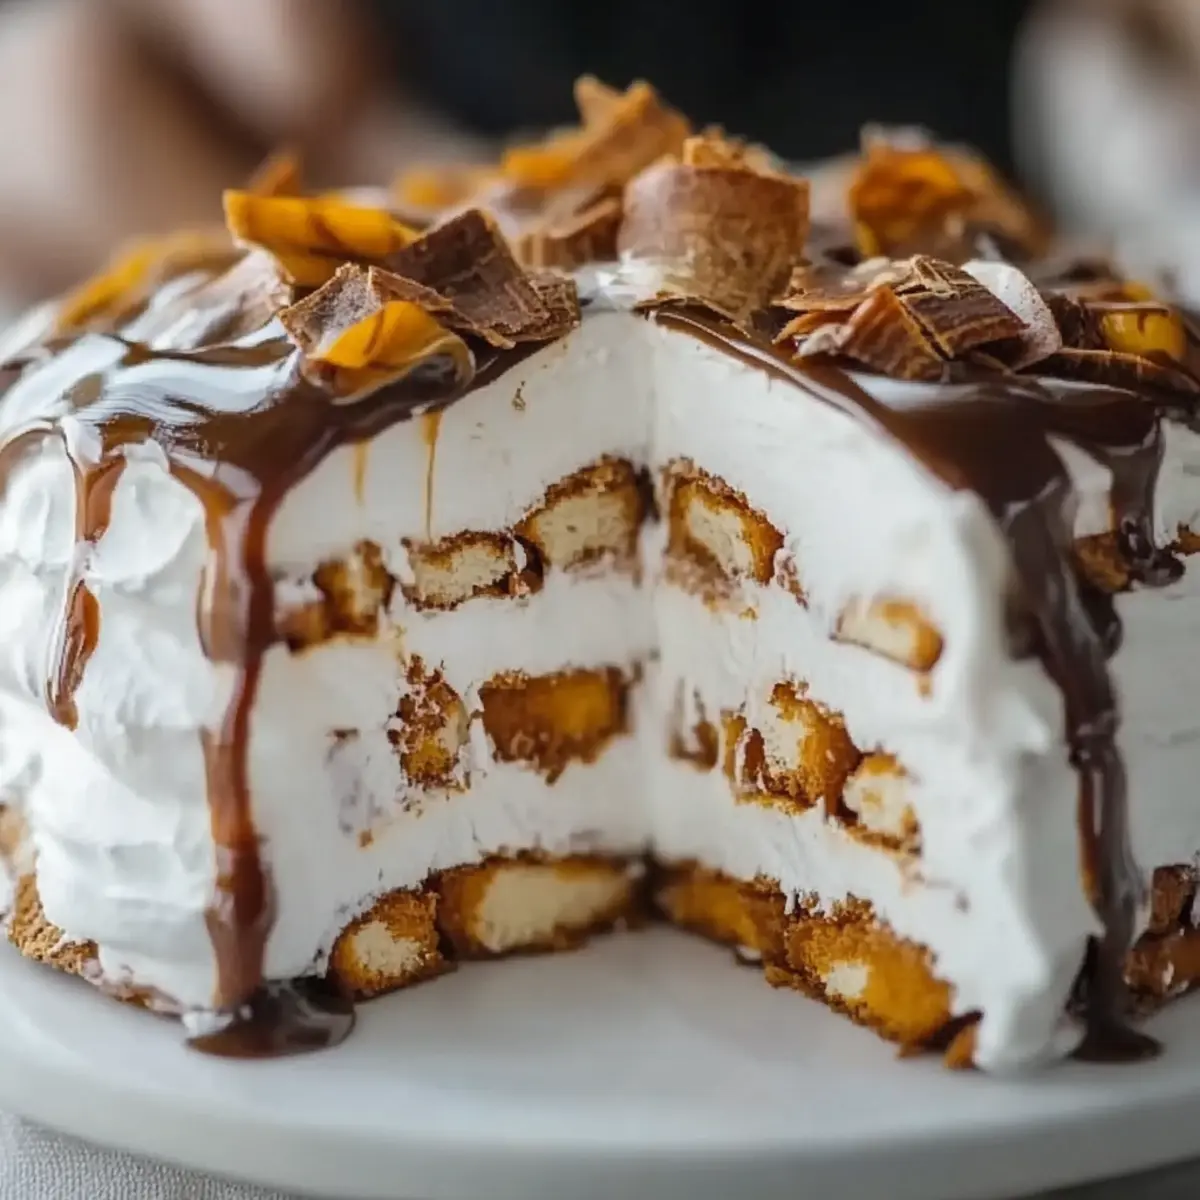
In a mixing bowl, combine crushed peanut butter cookies with melted butter until the mixture resembles wet sand. Press this mixture firmly into the bottom of a 9-inch cake pan to form an even layer. Make sure it's tightly packed to give your Reese’s Ice Cream Cake a sturdy base. Set the crust aside to firm up at room temperature while you prepare the ice cream layers.
Step 2: Layer the Chocolate Ice Cream
Scoop the chocolate ice cream into the prepared crust, spreading it evenly to cover every corner. Use a spatula to smooth the top, ensuring there are no air pockets. Place the cake pan in the freezer for about 1 to 2 hours or until the chocolate layer is solid and set, ensuring a perfect base for the next layer of your Reese’s Ice Cream Cake.
Step 3: Add the Peanut Butter Ice Cream Layer
Once the chocolate layer is firm, remove the pan from the freezer and bring out the peanut butter ice cream. Scoop it directly onto the chocolate layer, spreading it carefully and evenly with a spatula. Make sure the peanut butter ice cream completely covers the chocolate layer. Return the cake to the freezer and let it freeze for another 1 to 2 hours, until the ice cream is completely firm.
Step 4: Add Optional Toppings
After the final freezing period, remove the Reese’s Ice Cream Cake from the freezer. If desired, spread a generous layer of whipped cream on top, creating a fluffy finish that complements the rich flavors. Drizzle with caramel sauce for added sweetness, making the cake even more irresistible.
Step 5: Serve the Cake
Once you’ve added your desired toppings, take a sharp knife and slice the cake into small squares or simply scoop into bowls. For a lovely presentation, serve immediately so everyone can enjoy the incredible layers of your delightful Reese’s Ice Cream Cake!

Expert Tips for Reese’s Ice Cream Cake
• Crust Consistency: Ensure your crust mixture resembles wet sand; too dry will crumble and not hold the cake together, affecting your Reese’s Ice Cream Cake's structure.
• Layer Firmness: Allow each layer to freeze thoroughly before adding the next; insufficient freezing can lead to melting and mixing, compromising the layered effect.
• Scooping Ice Cream: Use a warm scoop to easily serve the ice cream layers. It prevents tearing and helps achieve neat slices when serving your cake.
• Customization Options: Don’t hesitate to experiment with different ice cream flavors, like vanilla or cookies and cream, to create your own unique twist on the classic Reese’s Ice Cream Cake!
• Make Ahead: This cake can be prepared a day in advance, making it perfect for parties. Just keep it covered in the freezer until ready to serve!
Reese’s Ice Cream Cake Variations
Feel free to get creative and make this recipe your own with these fun twists!
-
Dairy-Free: Substitute with almond or coconut ice cream for a deliciously creamy alternative that fits a dairy-free diet.
Try blending both types of non-dairy ice cream for a rich flavor profile that the whole family will love. -
Nut-Free: Use sunbutter instead of peanut butter and select nut-free cookie crumbs for the crust.
This ensures everyone can enjoy a slice without worry, making it a safe dessert for gatherings. -
Vegan: Switch to vegan ice cream and use coconut oil instead of butter in the crust.
A plant-based version of this cake retains all the indulgence while catering to vegan preferences! -
Fruit Layering: Add a layer of sliced bananas or strawberries before the final ice cream layer for a fresh twist.
The fruity addition brightens the dessert and offers a delightful contrast to the rich flavors. -
Spicy Kick: Incorporate a sprinkle of cayenne pepper or chili powder to the peanut butter ice cream for a surprising heat.
This daring combination will make your cake unforgettable and delight adventurous eaters! -
Coffee Infusion: Mix in a tablespoon of instant coffee granules with the peanut butter ice cream for a delicious mocha flavor.
It’s an excellent way to elevate the cake and appeal to coffee lovers in your life. -
Gourmet Toppings: Use shaved chocolate or crushed pretzels as toppings for a gourmet feel and extra texture.
Sprucing up your presentation can make each slice look as delightful as it tastes! -
Ice Cream Sandwich: Turn it into fun individual desserts by layering ice cream between cookie halves instead of cake.
This portable version brings joy at picnics or casual gatherings, making it even more enjoyable!
How to Store and Freeze Reese’s Ice Cream Cake
Fridge: Store leftover slices tightly covered with plastic wrap or in an airtight container for up to 3 days, ensuring you can enjoy this delicious cake for a bit longer.
Freezer: For longer storage, wrap the entire cake in plastic wrap and then in aluminum foil. It can stay in the freezer for up to 1 month while maintaining its tasty layers.
Reheating: If you prefer your ice cream cake slightly softened, remove it from the freezer and let it sit at room temperature for about 10-15 minutes before slicing. This allows for easier serving while keeping the Reese’s delightful flavors intact.
Make Ahead Options
These delightful Reese’s Ice Cream Cake layers are perfect for meal prep, allowing you to enjoy this indulgent dessert with ease! You can prepare the peanut butter crumb crust and freeze it up to 3 days in advance. Simply crush the cookies, mix with melted butter, and pack the mixture into your cake pan, then store it in the freezer. The ice cream layers can be added a day ahead; just layer the chocolate ice cream over the crust and freeze for about 2 hours, followed by the peanut butter ice cream for another 2 hours. To maintain their creamy texture, tightly cover the assembled cake with plastic wrap after adding the final layer. When you’re ready to serve, simply add the toppings like whipped cream and caramel drizzle for a fresh finish, ensuring a delicious treat whenever you need it!
What to Serve with Reese’s Ice Cream Cake?
Prepare for an unforgettable dessert experience that pairs beautifully with a range of delightful accompaniments.
-
Fresh Berries: The tartness of strawberries or raspberries brightens the rich flavors, offering a refreshing contrast that balances each creamy bite.
-
Chocolate Sauce: Drizzling warm chocolate sauce over the top adds an extra layer of decadence, intensifying the chocolatey goodness of the cake.
-
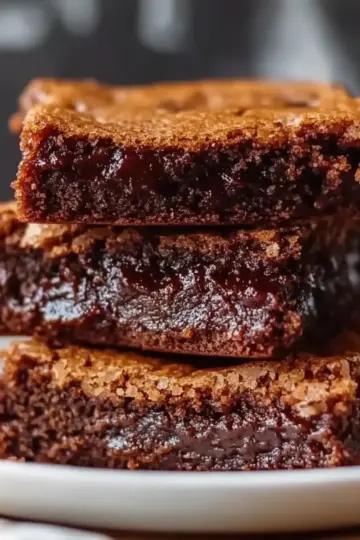
Salted Caramel Brownies: For a double chocolate treat, serve alongside fudgy salted caramel brownies that complement the cake’s peanut butter layers.
-
Vanilla Ice Cream: A scoop of smooth vanilla ice cream enhances the flavor profile, giving an extra creamy indulgence on warmer days (or any day, really).
-
Nutty Waffles: Light and crispy waffles topped with crushed nuts provide a delightful crunch and a showcase for your favorite sauces, making every bite enjoyable.
-
Espresso or Coffee: Pair your cake with a hot cup of espresso or coffee, as the bitter notes beautifully enhance the dessert’s sweetness while providing a warm finish.
-
Peanut Butter Cookies: Keep the theme going with classic peanut butter cookies that echo the cake's flavor, creating a cohesive and satisfying dessert spread.
Every one of these pairings elevates the experience of your Reese’s Ice Cream Cake, transforming a simple dessert into a true celebration of flavors!
Reese’s Ice Cream Cake Recipe FAQs
What type of cookies should I use for the peanut butter crumb crust?
For the best flavor and texture, I recommend using peanut butter sandwich cookies, like Nutter Butter. Their creamy filling and cookie crunch create a wonderfully buttery base. If you’re in the mood for a twist, you can also use crushed graham crackers mixed with a bit of peanut butter for added flavor.
How should I store leftover Reese’s Ice Cream Cake?
Absolutely! You can store leftover slices tightly covered with plastic wrap or in an airtight container in the fridge for up to 3 days. For longer storage, wrap the entire cake in plastic wrap followed by aluminum foil and place it in the freezer, where it can last for up to 1 month while still preserving its delicious layers.
Can I freeze Reese’s Ice Cream Cake?
The more the merrier! To freeze your Reese’s Ice Cream Cake, ensure it’s well-wrapped in plastic wrap and aluminum foil. This helps prevent freezer burn and keeps it fresh. When you’re ready to enjoy it, just place it in the fridge to thaw for about 30 minutes or let it sit at room temperature for about 10-15 minutes before slicing.
What should I do if the ice cream layers are melting together?
No worries! This can happen if the layers aren’t frozen long enough. To fix this, simply pop the cake back into the freezer and allow it to chill for an additional hour or two before serving. Always be sure to let each layer freeze completely before adding the next layer—it helps maintain those beautiful distinct layers we love!
Are there any dietary considerations for Reese’s Ice Cream Cake?
Very! If you have allergies or dietary restrictions, you can easily modify this recipe. For lactose-free options, look for dairy-free ice creams and gluten-free cookies for the crust. Always double-check ingredient labels to ensure they meet your dietary needs. If you're making it for kids or pets, consider using natural peanut butter without added sugars or preservatives.
Indulgent Reese’s Ice Cream Cake That's Pure Bliss
Ingredients
Equipment
Method
- In a mixing bowl, combine crushed peanut butter cookies with melted butter until the mixture resembles wet sand. Press firmly into the bottom of a 9-inch cake pan to form an even layer. Set aside to firm up.
- Scoop the chocolate ice cream into the prepared crust, spreading it evenly. Smooth the top with a spatula and freeze for about 1 to 2 hours until solid.
- After the chocolate layer is firm, scoop the peanut butter ice cream onto the chocolate layer, spreading evenly. Return to the freezer for another 1 to 2 hours.
- Once final freezing is done, remove the cake from the freezer. Spread whipped cream on top and drizzle with caramel sauce.
- Slice the cake into squares or scoop into bowls, and serve immediately.

Leave a Reply