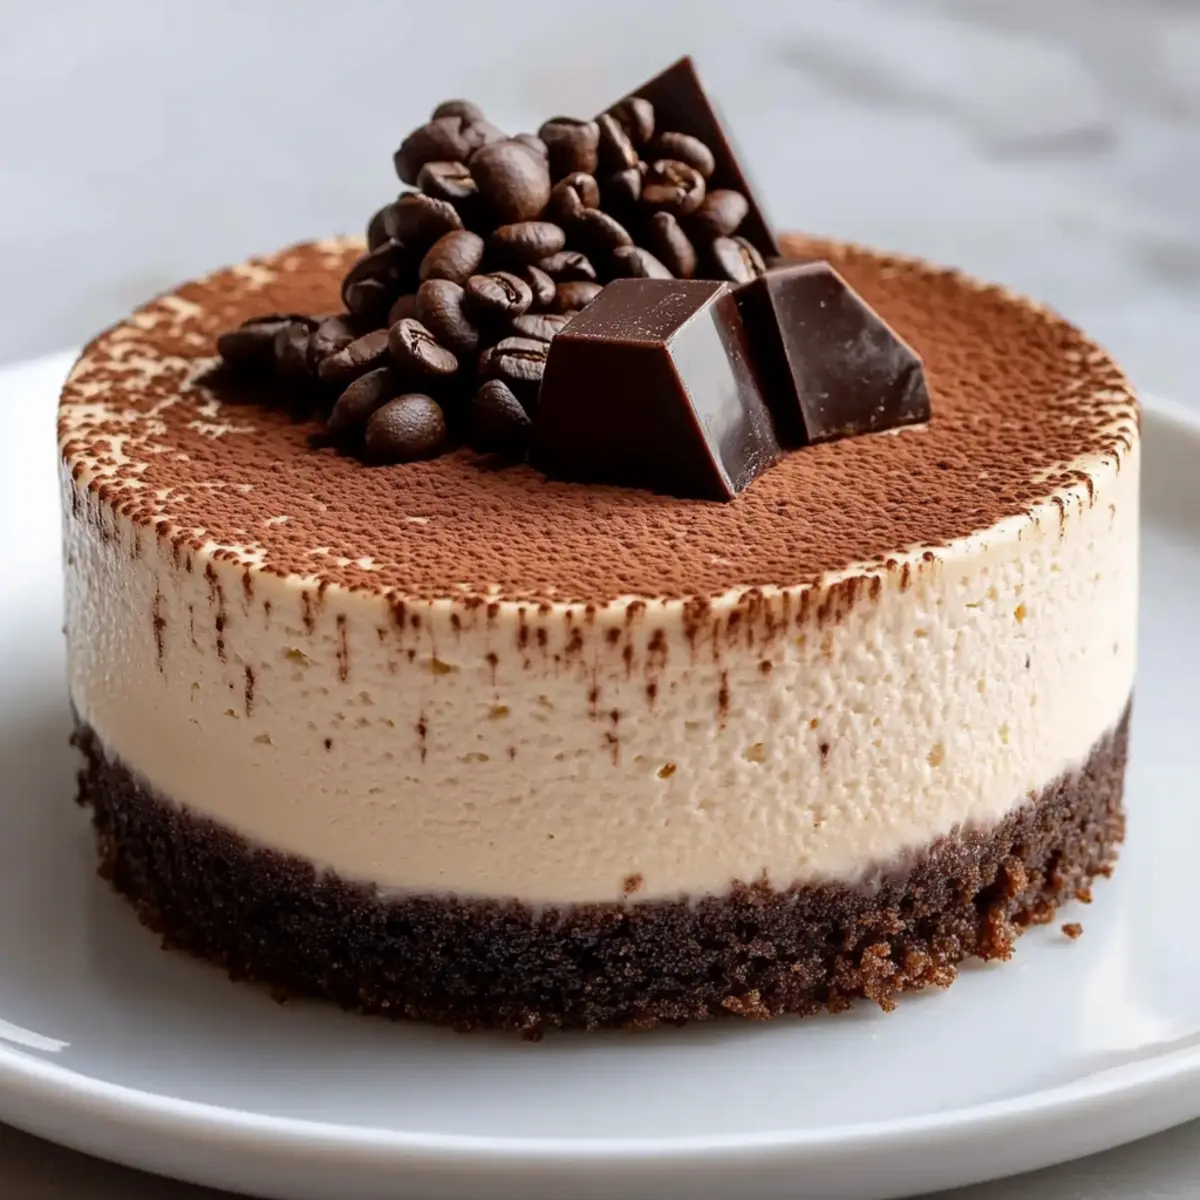
When I first took a bite of Chocolate Espresso Cheesecake at a friend’s gathering, it felt like a generous hug on a chilly day. The smooth, creamy texture combined with a whisper of espresso and rich dark chocolate made it impossible to resist. This delightful treat is not only a showstopper for any occasion, but it's also remarkably simple to make at home. In just about 25 minutes of prep time, you can whip up this no-bake marvel and watch as your friends and family swoon. Plus, it’s the perfect make-ahead dessert, allowing you to enjoy the compliments without the last-minute rush. Are you ready to transform your dessert game with this luscious recipe? Let's dive in!
Why is this cheesecake so irresistible?
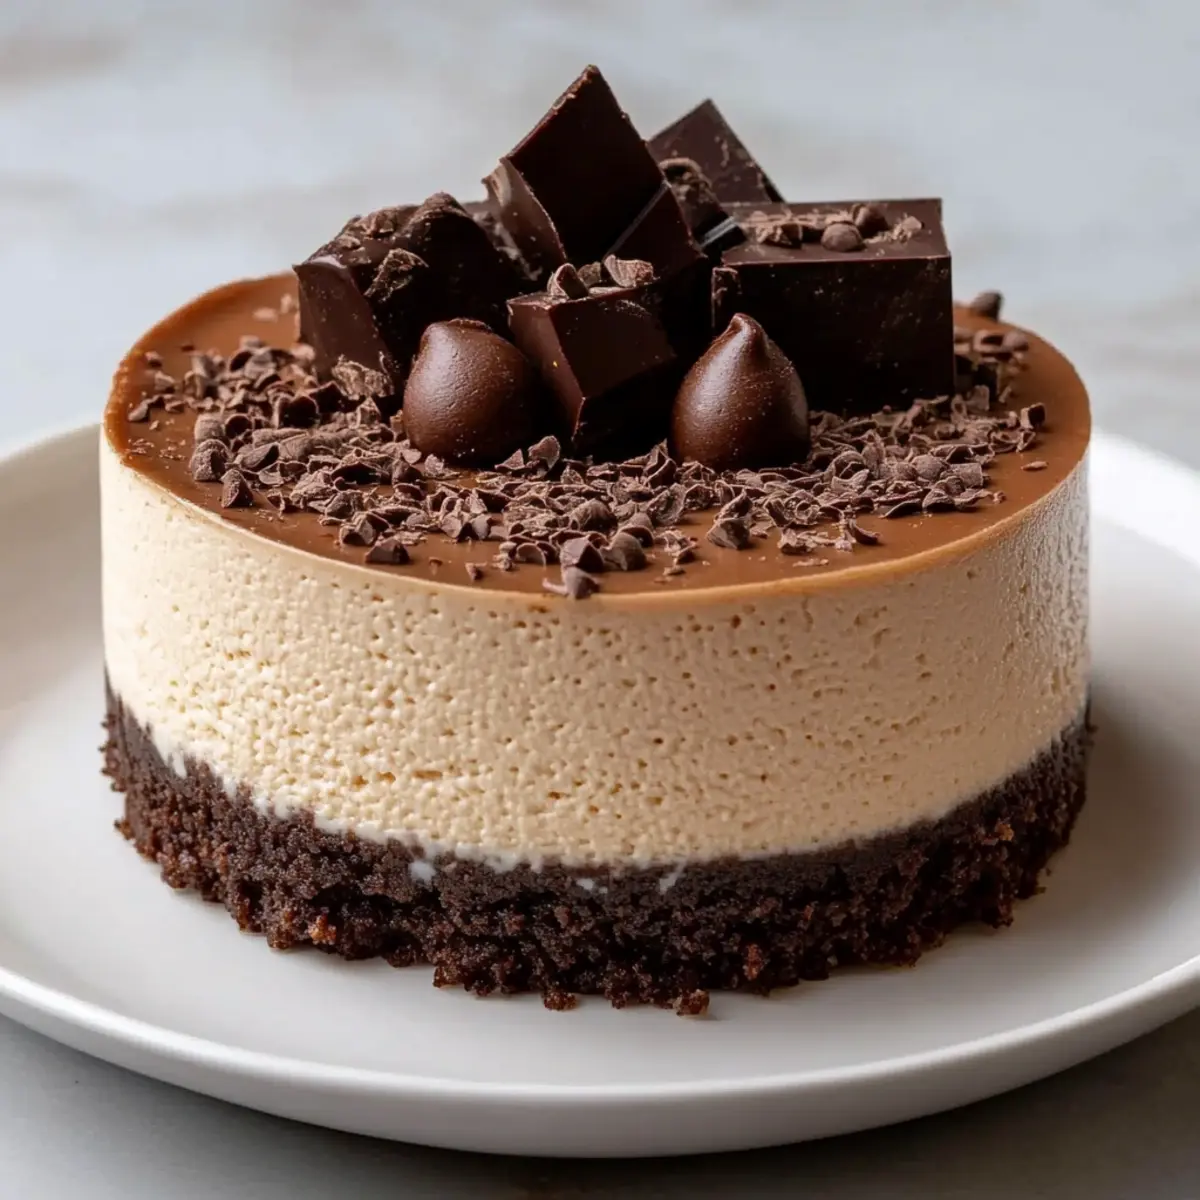
**Indulgent ** chocolate and espresso blend perfectly in this no-bake treat, making it a breeze to prepare. Perfectly creamy, the rich texture delights the taste buds, while the coffee kick adds a unique twist that coffee lovers will adore. Quick to assemble with minimal cooking time, it’s an ideal dessert for gatherings or a cozy night in. And, it easily wows guests with its elegant presentation — just top with a dollop of whipped cream and chocolate shavings for the finishing touch!
Chocolate Espresso Cheesecake Ingredients
For the Base
• Digestive biscuits or Graham crackers – 200 grams, finely crushed to create a sturdy crust.
• Butter – 100 grams, melted to bind the biscuit crumbs together perfectly.
For the Filling
• Dark chocolate – 200 grams, melted for a rich and indulgent flavor that contrasts beautifully with the espresso.
• Cream cheese – 250 grams, brings a creamy texture that is essential for the cheesecake.
• Castor sugar – 100 grams, adds just the right sweetness to balance the chocolate and espresso.
• Heavy cream – 200 ml, whipped to soft peaks for a light and fluffy consistency in the filling.
• Espresso – 60 ml, brewed strong for that delightful coffee kick, making this Chocolate Espresso Cheesecake truly irresistible.
For the Topping
• Grated dark chocolate – for garnishing, adds a touch of elegance and a burst of chocolate flavor.
• Whipped cream – a dollop on top for an extra creamy finish that's perfect for serving!
Step‑by‑Step Instructions for Chocolate Espresso Cheesecake
Step 1: Melt the Chocolate
Begin by melting the 200 grams of dark chocolate in a double boiler or microwave. If using a microwave, heat in short bursts of 20 seconds, stirring in between, until smooth. Allow the melted chocolate to cool slightly while you prepare the other ingredients, ensuring a silky texture for your Chocolate Espresso Cheesecake.
Step 2: Brew the Espresso
Brew 60 ml of strong espresso and allow it to cool completely. This coffee base will enhance the rich flavors of the cheesecake. Make sure it is at room temperature before mixing it into the filling, as hot espresso could alter the consistency of the cream cheese mixture.
Step 3: Prepare the Cake Tin
Line the base of a 22 to 23-centimeter springform cake tin with baking paper. This will make it easier to remove your Chocolate Espresso Cheesecake later. Additionally, ensure the sides of the tin are lightly greased to prevent sticking, creating a smooth presentation for your delicious dessert.
Step 4: Make the Biscuit Base
Pulse 200 grams of digestive biscuits or Graham crackers in a food processor until they are finely crushed. Combine these crumbs with 100 grams of melted butter until the mixture resembles wet sand. Press this mixture firmly into the base of the lined tin, creating an even layer that will anchor your cheesecake.
Step 5: Whip the Heavy Cream
In a stand mixer, whip 200 ml of heavy cream to soft peaks, which will add a light and airy texture to your filling. Keep an eye on the cream as it thickens, stopping once peaks form but aren’t too stiff. Set the whipped cream aside, as you'll gently fold it into the chocolate mixture later.
Step 6: Beat the Cream Cheese and Sugar
In a clean bowl, beat 250 grams of cream cheese and 100 grams of castor sugar together until smooth and creamy. This step is crucial for creating a lump-free filling. Ensure that the mixture is well combined and fluffy, setting the stage for the rich flavors of your Chocolate Espresso Cheesecake.
Step 7: Combine Chocolate and Espresso
Mix the cooled melted chocolate and the brewed espresso into the cream cheese mixture, stirring until fully incorporated. The dark chocolate will blend beautifully with the coffee flavor, creating a rich and decadent filling. Look for an even, glossy mixture that showcases the vibrant color of both the chocolate and espresso.
Step 8: Fold in the Whipped Cream
Gently fold the whipped cream you prepared earlier into the chocolate and cream cheese mixture. Use a spatula to incorporate the cream without deflating it, resulting in a fluffy filling. This step is key for a light texture, making your Chocolate Espresso Cheesecake indulgently creamy and airy.
Step 9: Pour the Filling and Chill
Carefully pour the luscious filling over the biscuit base in the prepared springform tin, smoothing the top with a spatula. Cover the cheesecake with plastic wrap and refrigerate for several hours or overnight until fully set. Look for a firm texture before serving, ensuring the cheesecake holds its shape when sliced.
Step 10: Garnish and Serve
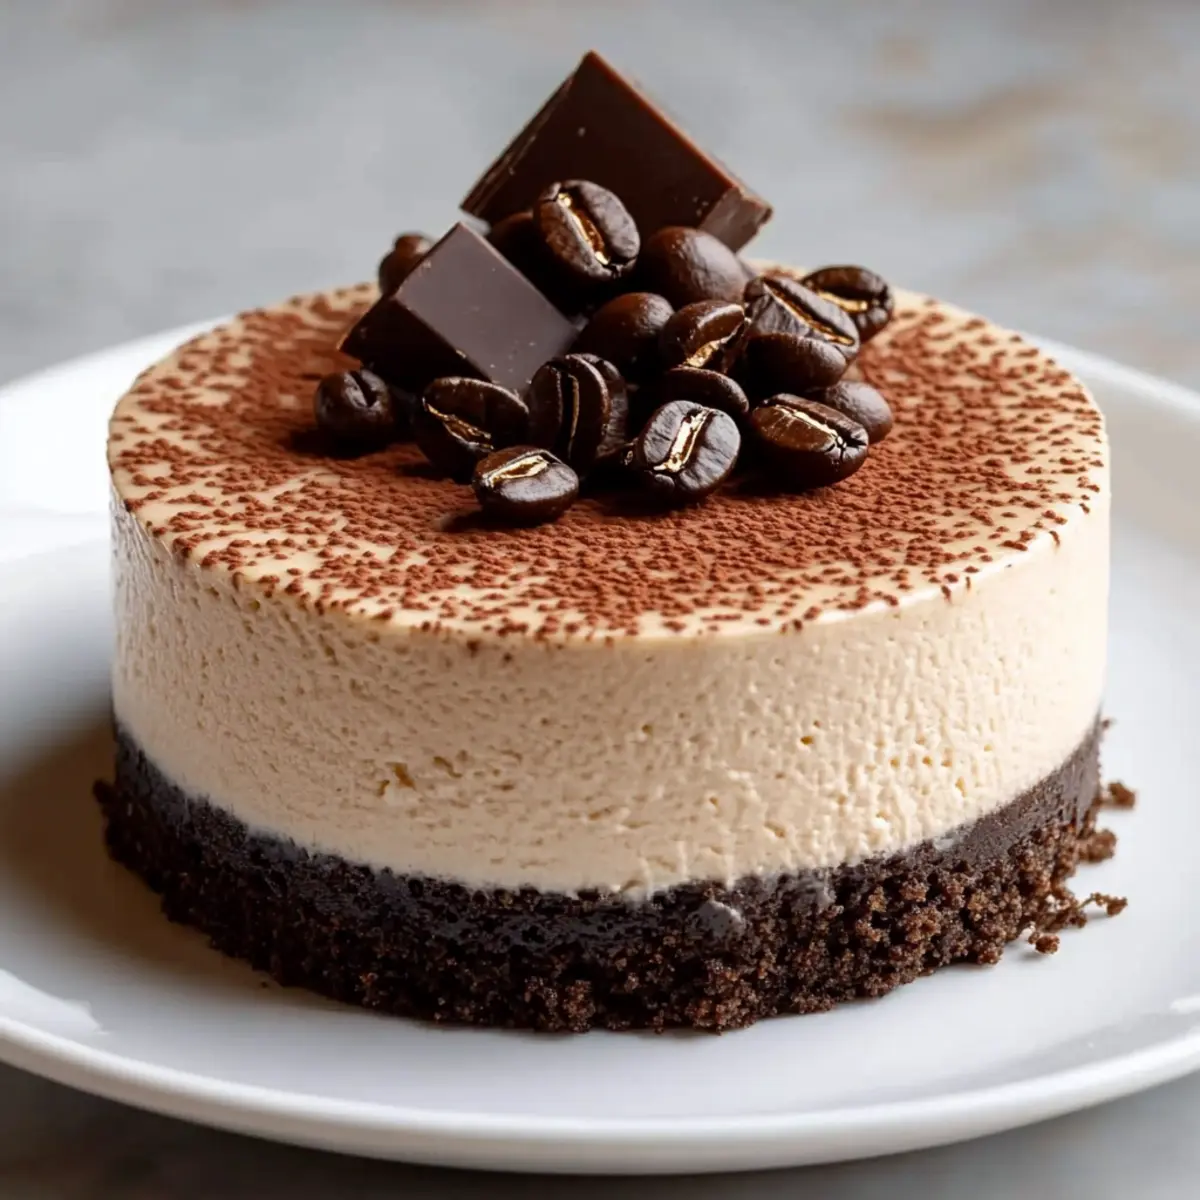
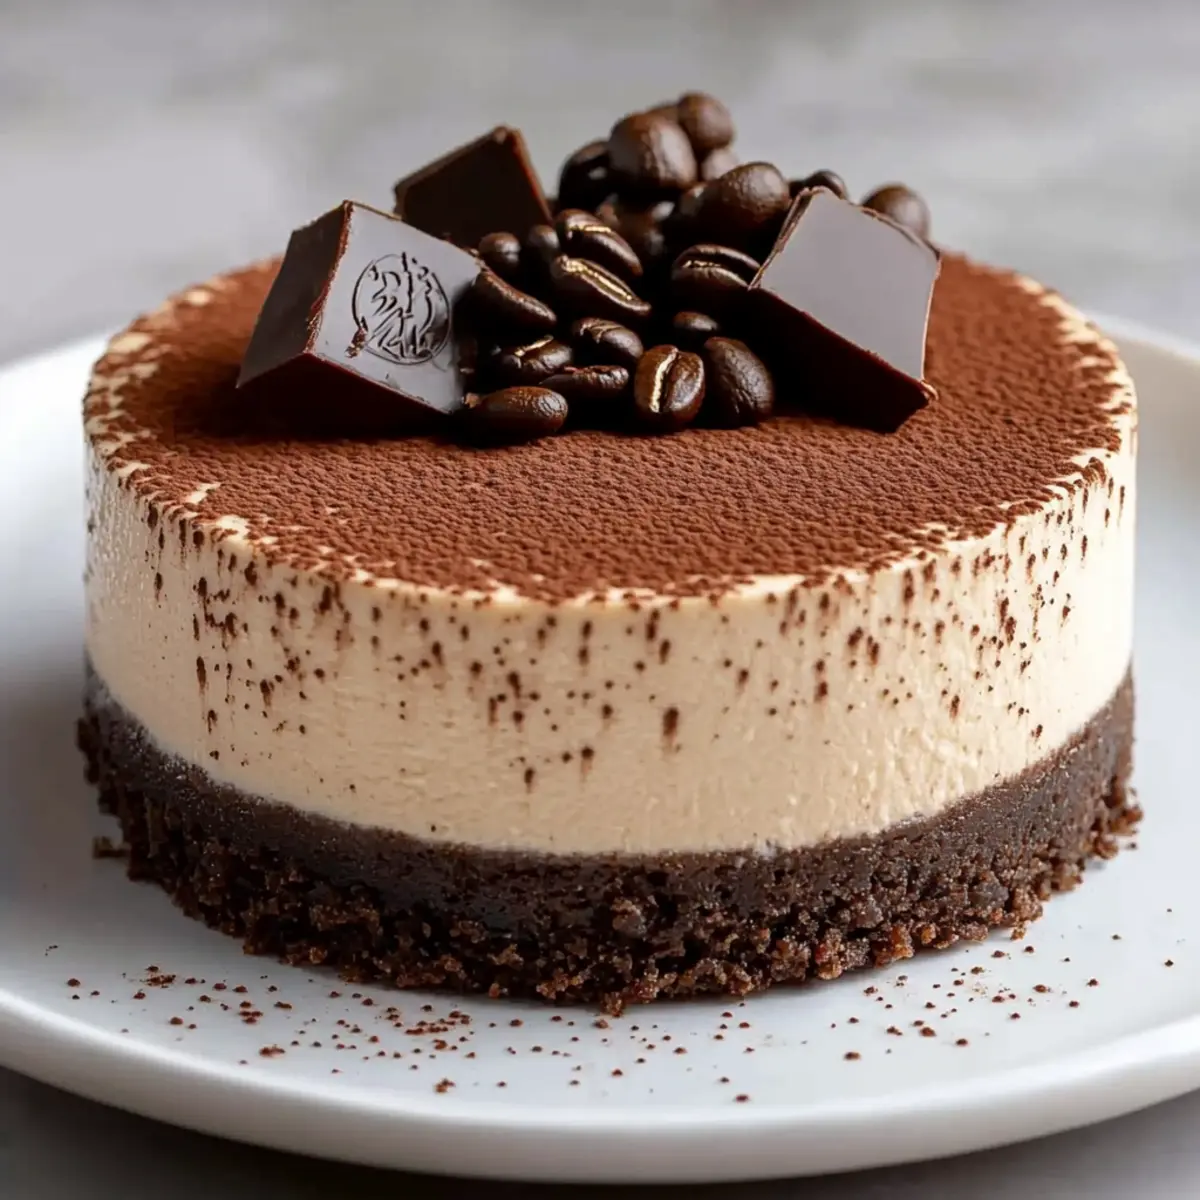
Before serving, garnish your Chocolate Espresso Cheesecake with grated dark chocolate and a dollop of whipped cream for an elegant touch. This final step not only enhances the flavor but also elevates the presentation, making your dessert a real showstopper at any gathering. Enjoy the compliments!
Tips for the Best Chocolate Espresso Cheesecake
Crust Consistency: Ensure your digestive biscuit or Graham cracker crumbs are finely crushed and mixed well with melted butter. A solid base prevents a soggy crust and provides a delightful crunch.
Cool Before Mixing: Let the melted chocolate and brewed espresso cool to room temperature before mixing with cream cheese. This prevents curdling and helps maintain a smooth texture in your Chocolate Espresso Cheesecake.
Gentle Folding: When incorporating whipped cream into the chocolate mixture, gently fold instead of stirring vigorously. This keeps the airy texture and ensures a light, creamy filling.
Chilling Time: Be patient! Allow your cheesecake to chill for at least 4 hours or preferably overnight. This step is crucial for a perfectly set cheesecake that slices beautifully.
Garnish Wisely: Don’t skip the topping! Grated dark chocolate and a dollop of whipped cream not only enhance presentation but also elevate the flavor, making your dessert irresistible to guests.
Chocolate Espresso Cheesecake Variations
Feel free to customize this tempting dessert to suit your taste buds!
-
Dairy-Free: Swap cream cheese with a plant-based alternative and use coconut cream instead of heavy cream for a dairy-free delight.
For those who prefer a vegan twist, replace the butter with coconut oil and enjoy a guilt-free indulgence! -
Nutty Crust: Use crushed hazelnuts or almonds in place of digestive biscuits for a unique nutty flavor.
This adds both texture and depth, transforming the classic crust into something truly special. -
Flavored Espressos: Experiment with flavored espresso, like vanilla or hazelnut, to enhance the coffee profile of your cheesecake.
Adding a twist of flavor invites new dimensions, making each slice a delightful surprise for the palate. -
Chocolate Variety: Try milk chocolate or even a mix of dark and white chocolate for different flavor profiles in the filling.
Each variation offers a unique sweetness – embrace creativity and surprise your loved ones! -
Minty Freshness: Add a few drops of peppermint extract to the filling for a refreshing mint chocolate cheesecake.
This variation is perfect for the holidays, bringing a festive spirit to your dessert table! -
Extra Crunch: Fold in some finely chopped toffee pieces or chocolate-covered espresso beans into your filling for a delightful crunch.
This adds a playful texture that keeps every bite interesting, making it irresistible to all! -
Spicy Kick: Sprinkle in some ground cinnamon or even a dash of cayenne pepper to spice things up in your cheesecake.
This unexpected kick will have your guests talking about your secret ingredient long after the last bite! -
Fruitful Twist: Top your cheesecake with fresh berries or caramelized bananas for vibrant color and freshness.
This fruity garnish not only adds beauty but balances the rich flavors, making your dessert even more delightful.
Make Ahead Options
These Chocolate Espresso Cheesecake slices are perfect for busy home cooks looking to save time during hectic weeks! You can prepare the biscuit base and filling up to 24 hours in advance. Simply follow the first eight steps of the recipe, then cover the assembled cheesecake tightly with plastic wrap and refrigerate. This method keeps the flavors beautifully melded while ensuring the cheesecake remains just as delicious. For the best results, wait to garnish with grated dark chocolate and whipped cream until right before serving. This way, you’ll have a stunning and scrumptious dessert ready with minimal last-minute effort, allowing you to enjoy the moment with your loved ones.
What to Serve with Chocolate Espresso Cheesecake
Indulge your senses as you create a delightful feast around this rich, creamy dessert that promises to elevate any occasion.
-
Creamy Mashed Potatoes: Their smooth texture contrasts beautifully with the richness of the cheesecake, providing a satisfying counterbalance on your plate. A dollop of roasted garlic can add another layer of flavor.
-
Fresh Green Salad: A crisp salad with citrus vinaigrette refreshes the palate and complements the cheesecake's depth. Incorporating seasonal greens enhances not just texture but also visual appeal, making your meal vibrant.
-
Vanilla Ice Cream: A scoop of this classic favorite alongside the cheesecake offers a delightful temperature contrast and added creaminess that’s simply scrumptious together. Drizzling with warm chocolate sauce makes it even better!
-
Espresso Martini: A cocktail that ties in the espresso flavor will engage your guests and beautifully echo the cheesecake’s rich notes. The coffee-infused cocktail adds a spirited kick, perfect for after dinner!
-
Berries Medley: A fresh assortment of strawberries, raspberries, and blueberries provides brightness and a natural sweetness that cuts through the richness of the cheesecake. Their burst of flavor enlivens the experience with every bite.
-
Chocolate Ganache Tart: Layering chocolates in different forms keeps the dessert theme alive. The contrast in textures, from smooth ganache to dense cheesecake, will thrill chocolate lovers at your table.
-
Cinnamon Spiced Coffee: Serve this warm beverage for a cozy end to your meal. The spices complement the flavors of the cheesecake and provide a lovely, comforting finish to a delightful evening.
How to Store and Freeze Chocolate Espresso Cheesecake
Fridge: Store your Chocolate Espresso Cheesecake in an airtight container for up to 5 days. This keeps it fresh and prevents odors from other foods affecting its lovely flavor.
Freezer: If you want to save some for later, freeze slices wrapped tightly in plastic wrap for up to 2 months. When you’re ready to enjoy, thaw overnight in the fridge for the best texture.
Reheating: There’s no need to heat this dessert! Enjoy it chilled straight from the fridge or after thawing from the freezer for the ultimate indulgent experience.
Chocolate Espresso Cheesecake Recipe FAQs
How do I choose the best ingredients for my cheesecake?
Absolutely! For the best flavor in your Chocolate Espresso Cheesecake, look for high-quality dark chocolate with at least 70% cocoa. When selecting cream cheese, go for full-fat varieties for a richer taste. Ensure the heavy cream is fresh and check for expiration dates. For the biscuits, opt for brands that are crunchy and break down easily for a solid base.
How should I store leftover cheesecake?
Very importantly, you should store your Chocolate Espresso Cheesecake in an airtight container in the refrigerator. It can last for up to 5 days while maintaining its delightful flavor and texture. Just make sure to cover it well to keep it fresh, as it absorbs odors from other foods in the fridge!
Can I freeze Chocolate Espresso Cheesecake?
Absolutely! To freeze, first, slice the cheesecake and wrap each slice individually in plastic wrap, followed by aluminum foil to protect it further. You can freeze it for up to 2 months. When you're ready to enjoy, thaw the slices in the refrigerator overnight to ensure the best texture.
What can I do if my cheesecake doesn’t set properly?
If your Chocolate Espresso Cheesecake hasn’t set, it may need more chilling time! Be sure to refrigerate it for at least 4 hours or prefer overnight for optimal firmness. If it still seems too soft, you can also lightly whip some more heavy cream to a soft peak and gently fold it into the mixture as a potential way to add more structure.
Is this cheesecake suitable for dietary restrictions?
While this cheesecake is undeniably delicious, it does contain dairy and gluten. However, for a gluten-free version, substitute digestive biscuits with gluten-free cookies. If you're looking for a dairy-free option, try using dairy-free cream cheese and coconut whipped cream. Always check labels to avoid allergens, especially when serving guests who may have dietary sensitivities.
Indulgent Chocolate Espresso Cheesecake to Wow Your Guests
Ingredients
Equipment
Method
- Melt the chocolate in a double boiler or microwave, stirring until smooth. Allow to cool slightly.
- Brew espresso and let it cool completely. It should be at room temperature before mixing.
- Line a 22 to 23-centimeter springform cake tin with baking paper and lightly grease the sides.
- Pulse the digestive biscuits in a food processor until finely crushed. Combine with melted butter and press into the base of the tin.
- Whip heavy cream to soft peaks and set aside.
- Beat cream cheese and castor sugar together until smooth and creamy.
- Combine the melted chocolate and cooled espresso into the cream cheese mixture, stirring until smooth.
- Fold the whipped cream into the chocolate and cream cheese mixture gently.
- Pour the filling over the biscuit base, smooth the top, and refrigerate until set.
- Garnish with grated dark chocolate and a dollop of whipped cream before serving.

Leave a Reply