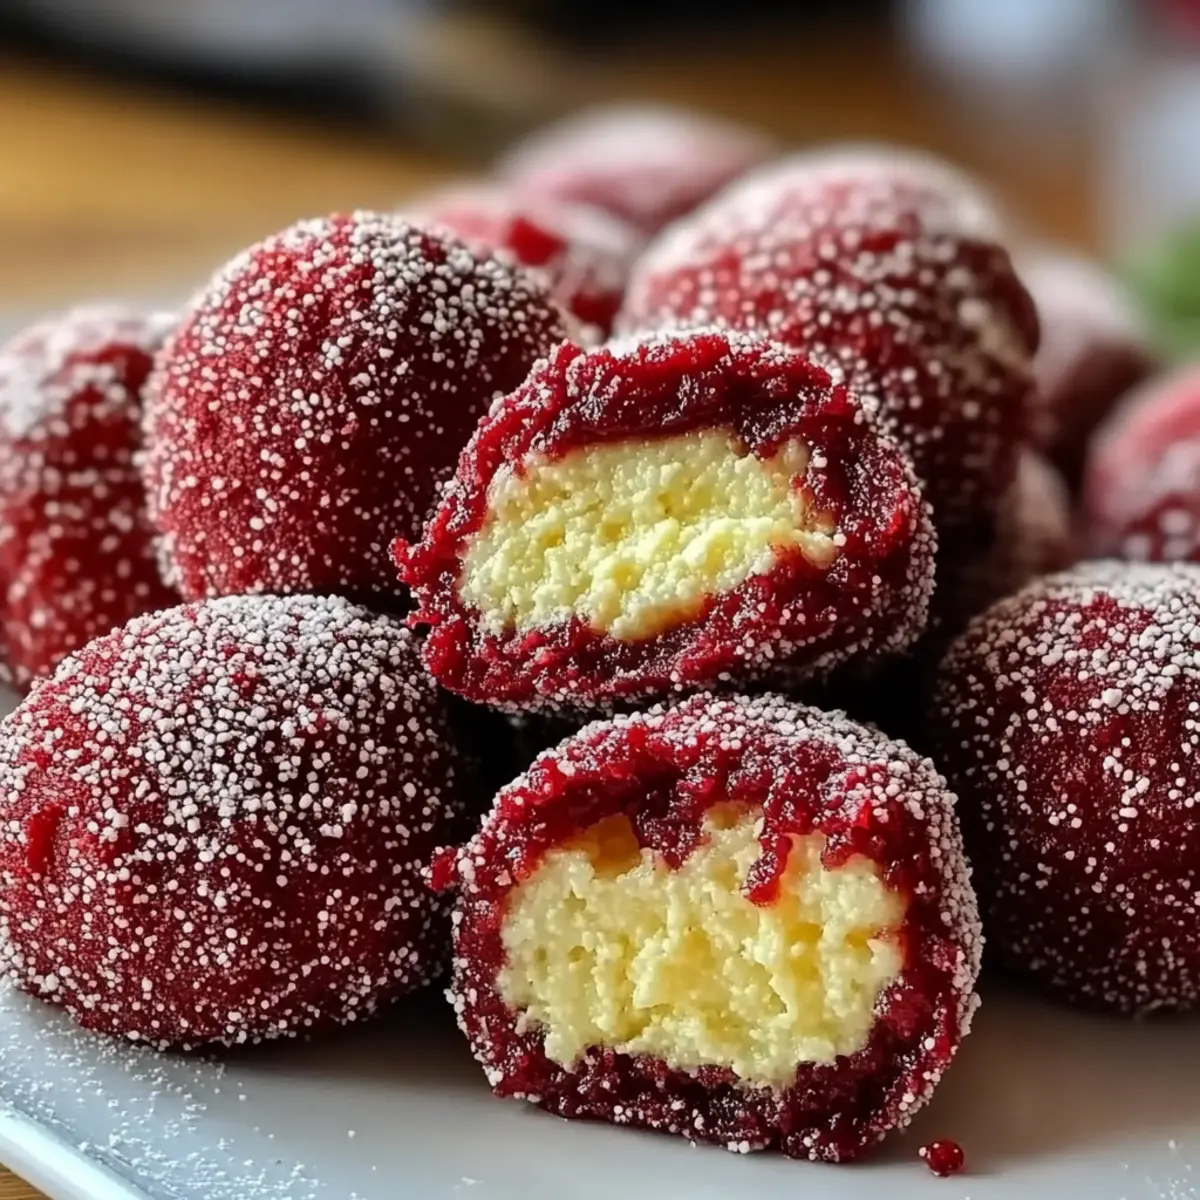
As I pulled the vibrant red cookies from the oven, an irresistible aroma filled the kitchen, instantly making me feel like a dessert magician. These Red Velvet Snowballs are not only a feast for the eyes with their cheerful hue, but they're also a welcome departure from typical cookie recipes. With just 20 minutes of prep time, they’re perfect for those moments when you need a sweet treat in a flash. Whether you're looking to impress guests or simply indulge your sweet tooth, these cookies deliver—soft and chewy with a delightful powdered sugar finish. Plus, they can easily be adapted to suit different dietary needs! Are you ready to roll up your sleeves and create some enchanting bites?
Why Are These Red Velvet Snowballs Special?
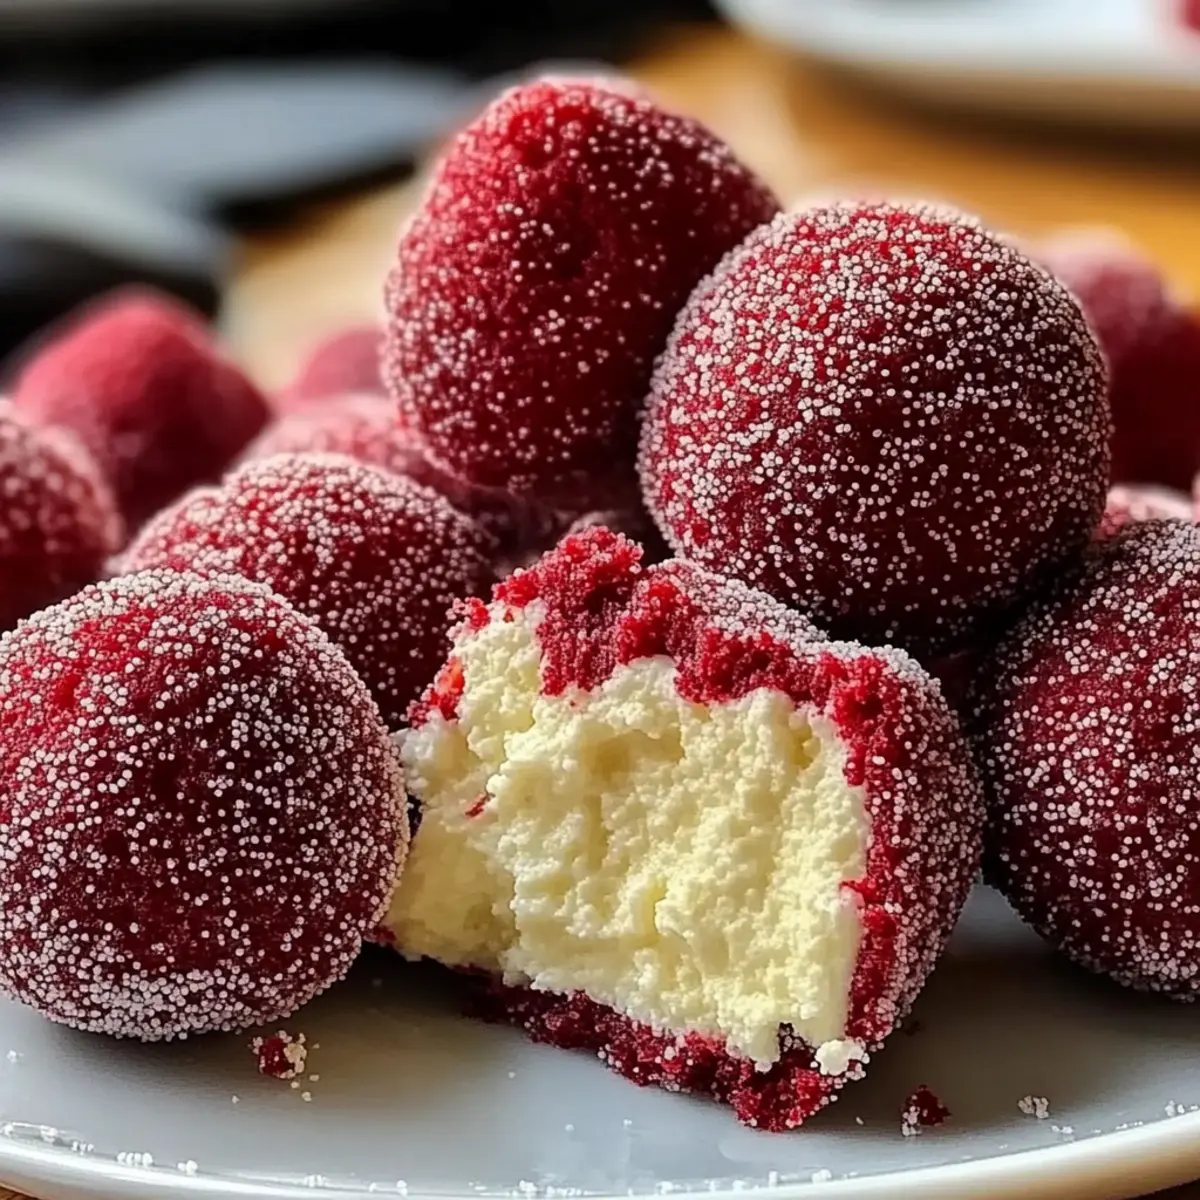
Irresistible Color: Vibrant red and festive, these cookies are sure to catch everyone's eye! Their cheerful appearance raises the excitement for any event.
Quick to Make: In just 20 minutes of prep, you can have fresh-baked delights ready to impress. Don’t wait long for flavors that shine!
Customizable Options: Enjoy versatile ingredients, such as swapping butter with vegan alternatives or trying gluten-free flour, letting you cater to various dietary needs.
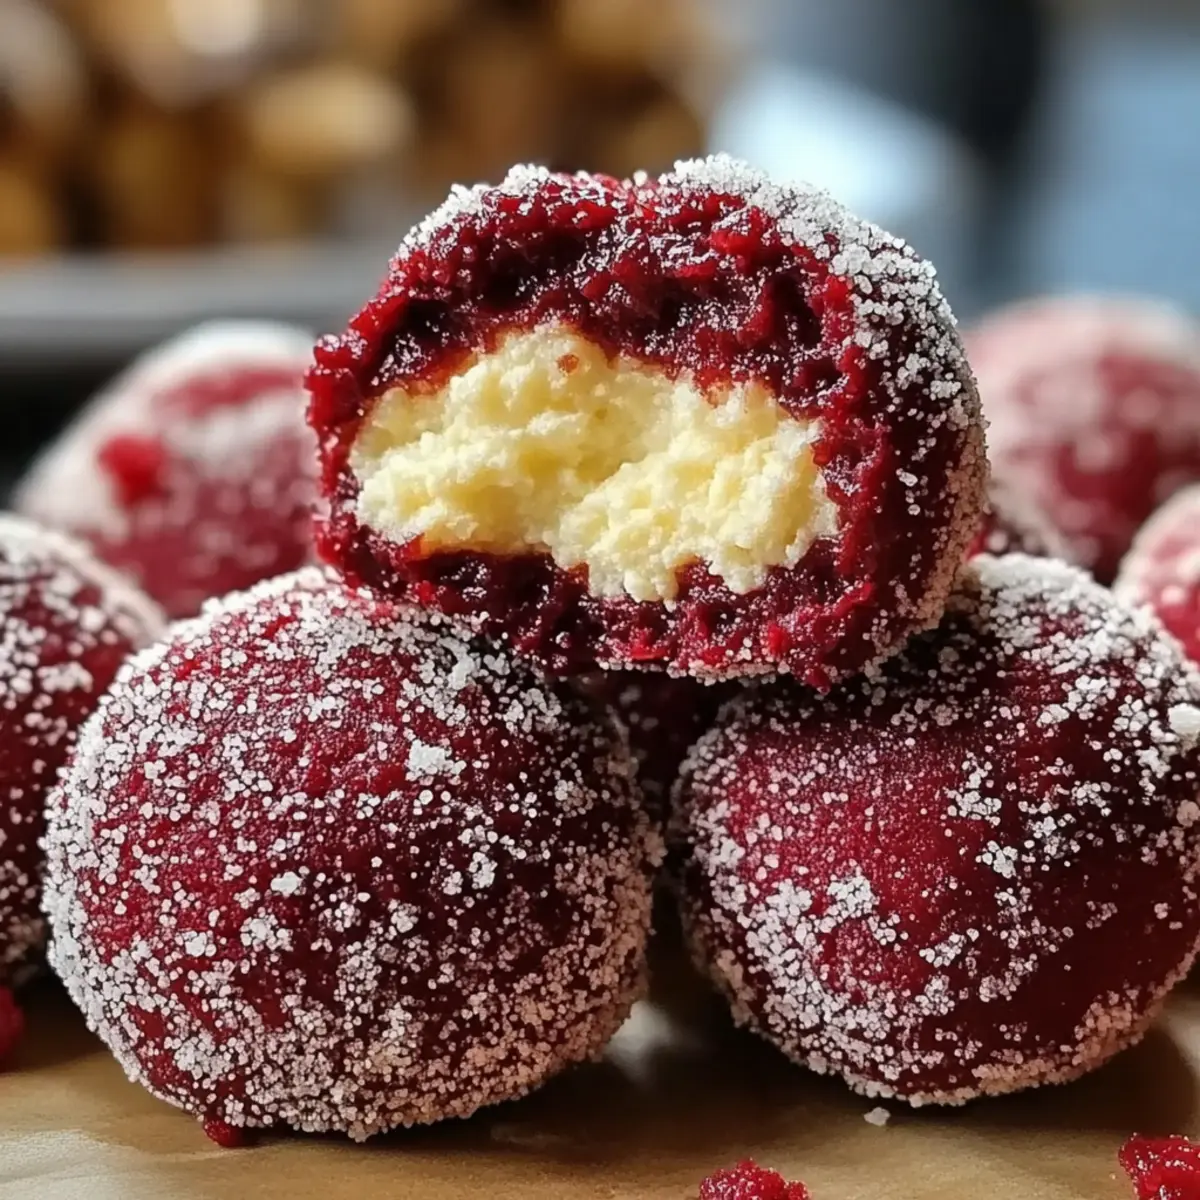
Perfectly Soft: With gooey centers and a light dusting of powdered sugar, each bite is an explosion of flavor and texture that melts in your mouth.
Crowd-Pleaser: Great for gatherings, parties, or simply satisfying that sweet craving, these cookies are a delightful treat for everyone.
Red Velvet Snowballs Ingredients
• Get ready to bring home the magic with these delightful treats!
For the Cookie Dough
• All-purpose flour – 2.5 cups; can substitute with gluten-free flour for a gluten-free option.
• Cocoa powder – 0.5 cups; gives the cookies their rich chocolate flavor.
• Baking powder – 1 teaspoon; helps the cookies rise for that perfect texture.
• Salt – 0.5 teaspoon; balances the sweetness and enhances flavors.
• Unsalted butter – 1 cup, softened; can substitute with vegan butter for a dairy-free option.
• Granulated sugar – 1 cup; sweetens the cookies beautifully.
• Brown sugar – 0.5 cups, packed; adds moisture and a touch of caramel flavor.
• Large egg – 1; can substitute with a flax egg for a vegan option.
• Red food coloring – 1 tablespoon; adjust to your desired color intensity for those vibrant Red Velvet Snowballs.
• Vanilla extract – 1 teaspoon; infuses a warm, inviting aroma.
For Dusting
• Powdered sugar – for rolling; creates a sweet, snowy coating that enhances presentation and flavor.
Step‑by‑Step Instructions for Red Velvet Snowballs
Step 1: Gather Ingredients
Start by collecting all your ingredients to make the Red Velvet Snowballs. Ensure your unsalted butter is softened to room temperature for easy mixing. Pre-measure your all-purpose flour, cocoa powder, baking powder, salt, sugars, egg, red food coloring, and vanilla extract, setting them aside for a smooth preparation process.
Step 2: Preheat the Oven
Preheat your oven to 350°F (175°C) to ensure it reaches the perfect temperature for baking. This step is crucial for creating that delightful texture in your cookies. While the oven warms up, take the opportunity to line baking sheets with parchment paper, ready for the cookie dough to come.
Step 3: Mix Dry Ingredients
In a medium bowl, whisk together the all-purpose flour, cocoa powder, baking powder, and salt. This dry mixture will provide the foundation for your Red Velvet Snowballs. Set it aside, allowing the flavors to marry while you prepare the wet ingredients in the next step.
Step 4: Cream Butter and Sugars
In a large mixing bowl, cream together the softened unsalted butter, granulated sugar, and brown sugar using an electric mixer on medium speed. Continue mixing until the mixture is light and fluffy, which should take about 3-4 minutes. This step is essential for incorporating air and achieving a tender cookie texture.
Step 5: Add Egg and Flavorings
Beat in one large egg, ensuring it is fully incorporated before adding the vibrant red food coloring and vanilla extract. Mix on low speed until the mixture is smooth and well combined, revealing a beautiful red hue that truly captures the essence of Red Velvet Snowballs.
Step 6: Combine Wet and Dry Ingredients
Gradually add the prepared flour mixture to the wet ingredients, mixing on low speed until just combined. Avoid over-mixing; the dough should be smooth without any visible flour. This careful blending ensures that your cookies will rise beautifully while retaining that soft center.
Step 7: Shape the Dough
Using your hands, scoop out portions of the dough and roll them into 1-inch diameter balls. Place each ball on your lined baking sheet, making sure to leave enough space between them to allow for spreading during baking. This will help ensure that your Red Velvet Snowballs cook evenly and maintain their delightful shape.
Step 8: Bake the Cookies
Bake in the preheated oven for 10-12 minutes or until the edges feel firm but the centers remain soft. Keep an eye on them as they bake; they should look slightly puffy and fragrant. Remove from the oven when readiness signals are visible, hinting at that perfect texture.
Step 9: Cool and Dust with Sugar
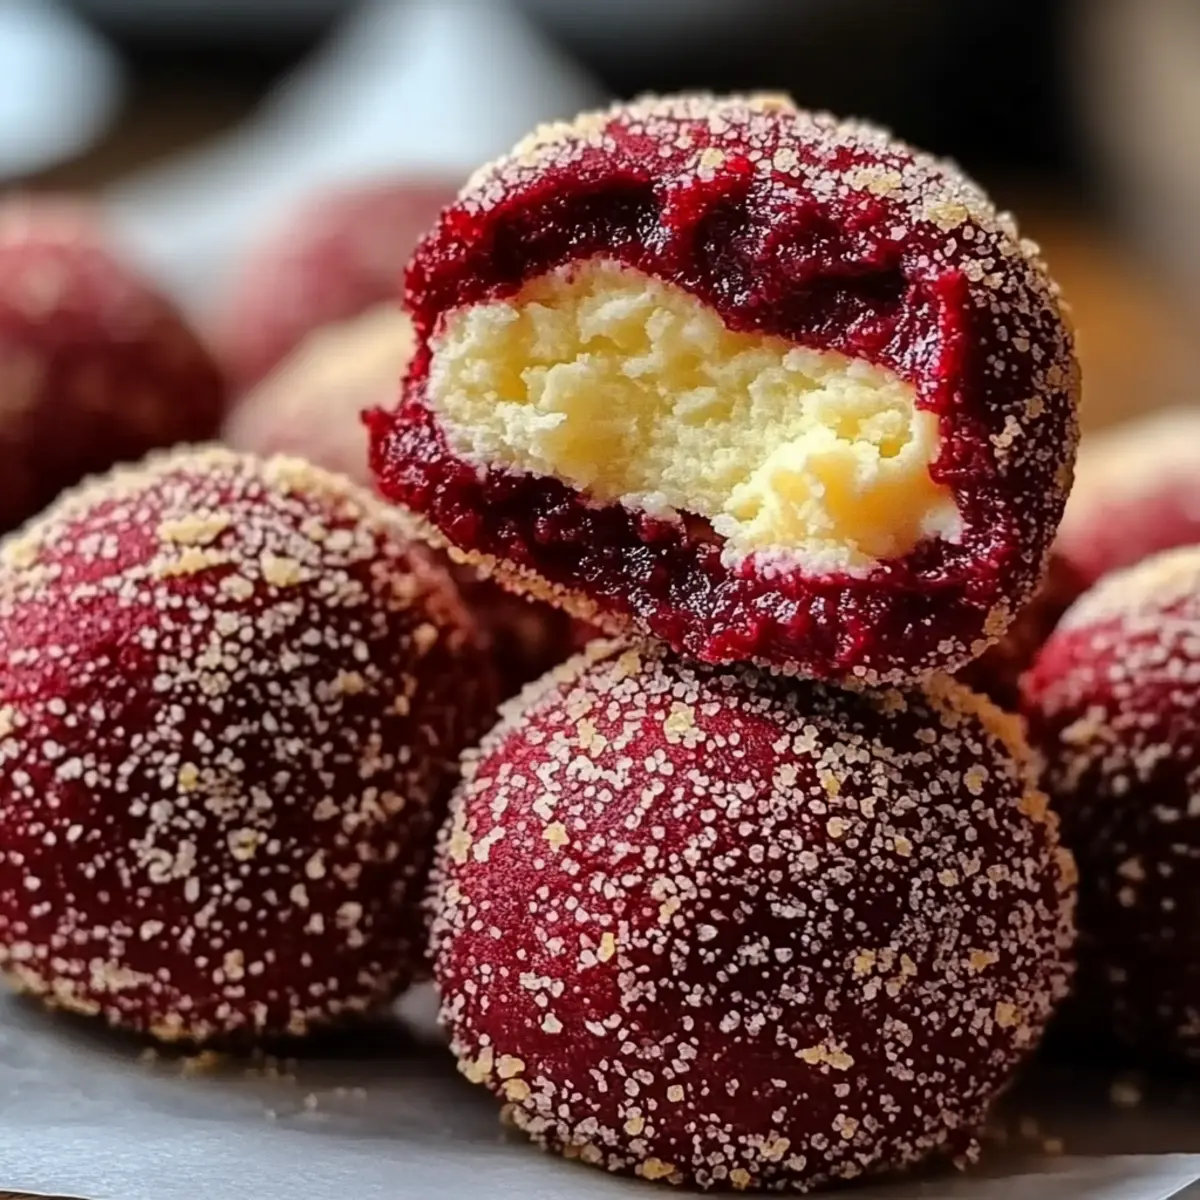
Allow the cookies to cool on the baking sheet for about 5 minutes once out of the oven. This slight cooling time helps them set. Afterward, roll them gently in powdered sugar to create a lovely snowy appearance that enhances the festive feel of your Red Velvet Snowballs.
Step 10: Complete the Cooling
Transfer the cookies to a wire rack to cool completely before serving. This final step ensures that they achieve the ideal softness and texture, inviting everyone to indulge in these charming treats. Enjoy the delightful aroma wafting through your kitchen!
Make Ahead Options
These Red Velvet Snowballs are perfect for meal prep, allowing you to enjoy sweet treats with minimal last-minute effort. You can prepare the cookie dough up to 24 hours in advance; simply cover the bowl tightly with plastic wrap and refrigerate. For longer storage, shape the dough into balls and freeze them for up to 3 months—just place them on a baking sheet, freeze until solid, and then transfer to a zip-top bag. When you're ready to bake, no need to thaw; just bake straight from frozen, adding an extra minute or two to the baking time. This method keeps your cookies just as delicious and ensures you always have a delightful dessert ready to go!
How to Store and Freeze Red Velvet Snowballs
Room Temperature: Store uneaten Red Velvet Snowballs in an airtight container at room temperature for up to 3 days. This keeps them soft and fresh, perfect for enjoying anytime.
Fridge: If you prefer them chilled, place the cookies in a sealed container in the refrigerator for up to 1 week. Just remember to let them come to room temperature before diving in.
Freezer: Freeze unfrosted Red Velvet Snowballs in a single layer on a baking sheet for about 1 hour, then transfer to a freezer-safe bag for up to 3 months. Thaw overnight in the fridge when ready to enjoy.
Reheating: To refresh your cookies, warm them in the microwave for about 10-15 seconds or bake them in a preheated oven at 350°F (175°C) for just a few minutes until they are soft again.
Red Velvet Snowballs Variations
Embrace your creativity in the kitchen! These cookies can take on delightful twists that will tantalize your taste buds.
-
Gluten-Free: Substitute all-purpose flour with a gluten-free blend for a delectable option that everyone can enjoy.
-
Dairy-Free: Use vegan butter in place of unsalted butter so that those with dairy sensitivities won’t have to miss out on the fun!
-
Flax Egg: Replace the large egg with a flax egg (1 tablespoon ground flaxseed + 2.5 tablespoons water) for a plant-based twist. It’s an easy switch that works wonders in baking!
-
Chocolate Chips: Fold in dark or white chocolate chips to elevate your Red Velvet Snowballs with an extra burst of sweetness and texture.
-
Spicy Kick: Add a pinch of cayenne pepper or cinnamon to the dry ingredients for a cheeky kick that perfectly complements the vanilla and cocoa.
-
Lemon Zest: Mix in a teaspoon of fresh lemon zest to brighten the flavors and add a fresh zing that dances on your palate.
-
Nutty Crunch: Incorporate chopped walnuts or pecans for a lovely crunch and added depth in flavor. The delightful contrast will amaze your family and friends!
-
Miniatures: Create mini Red Velvet Snowballs by rolling smaller dough balls, perfect for bite-sized indulgence. They make marvelous treats for parties or snacks!
Expert Tips for Red Velvet Snowballs
Perfect Timing: Make sure to set a timer while baking to avoid overbaking—cookies should be soft in the center for that signature chewy texture.
Temperature Matters: Ensure your butter is thoroughly softened. Cold butter can result in dense cookies that lack the fluffy texture you want in your Red Velvet Snowballs.
Flour Measurement: Spoon and level your flour instead of scooping directly from the bag, which can lead to too much flour and dry cookies.
Avoiding Overmixing: Once you combine wet and dry ingredients, mix just until smooth. Overmixing can lead to tough cookies instead of tender Red Velvet Snowballs.
Cooling Tips: Allow cookies to cool on the baking sheet before rolling in powdered sugar. This step prevents the sugar from melting into the dough, maintaining that beautiful snowy coat.
What to Serve with Red Velvet Snowballs
Imagine yourself surrounded by laughter and cheer, the sweet scent of baked cookies enveloping the room, inviting everyone to indulge.
-
Creamy Vanilla Ice Cream: A scoop of vanilla ice cream adds a delightful creamy contrast, enhancing the rich chocolate flavors of the cookies. The cold creaminess melts luxuriously on your tongue with each bite.
-
Fresh Berries: Strawberries or raspberries provide a burst of freshness and tang, balancing the sweetness of the Red Velvet Snowballs. Their vibrant colors and juicy texture create a beautiful plate that’s as inviting as it is delicious.
-
Espresso or Coffee: A warm cup of coffee or a rich espresso elevates the entire dessert experience, adding depth to the cocoa notes. Pairing with a hint of cream or a sprinkle of cinnamon offers an aromatic complement.
-
Chocolate Ganache Dip: For the chocolate lovers, a dip of silky chocolate ganache creates a decadent twist. Its velvety consistency wraps each bite in an indulgent embrace.
-
Minty Mojito Mocktail: A refreshing mojito with mint and lime adds a zesty interlude to the sweetness, awakening the palate. The bubbles and zest provide a festive lift to your dessert gathering.
-
Coconut Whipped Cream: Light and airy coconut whipped cream is a delightful alternative, offering subtle tropical notes that enhance the cookie's flavor without overwhelming it. With every dollop, it creates a celebration on your taste buds.
-
Lemon Sorbet: The bright, tart zing of lemon sorbet acts as a refreshing contrast, cleansing the palate between bites of the sweet cookies. It's a perfect way to invigorate your senses!
-
Chocolate Milkshake: For a nostalgic pairing, a thick, creamy chocolate milkshake invites indulgence. Whether you sip between bites or dunk your cookies, the combination is pure bliss.
Red Velvet Snowballs Recipe FAQs
How do I choose ripe ingredients for my Red Velvet Snowballs?
Absolutely! Fresh ingredients make all the difference. Choose unsalted butter that's perfectly softened (not melted) for smooth mixing. Also, make sure your egg is large and fresh—give it a crack before adding it in, and check for any discoloration.
What is the best way to store Red Velvet Snowballs?
Store uneaten Red Velvet Snowballs in an airtight container at room temperature for up to 3 days. This keeps them soft and fresh. If you prefer chilled cookies, keep them in a sealed container in the refrigerator for up to 1 week—just let them come to room temperature before enjoying.
Can I freeze these Red Velvet Snowballs?
Yes, you can! To freeze unfrosted Red Velvet Snowballs, shape them into balls and lay them in a single layer on a baking sheet for about 1 hour. Once set, transfer the balls into a freezer-safe bag for up to 3 months. When you're ready for a sweet treat, simply thaw them overnight in the fridge.
What should I do if my cookies don't spread while baking?
Very good question! Here are some troubleshooting steps: Ensure your butter is softened, not melted, as this encourages spreading. Also, avoid overmixing the dough—mix until just combined. Finally, if your cookie dough feels too dry, add a splash of milk to bring it all together for that perfect texture!
Are there any dietary considerations for Red Velvet Snowballs?
Absolutely! These delightful cookies can be made accommodating for different diets. For a gluten-free version, substitute all-purpose flour with a gluten-free flour blend. Additionally, using vegan butter and replacing the egg with a flax egg (1 tablespoon of ground flaxseed mixed with 3 tablespoons of water, letting it sit for 5 minutes) makes this recipe dairy-free and vegan-friendly. Enjoy baking up these hearty treats!
Delicious Red Velvet Snowballs You Can't Resist!
Ingredients
Equipment
Method
- Start by collecting all your ingredients, ensuring the unsalted butter is softened to room temperature.
- Preheat your oven to 350°F (175°C) and line baking sheets with parchment paper.
- In a medium bowl, whisk together the all-purpose flour, cocoa powder, baking powder, and salt.
- In a large mixing bowl, cream together the softened unsalted butter, granulated sugar, and brown sugar until light and fluffy.
- Beat in one large egg, then add the red food coloring and vanilla extract.
- Gradually add the prepared flour mixture to the wet ingredients, mixing until just combined.
- Scoop portions of dough and roll them into 1-inch balls, placing them on the lined baking sheet.
- Bake for 10-12 minutes or until the edges feel firm but the centers remain soft.
- Allow the cookies to cool on the baking sheet for about 5 minutes before rolling in powdered sugar.
- Transfer the cookies to a wire rack to cool completely before serving.

Leave a Reply