As I stood by the window, the aroma of simmering curry wafted in, transporting me straight to a bustling Tokyo street market. The star of my kitchen today? Japanese Curry Buns, or Kare Pan—these delightful pockets of happiness marry the softness of fluffy bread with a rich, savory filling. What I love most is the flexibility in this recipe; whether you prefer baking or frying, you'll achieve a golden, crispy exterior that encases a hearty mix of tender meat or vegetables. Not only are these buns a satisfying snack that tantalizes your taste buds, but they also make a wonderful meal prep option—perfect for lunchboxes or casual gatherings. Curious about how to make these scrumptious bites at home? Let’s dive into the details!
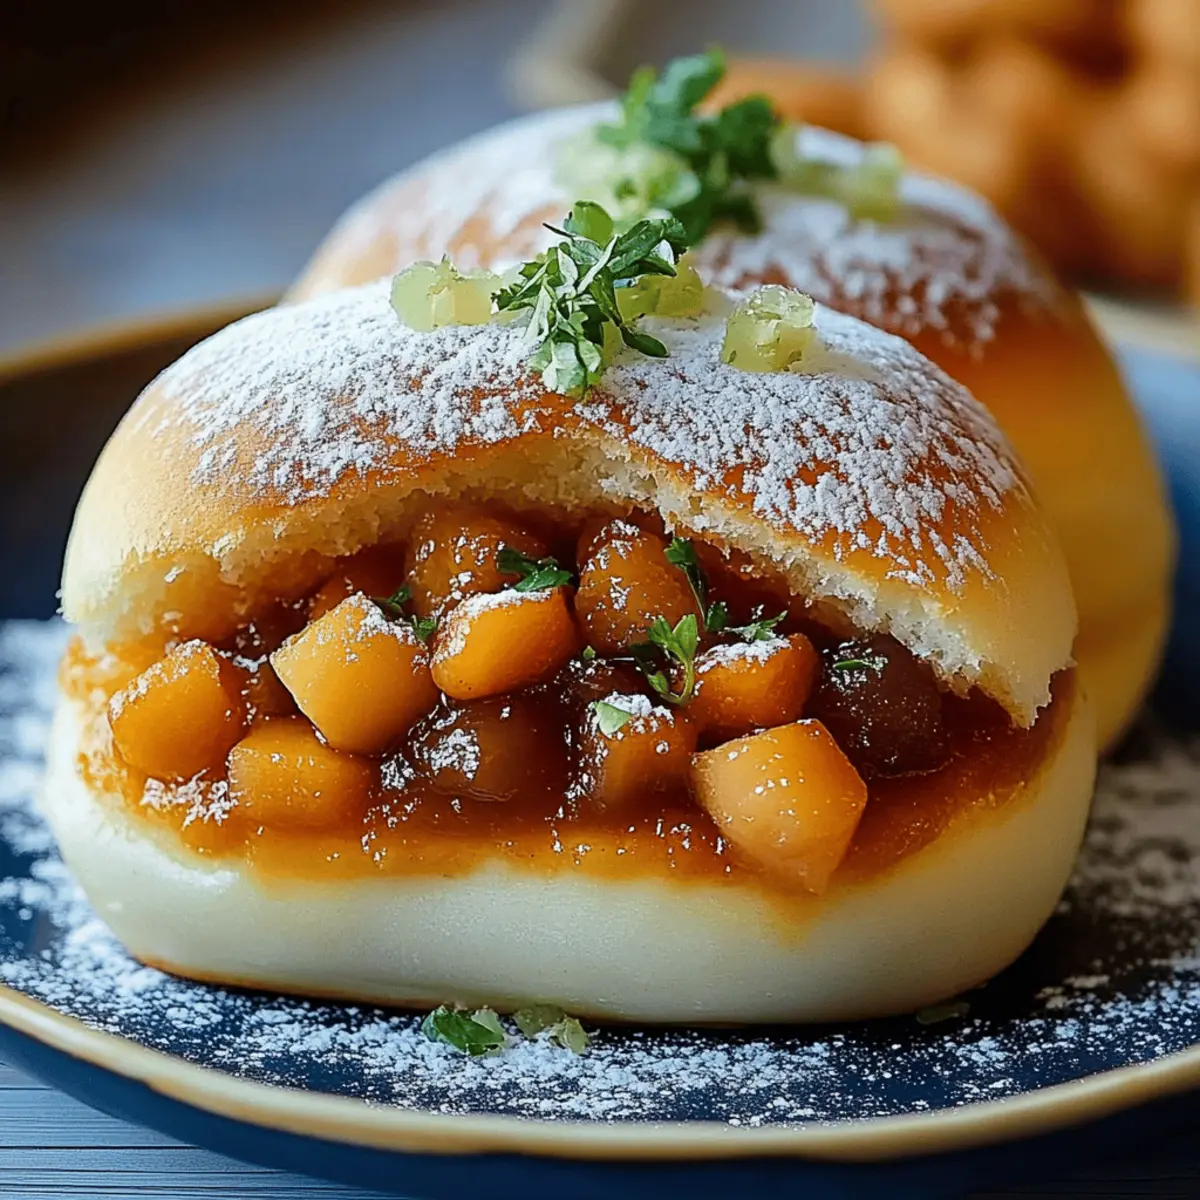
Why Are Japanese Curry Buns So Amazing?
Deliciously Versatile: You can choose to bake or fry these buns, allowing for a crispy finish either way!
Flavors Galore: Each bite packs a savory punch, thanks to the rich curry filling that can be personalized.
Perfect for All Occasions: Great for lunchboxes, snacks, or even as party appetizers—your friends will keep coming back for more!
Quick to Prepare: With a straightforward process, you can whip up these tasty delights in no time.
Healthy Comfort: Use wholesome ingredients, whether you opt for the traditional meat filling or go vegetarian—the choice is yours!
Don't forget to explore variations to keep things exciting, and try pairing them with a side of miso soup for a complete meal experience!
Japanese Curry Bun Ingredients
For the Dough
- Bread Flour – Offers structure and chewiness; substitute with all-purpose flour for a softer texture.
- Sugar – Enhances the flavor and helps in browning.
- Salt – Balances the overall flavors beautifully.
- Instant Yeast – Leavens the dough, creating that light and airy quality we all love.
- Warm Milk – Activates the yeast, enriching the dough; use water for a dairy-free version.
- Egg – Adds moisture and richness to the dough.
- Unsalted Butter – Contributes to a tender crumb; you can use margarine for a dairy-free alternative.
For the Filling
- Vegetable Oil – Perfect for sautéing the filling until aromatic.
- Onion – Brings aromatic depth to your curry filling.
- Carrot – Adds sweetness and texture to the filling.
- Potato – Provides creaminess and depth to the curry.
- Ground Beef (or alternative meat) – A rich protein source; swap it with tofu or lentils for a vegetarian option.
- Water – Necessary for simmering the filling till tender.
- Japanese Curry Roux – Gives the curry its characteristic flavor; feel free to swap with a homemade mix but make sure it’s thick.
- Soy Sauce – Optional, but it adds a delightful umami depth.
For Garnish
- Sesame Seeds – Sprinkle on top for visual appeal and a hint of crunch.
With these ingredients in hand, you're just steps away from creating your own irresistible Japanese Curry Buns! Enjoy the process and tailor the filling to your taste preferences!
Step‑by‑Step Instructions for Japanese Curry Bun
Step 1: Prepare Filling
In a large skillet, heat 1–2 tablespoons of vegetable oil over medium heat. Sauté 1 chopped onion until soft and translucent, about 5 minutes. Add 1 diced carrot and 1 diced potato to the skillet, cooking for another 5 minutes. Incorporate 250g of ground beef (or your preferred substitute) and cook until browned. Pour in 200ml of water and let it simmer until vegetables are tender, roughly 10–15 minutes. Stir in your Japanese curry roux until thickened, and allow the filling to cool completely.
Step 2: Make Dough
In a mixing bowl, combine 250ml of warm milk, 2 tablespoons of sugar, and 2 teaspoons of instant yeast. Let it foam for about 5 minutes. In another bowl, mix 500g of bread flour and 1 teaspoon of salt. Pour in the milk mixture, 1 beaten egg, and incorporate until a dough forms. Knead for 10 minutes on a floured surface, gradually adding 50g of unsalted butter until the dough is smooth and elastic. Place it in a greased bowl, cover, and let rise in a warm spot for 1 hour or until doubled in size.
Step 3: Shape Buns
Once the dough has risen, punch it down to release air. Divide it into 10–12 equal portions and shape each portion into a ball. Then, flatten each ball with your hands or a rolling pin until about 4 inches wide. Spoon 1–2 tablespoons of the cooled curry filling into the center of each flattened dough. Carefully pinch the edges together to seal the bun tightly, ensuring no filling escapes. Arrange them on a baking sheet, cover, and let rest for an additional 20–30 minutes.
Step 4: Cook Buns
For fried Japanese curry buns, heat enough vegetable oil in a deep pan or fryer to reach 350°F (175°C). Gently lower the buns into the oil, cooking for 3–4 minutes on each side until golden brown and crispy. If baking, preheat your oven to 375°F (190°C). Place the buns on a lined baking sheet, brush with egg wash, and bake for 15–18 minutes or until golden and puffed. Enjoy the delightful aroma of Japanese curry buns filling your kitchen!
Step 5: Serve
Once cooked, let the Japanese curry buns cool slightly on a wire rack to maintain their crispy texture. They can be served warm as a delicious snack or meal! Consider pairing them with a side of miso soup for a delightful, hearty meal experience. Enjoy the amazing flavors with friends and family!

Japanese Curry Bun Variations
Feel free to get creative with your Japanese Curry Buns—there are so many delightful twists you can explore!
- Vegetarian Option: Swap out ground meat for tofu or lentils, using a vegetarian curry roux for the filling. This way, everyone can join in the curry bun fun!
- Filling Add-Ins: Consider adding mushrooms, sweet peas, or even corn for a pop of color and texture. Each extra ingredient brings its own personality to the bun!
- Spice It Up: Add a touch of cayenne or chili flakes to the filling for a little heat that’ll tingle your taste buds. Just a pinch can elevate those flavors beautifully!
- Sweet Surprise: For a unique twist, try including some diced apples or raisins in the filling for a sweet contrast to the savory curry. Your family will be delightfully surprised!
- Baking Variations: Experiment with different toppings—like poppy seeds or sesame seeds—before baking. You could even sprinkle on some cheese for a deliciously rich finish.
- Dough Alternatives: Try using whole wheat flour or a gluten-free flour blend for the dough if you're looking for a healthier or diet-friendly option.
- Saucy Side: Serve with a side of spicy dipping sauce for that extra zing, turning your curry buns into a tantalizing snack!
- Savory Fillings: Use leftover stir-fried vegetables or meats as filling. This way, you reduce waste and create a dish bursting with flavors from your favorite meals.
No matter how you choose to customize, these variations ensure your Japanese Curry Buns will delight everyone at the table. Pair them with a cup of miso soup for a complete and satisfying meal experience!
How to Store and Freeze Japanese Curry Buns
Fridge: Keep your Japanese curry buns in an airtight container for up to 3 days. This helps maintain their softness while preventing them from drying out.
Freezer: For longer storage, freeze the buns individually wrapped in plastic wrap and then in a zip-top bag for up to 2 months. This prevents freezer burn and preserves flavor.
Reheating: To reheat, simply pop the frozen curry buns in a preheated oven at 375°F (190°C) for about 15–20 minutes until heated through. Alternatively, use an air fryer for a crispy texture!
Room Temperature: If you're enjoying the buns the same day, they can sit at room temperature for up to 2 hours, covered loosely to keep them from hardening.
Expert Tips for Japanese Curry Buns
- Cool the Filling: Ensure the curry filling is completely cool before stuffing; hot filling can make the dough soggy.
- Seal Well: Properly pinch the edges of the buns to avoid any filling leakage during frying or baking.
- Choose the Right Flour: Opt for bread flour for the best texture; all-purpose flour results in a softer bun.
- Monitor Oil Temperature: For frying, keep the oil at 350°F (175°C) to avoid greasy buns and ensure even cooking.
- Customize Your Filling: Get creative with your Japanese curry bun filling! You can add mushrooms, peas, or even a hint of cheese for extra flavor.
What to Serve with Japanese Curry Buns?
Elevate your cozy gathering with delightful sides that harmonize beautifully with the heartwarming flavors of homemade curry buns.
-
Miso Soup: A classic Japanese starter that offers a warm, umami-rich contrast, enhancing your meal's overall experience.
-
Light Salad: A crisp cucumber and carrot salad dressed in rice vinegar balances the savory bun, bringing freshness to each bite.
-
Tempura Vegetables: Crisp, battered veggies add a delightful crunch that perfectly complements the fluffy texture of the curry buns.
-
Pickled Ginger: A zesty, tangy side that refreshes the palate, making each bite of savory bun feel light and exciting.
-
Steamed Edamame: Lightly salted, these nutrient-packed beans provide a fun, interactive element to your meal.
-
Japanese Green Tea: Refreshing and soothing, a hot cup of green tea perfectly complements the flavors and comforts of your curry buns.
Let your culinary creativity flow as you mix and match these sides for an unforgettable meal that warms the heart!
Make Ahead Options
Japanese Curry Buns are perfect for meal prep, allowing you to enjoy these tasty bites with minimal effort during busy weeknights! You can prepare the filling up to 3 days in advance—just cook it as directed, let it cool completely, then refrigerate in an airtight container to maintain its rich flavor. The dough can also be made a day ahead; simply let it rise, then shape the buns and refrigerate them for up to 24 hours before cooking. When you're ready to serve, allow the refrigerated buns to come to room temperature before frying or baking, ensuring they will be just as delicious as fresh. Enjoy the convenience of homemade Japanese Curry Buns whenever you desire!
Japanese Curry Bun Recipe FAQs
What kind of flour should I use for Japanese curry buns?
I recommend using bread flour for the best structure and chewiness. If you prefer a softer texture, all-purpose flour works too, but you'll lose a bit of that delightful chewiness.
How should I store my Japanese curry buns after making them?
Store your Japanese curry buns in an airtight container in the fridge for up to 3 days. To maintain their softness and freshness, ensuring they’re well-sealed is key to prevent them from drying out.
Can I freeze Japanese curry buns?
Absolutely! To freeze, wrap each bun individually in plastic wrap, then place them in a zip-top bag. They can be stored in the freezer for up to 2 months. This method helps prevent freezer burn and keeps them delicious for when you're ready to enjoy!
How do I reheat frozen Japanese curry buns?
To reheat, preheat your oven to 375°F (190°C) and place the frozen buns on a baking sheet. Bake for about 15-20 minutes until warmed through. For a crispier result, try reheating them in an air fryer at 350°F (175°C) for about 8-10 minutes!
What if my filling leaks out during cooking?
To avoid leaks, it’s crucial to seal the buns tightly. After adding the filling, pinch the edges firmly; consider running your fingers along the seam to ensure it's tightly closed. Using cold filling also helps prevent this issue.
Are Japanese curry buns suitable for a vegetarian diet?
Yes, they can easily be made vegetarian! Just replace the ground meat with alternatives like tofu, lentils, or mushrooms. Additionally, ensure you use a vegetarian-friendly curry roux for that classic flavor without the meat.
These FAQs should help you create and enjoy your Japanese Curry Buns to the fullest!
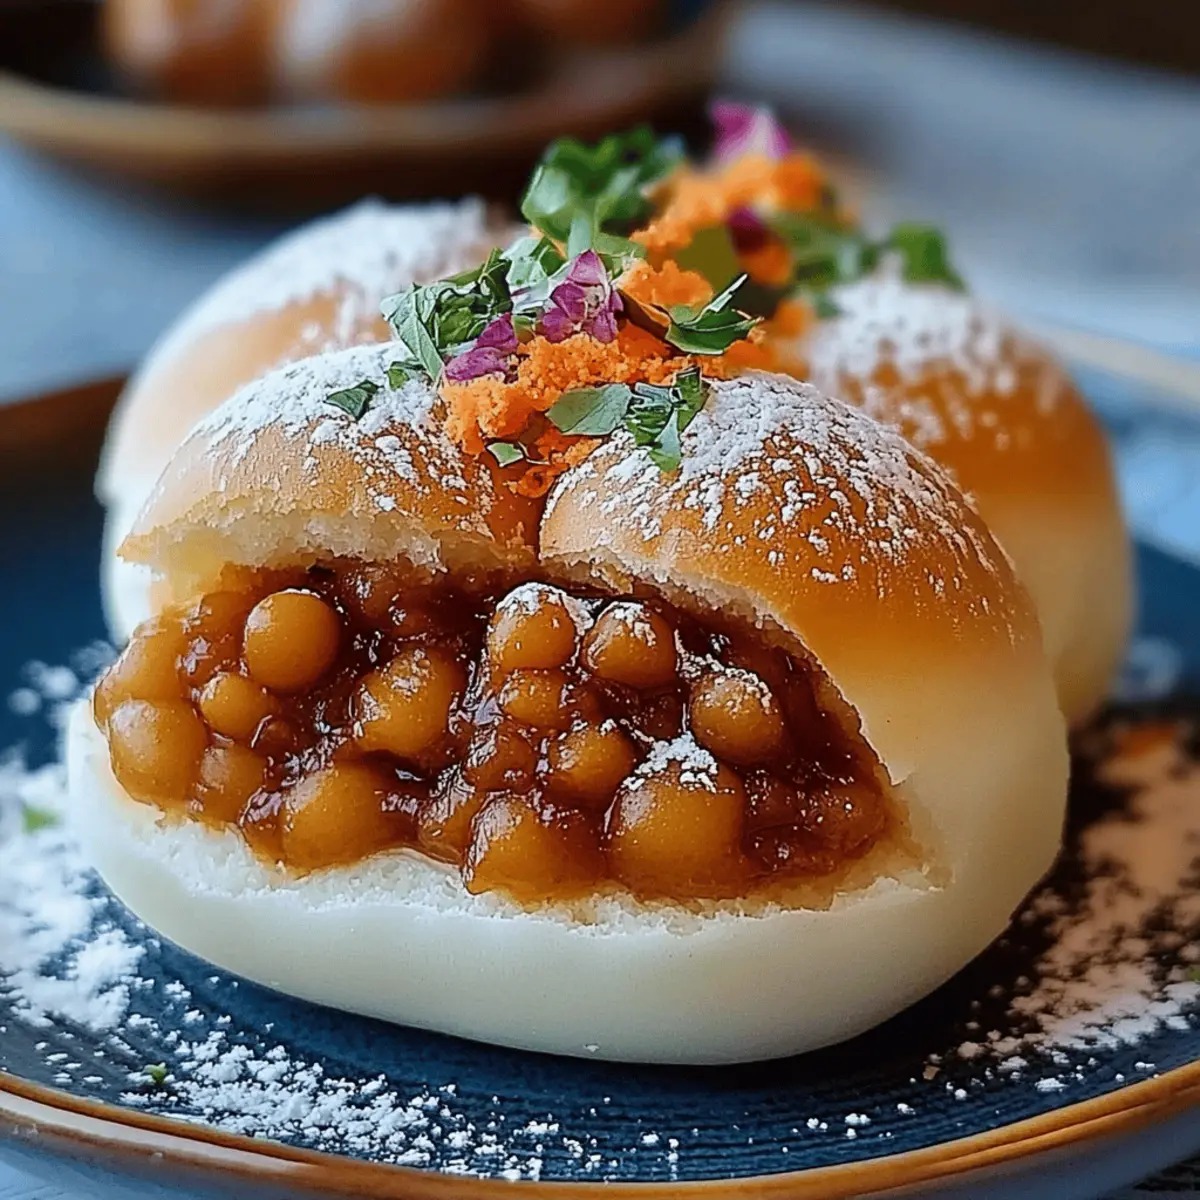
Irresistible Japanese Curry Bun Recipe for Flavor Lovers
Ingredients
Equipment
Method
- Prepare Filling: In a large skillet, heat 1-2 tablespoons of vegetable oil over medium heat. Sauté 1 chopped onion until soft and translucent, about 5 minutes. Add 1 diced carrot and 1 diced potato, cooking for another 5 minutes. Incorporate 250g of ground beef and cook until browned. Pour in 200ml of water and simmer until vegetables are tender, roughly 10–15 minutes. Stir in Japanese curry roux until thickened, and allow to cool completely.
- Make Dough: In a mixing bowl, combine 250ml of warm milk, 2 tablespoons of sugar, and 2 teaspoons of instant yeast. Let it foam for about 5 minutes. In another bowl, mix 500g of bread flour and 1 teaspoon of salt. Pour in the milk mixture, 1 beaten egg, and incorporate until a dough forms. Knead for 10 minutes, gradually adding 50g of unsalted butter until smooth and elastic. Place in a greased bowl, cover, and let rise for 1 hour or until doubled.
- Shape Buns: After rising, punch down the dough and divide into 10-12 portions. Shape each into a ball, then flatten each ball until about 4 inches wide. Spoon 1-2 tablespoons of cooled curry filling into each, pinching edges to seal. Arrange on a baking sheet, cover, and let rest for an additional 20-30 minutes.
- Cook Buns: For frying, heat vegetable oil to 350°F (175°C). Gently lower buns into oil, cooking for 3-4 minutes on each side until golden. For baking, preheat oven to 375°F (190°C). Brush buns with egg wash and bake for 15-18 minutes until golden and puffed.
- Serve: Once cooked, let the buns cool slightly on a wire rack. They can be served warm, ideally with a side of miso soup.




Leave a Reply